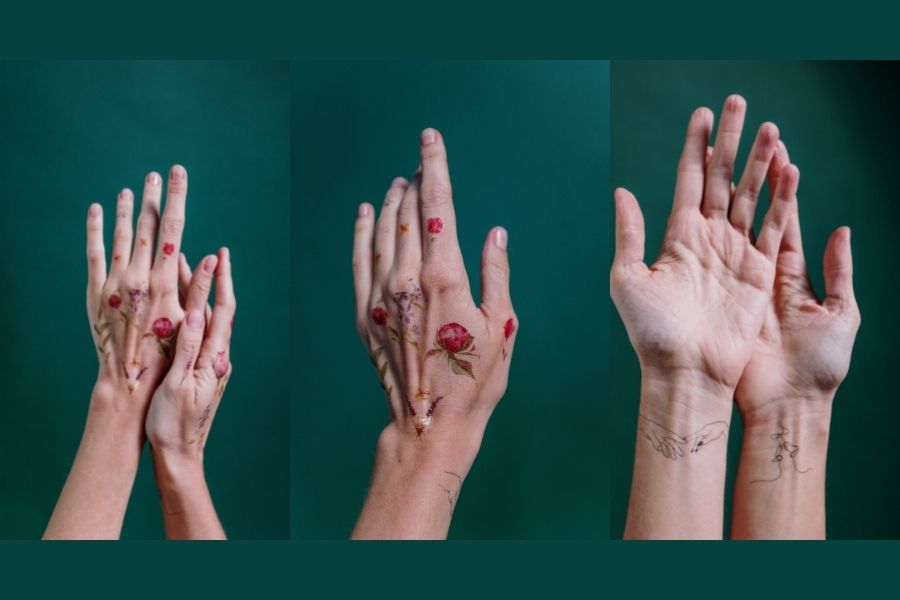
Make Temporary Tattoos
Design and apply temporary tattoos using non-toxic washable markers and tracing paper, transfer artwork to skin with water, then safely wash them off.


Step-by-step guide to make temporary tattoos
Step 1
Wash the area of skin where you plan to put the tattoo.
Step 2
Dry the skin completely with a towel or paper towel.
Step 3
Draw a simple design on plain paper with a pencil.
Step 4
Color the design on the plain paper with washable markers.
Step 5
Place a sheet of tracing paper over your colored design.
Step 6
Trace the design onto the tracing paper with a marker pressing firmly so ink transfers.
Step 7
Flip the tracing paper so the ink side faces the skin and place it where you want the tattoo.
Step 8
Dip a cotton ball into the small bowl of water so it is damp but not dripping.
Step 9
Press the damp cotton ball onto the back of the tracing paper and hold for 20 seconds to transfer the ink.
Step 10
Carefully peel the tracing paper away from your skin.
Step 11
Let the tattoo air dry for about one minute before touching it.
Step 12
To remove the tattoo, wet the area and wash it with gentle soap and water using a cotton ball or paper towel.
Step 13
Share your finished creation on DIY.org.
Help!?
What can I use if I don't have tracing paper or washable markers?
If you don't have tracing paper, use a sheet of wax paper or clear plastic (like a laminating pouch) and if you lack washable markers, use water‑based children's markers, then follow the same steps to trace, flip so the ink faces the skin, and press with a damp cotton ball.
Why didn't the ink transfer well and how can I fix it?
If the ink won't transfer, make sure you traced with a marker (not pencil), pressed firmly while tracing so pigment was deposited, flipped the tracing paper ink‑side down on skin, and held a damp (not dripping) cotton ball on the back for the full 20 seconds.
How can I adapt this activity for different ages?
For preschoolers, have an adult draw the simple design and do the 'press damp cotton ball for 20 seconds' step while the child colors with washable markers, and for older kids let them design more detailed artwork and try layering colors before sharing on DIY.org.
How can we make the tattoos more creative or long‑lasting?
To personalize and extend the activity, trace multiple small designs on plain paper and layer transfers (letting each tattoo air dry for about one minute between layers), use stencils for precise shapes, then photograph the finished creations to share on DIY.org.
Watch videos on how to make temporary tattoos
how to make temporary tattoos at home | print, cut, and apply!
4 Videos
how to make temporary tattoos at home | print, cut, and apply!
TURN KIDS' ARTWORK into TEMPORARY TATTOOS!

✨ How to Create Your Own Temporary Tattoos

How To Make EASY Temporary Tattoos ✨ | A Beginner's Cricut Guide
Facts about temporary body art for kids
🎨 Temporary tattoos aren't permanent — most types sit on the skin surface or transfer with water and can last anywhere from a few hours to a couple of weeks.
🌿 Henna is a plant-based dye used for body art for thousands of years; a real henna stain can last about 1–3 weeks as the skin naturally sheds.
✍️ Tracing paper is semi-transparent so you can copy and tweak a design easily before transferring it to skin with water.
🧴 Many washable markers are specially formulated to rinse off skin with soap and water, but it's always smart to test a tiny patch first.
🚿 Most temporary tattoos can be removed faster by gently rubbing with baby oil, coconut oil, or warm soapy water.
How do I make temporary tattoos with washable markers and tracing paper?
What materials do I need to make temporary tattoos at home?
What ages are temporary tattoo activities suitable for?
Are temporary tattoos safe and how do I wash them off?
