Make Paper Holders for Holiday Knick-Knacks
Make decorative paper holders to display small holiday knick-knacks using child-safe scissors, folding, and gluing; decorate and test stability for festive tabletop displays.


Step-by-step guide to make paper holders for holiday knick-knacks
Step 1
Pick one small holiday knick-knack you want to display.
Step 2
Trace around the base of your knick-knack on the colored paper with a pencil.
Step 3
Use a ruler to draw a border at least 2 cm outside your tracing for the holder's walls.
Step 4
Draw four small tabs on the outer border so you have flaps to glue later.
Step 5
Cut out the outer shape along your border with child-safe scissors.
Step 6
Fold up along the inner edge of the border to create the holder's walls.
Step 7
Fold the small tabs inward so they become glue flaps.
Step 8
Apply glue to each tab using the glue stick.
Step 9
Press each tab to the inside wall and hold for a few seconds so the walls stick.
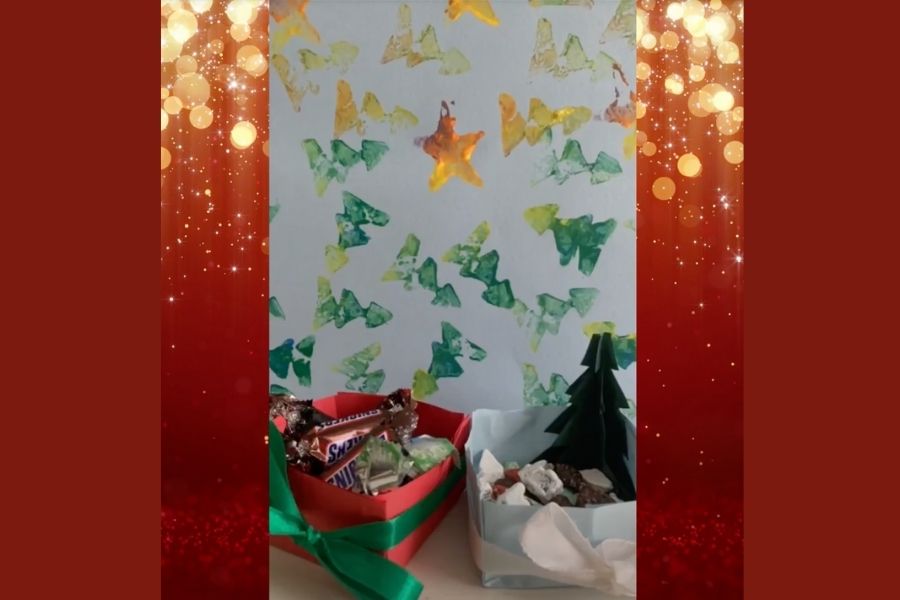
Step 10
Decorate the outside and inside of the holder using coloring materials and stickers or ribbons.
Step 11
Let the glue and any wet decorations dry completely.
Step 12
Place your knick-knack in the holder.
Step 13
Gently tap the table near the holder to check if your knick-knack stays steady.
Step 14
Share your finished paper holder on DIY.org.
Help!?
What can we use instead of colored paper or a glue stick if we can't find them?
Trace and build the holder from plain printer paper colored with markers or from thin cardboard cut from a cereal box, and use double-sided tape or a small dab of white school glue in step 7 instead of a glue stick.
My holder's walls collapse or the tabs don't stick—what should I check and how can I fix it?
Make sure you drew at least a 2 cm border in step 3, folded sharply along the inner edge in step 5 and folded the tabs inward in step 6 before applying glue in step 7, and if it still collapses reinforce the inside seams with clear tape or add an extra tab to glue.
How can I adapt this activity for younger children or older kids?
For toddlers, have an adult pre-cut the outer shape and do the folding/gluing while the child traces and decorates (steps 2 and 10), and for older kids, challenge them to measure precise borders with the ruler, build holders from layered cardboard, or add a lid and hinge when folding and gluing (steps 3–9).
How can we personalize or enhance the paper holder beyond basic decorating?
After decorating in step 10, personalize the holder by lining the inside with felt or tissue, adding a ribbon handle glued to opposite walls, creating a matching lid, or gluing a small battery tea light under the knick-knack for display before sharing on DIY.org in step 12.
Watch videos on how to make paper holders for holiday knick-knacks
How To Make Knick Knack Shelf With Mom
4 Videos
How To Make Knick Knack Shelf With Mom
5 Easy ways to fold a paper Napkin for Christmas | Napkin Folding
Double Pocket Treat Holders - #3 Holiday Craft Fair Series 2022
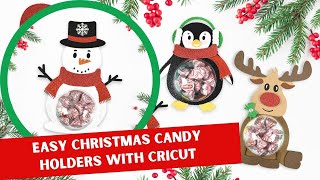
DIY Christmas Candy Holder Craft With Cricut: Easy Christmas Gift Idea
Facts about paper crafts for kids
📝 Traditional origami is made from a single uncut square of paper—no glue or tape needed!
✂️ Child-safe scissors have rounded tips to keep little fingers safe while still cutting paper easily.
🎄 Glass Christmas ornaments were first mass-produced in 19th-century Germany, starting the bauble tradition.
🧴 White school glue (PVA) is non-toxic, dries clear, and is a craft staple for kids' paper projects.
♻️ Paper fibers can usually be recycled about 5–7 times, so using scrap paper for holders helps the planet.
How do you make paper holders for holiday knick-knacks?
What materials do I need to make paper holders for holiday knick-knacks?
What ages is making holiday paper holders suitable for?
What are safety tips, benefits, and variations for making paper holders?
