Make music with a microcontroller
Build and code a simple musical instrument using a microcontroller, buzzer, and batteries to play melodies and explore sound, timing, and programming.


Step-by-step guide to make music with a microcontroller
Make A Musical Keyboard using Arduino and TinkerCad | Beginner Arduino Tutorial
Step 1
Gather all the Materials Needed and put them on a clear workspace.
Step 2
Plug your microcontroller into the computer using the USB cable so it can get power and receive code.
Step 3
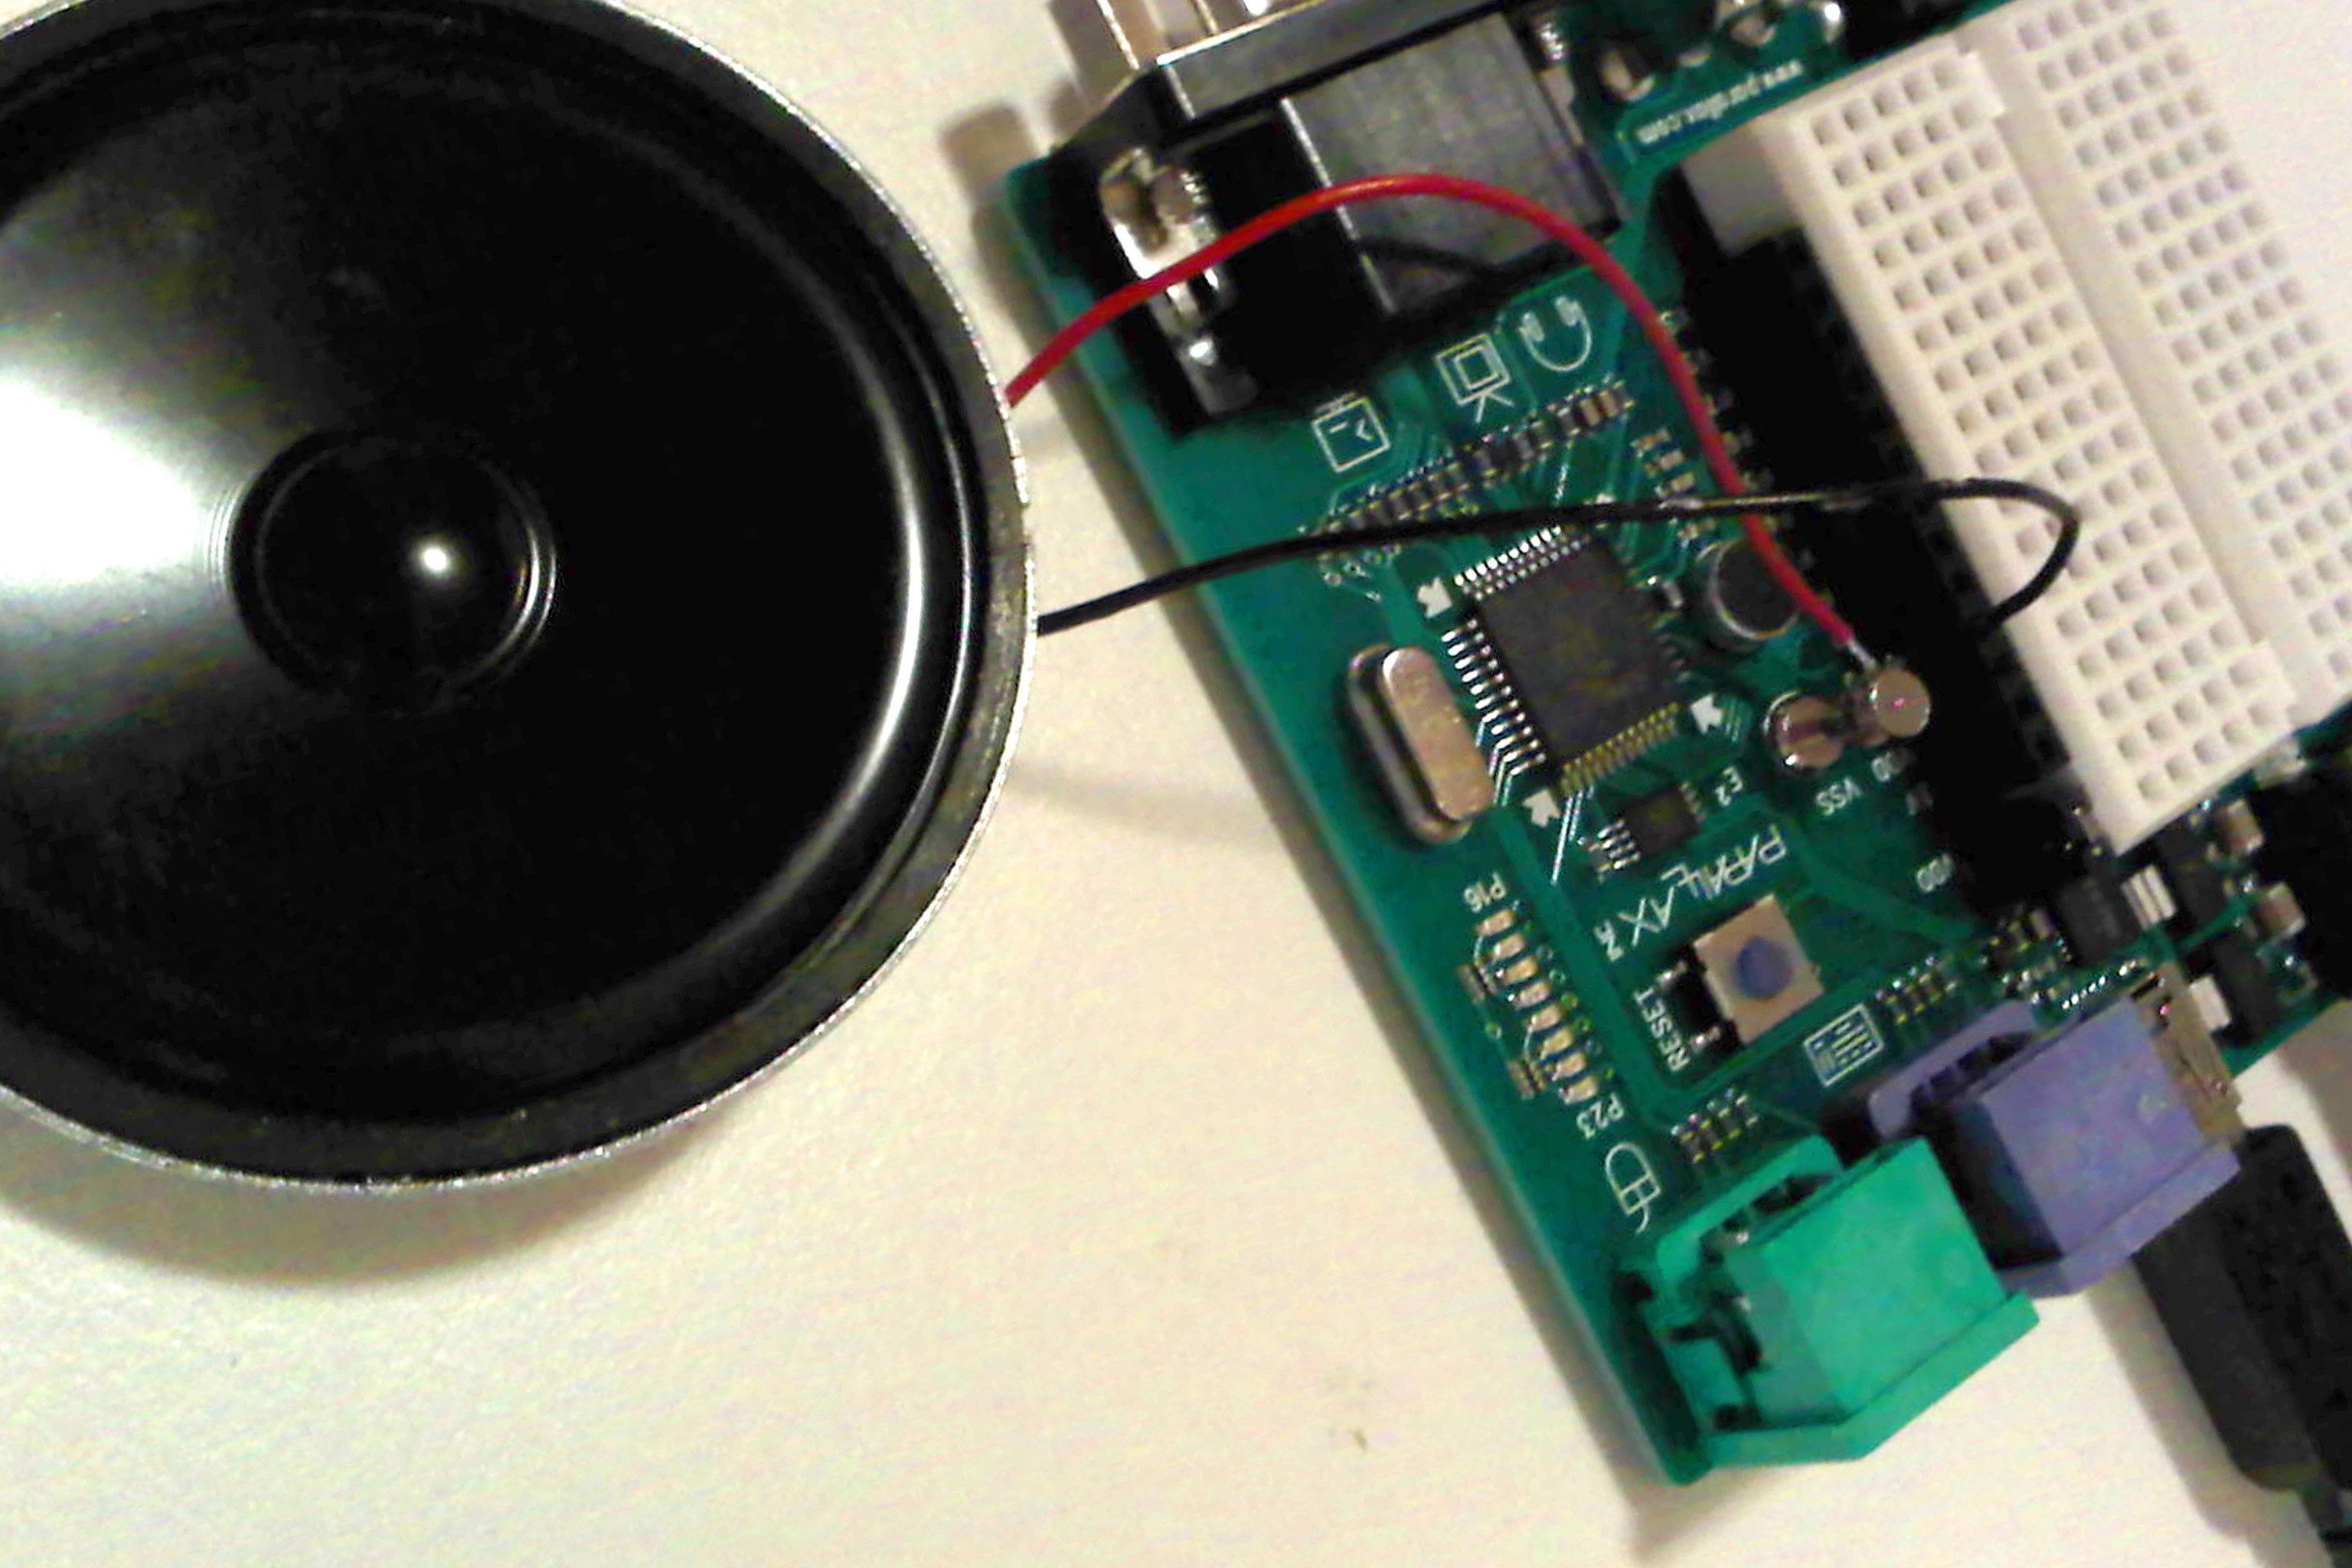
Place the breadboard next to the microcontroller and push the piezo buzzer into the breadboard rows.
Step 4
Use a jumper wire and the 220 ohm resistor to connect the buzzer’s positive lead to digital pin 8 on the microcontroller.
Step 5
Use a jumper wire to connect the buzzer’s negative lead to the GND pin on the microcontroller.
Step 6
Insert the pushbutton into the breadboard so each pair of legs sits in different rows.
Step 7
Use a jumper wire to connect one side of the pushbutton to the 5V pin on the microcontroller.
Step 8
Use a jumper wire to connect the opposite side of the pushbutton to digital pin 2 on the microcontroller.
Step 9
Put the 10k resistor between the button’s pin that goes to digital pin 2 and GND to act as a pull-down resistor.
Step 10
Open the Arduino IDE or the MakeCode editor on your computer.
Step 11
Paste the code below into the editor exactly as shown:
Step 12
Change the tempo number in the code to a new value if you want a faster or slower melody.
Step 13
Upload the sketch to your microcontroller from the editor so the code runs on the device.
Step 14
Press the pushbutton to play the melody and listen closely to how the sound and timing behave.
Step 15
Share a photo or video of your finished musical instrument and explain one thing you changed in the code on DIY.org.
Help!?
What can we use as substitutes if we can't find the piezo buzzer, breadboard, or 220 ohm resistor?
If you can't find a piezo buzzer, use a small speaker wired through a 220 Ω or 330 Ω resistor (and an NPN transistor if needed) connected to digital pin 8, and if you don't have a breadboard use alligator-clip jumper leads to recreate the same connections between the microcontroller, buzzer/speaker, resistor, and GND.
What should I check if the melody doesn't play when I press the pushbutton?
If the melody doesn't play, verify the USB power, ensure the buzzer's positive lead goes to digital pin 8 through the 220 Ω resistor and its negative to GND, confirm the pushbutton straddles the breadboard gap with one side to 5V and the other to digital pin 2, and make sure the 10k pull-down resistor is between pin 2 and GND so the input isn't floating.
How can I adapt this activity for different age groups?
For younger children, pre-wire the breadboard (piezo, 220 Ω resistor, pushbutton, 10k pull-down) and let them press the button and change only the tempo number in the editor, while older kids can write new note sequences, add extra buttons or sensors, and upload their own sketches to the microcontroller.
What are simple ways to extend or personalize the musical microcontroller project?
Extend the project by adding a potentiometer to an analog pin to control tempo in code, wiring extra pushbuttons each with a 10k pull-down to trigger different melodies, or mounting the circuit in a decorated enclosure before sharing a photo and explaining the code change on DIY.org.
Watch videos on how to make music with a microcontroller
Sysblocks - Music With Microcontrollers
4 Videos
Sysblocks - Music With Microcontrollers
Make Music Player using Arduino | DIY | Project

Music Production For Beginners (Step By Step Masterclass)

How to make a simple MIDI Controller with Arduino that works on iOS
Facts about electronics and coding for kids
🎵 A microcontroller can make sound by switching a pin on and off at different speeds—faster switching = higher pitch!
🤖 Popular hobby boards like the Arduino Uno run at 16 MHz but use built-in timers for precise musical timing.
🔋 A small piezo buzzer only uses a few milliamps, so a pair of AA batteries can play lots of tunes before running out.
🧩 Most simple tones are square waves; changing pulse width or timing (PWM) can create new timbres and effects.
🎶 Western music uses 12 notes in an octave — mix and match them to invent endless melodies and songs!
How do I build and code a simple musical instrument using a microcontroller?
What materials do I need to build a microcontroller musical instrument?
What ages is this microcontroller music activity suitable for?
What safety tips should I follow when making a microcontroller musical instrument?
