Make Ice Cream with Science
Make fresh ice cream using a simple salt and ice bag method, observing freezing point changes and stirring to transform milk into dessert.
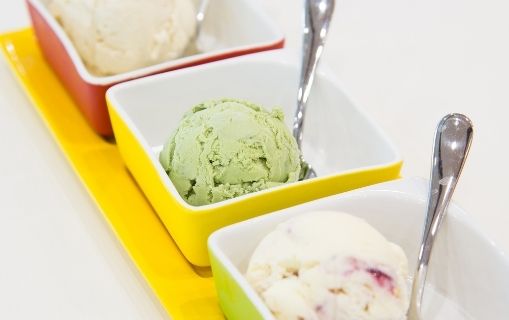
About this activity
Make fresh ice cream using a simple salt and ice bag method, observing freezing point changes and stirring to transform milk into dessert.
What you need
Step by step
- 1
Step 1
Gather all the Materials Needed and put them on a table where you have room to work.
- 2
Step 2
Measure 1 half cup of milk or half and half and pour it into the small resealable bag.
- 3
Step 3
Add 1 tablespoon of sugar to the milk in the small bag.
- 4
Step 4
Add one quarter teaspoon of vanilla extract to the small bag.
- 5
Step 5
Press out extra air and seal the small bag tightly so the liquid cannot leak.
- 6
Step 6
Put ice cubes into the large resealable bag until it is about half full.
- 7
Step 7
Sprinkle about 4 tablespoons of rock salt evenly over the ice in the large bag.
- 8
Step 8
Place the sealed small bag into the large bag with the ice and salt and then seal the large bag tightly.
- 9
Step 9
Wrap the large bag in the towel or wear the oven mitt and shake or squeeze the bag vigorously for about 10 minutes.
- 10
Step 10
Open the large bag then carefully remove the small bag and wipe off the outside so no salty water gets inside.
- 11
Step 11
Open the small bag and scoop the ice cream into a bowl with the spoon.
- 12
Step 12
Take a small taste of your homemade ice cream to enjoy your science snack.
- 13
Step 13
Share your finished ice cream creation on DIY.org
Fun facts
How do you make ice cream using the salt and ice bag method?
Place a small resealable bag with 1 cup cream (or milk), 2 tablespoons sugar, and 1 teaspoon vanilla inside a larger resealable bag filled halfway with ice and 1/2 to 1 cup rock salt. Seal both bags tightly, wrap in a towel, then shake, roll, or stir for 5–15 minutes until the mixture thickens. Wipe the small bag before opening. Observe how adding salt lowers the freezing point and helps the liquid freeze into ice cream while stirring creates smooth texture.
What materials do I need to make ice cream with salt and ice?
You need small and large resealable plastic bags, ice, rock salt (or coarse salt), 1 cup heavy cream or whole milk, 2 tablespoons sugar, 1 teaspoon vanilla, a towel, and spoons or cups for serving. Optional items: a kitchen thermometer, gloves or a towel for cold protection, and mix-ins like chocolate chips or fruit. Use double-bagging to prevent leaks and a bowl to hold the big bag for stability while shaking.
What ages is the salt-and-ice ice cream activity suitable for?
This experiment works for kids about 4–6 with close adult help for sealing bags and shaking. Ages 7–12 can do most steps with supervision and learn the science. Teens can run it independently and try variations. Always supervise younger children to avoid cold burns from ice-and-salt, ensure bags are sealed, and keep an eye on safe food handling.
What are the benefits, safety tips, and variations for this ice cream experiment?
Benefits: teaches freezing-point depression, measurement, following steps, and patience while giving a tasty reward. Safety tips: wear gloves or wrap the bag to prevent cold burns, double-bag to avoid leaks, supervise young children, and avoid raw eggs. Variations: swap flavors (cocoa, fruit purée), use dairy-free milks (coconut or oat), adjust sweetness, or make frozen yogurt by using yogurt instead of cream.
Watch & Learn
Need help?
What can we use instead of rock salt or half-and-half if we can't find them?
You can replace rock salt with coarse kosher or regular table salt (use a bit more if it's fine-grained) and swap half-and-half with heavy cream or whole milk using the same 1/2 cup, then follow the same small-bag sealing step.
My mixture didn't turn into ice cream after 10 minutes—what should I check or try next?
Check that the large bag was about half full of ice with about 4 tablespoons of rock salt sprinkled over it, confirm the small bag was tightly sealed with air pressed out, and if needed add more ice and salt and shake vigorously for longer.
How can we adapt this activity for younger kids or older kids?
For younger children have an adult do the measuring and the vigorous 10-minute shaking while they stir, taste, and observe, and for older kids let them measure the 1/2 cup milk and 1/4 teaspoon vanilla, seal the bag themselves, time the shaking, and record temperatures or results.
How can we extend or personalize the ice cream activity after making it?
After scooping the ice cream into bowls you can personalize it by stirring in mix-ins like chocolate chips or fruit, make separate small bags with different flavors to compare outcomes, or turn it into an experiment by timing how different salt amounts affect freezing and sharing the results on DIY.org.