Make Grilled Cheese Roll-Ups With UFOcreator32
Follow UFOcreator32's simple steps to assemble and toast grilled cheese roll-ups using bread, cheese, and adult supervision for stovetop toasting or toaster use.


Step-by-step guide to make grilled cheese roll-ups with UFOcreator32
Step 1
Wash your hands with soap and water until they are clean.
Step 2
Arrange your materials on the counter so you can follow UFOcreator32's steps.
Step 3
Place all the bread slices on the plate and gently press each one flat with the rolling pin or glass.
Step 4
Put one or two slices of cheese on each flattened bread slice.
Step 5
Roll each bread slice tightly from one short side to the other.
Step 6
Push a toothpick through each roll to keep it closed.
Step 7
Spread a thin layer of butter on the outside of each roll with the butter knife.
Step 8
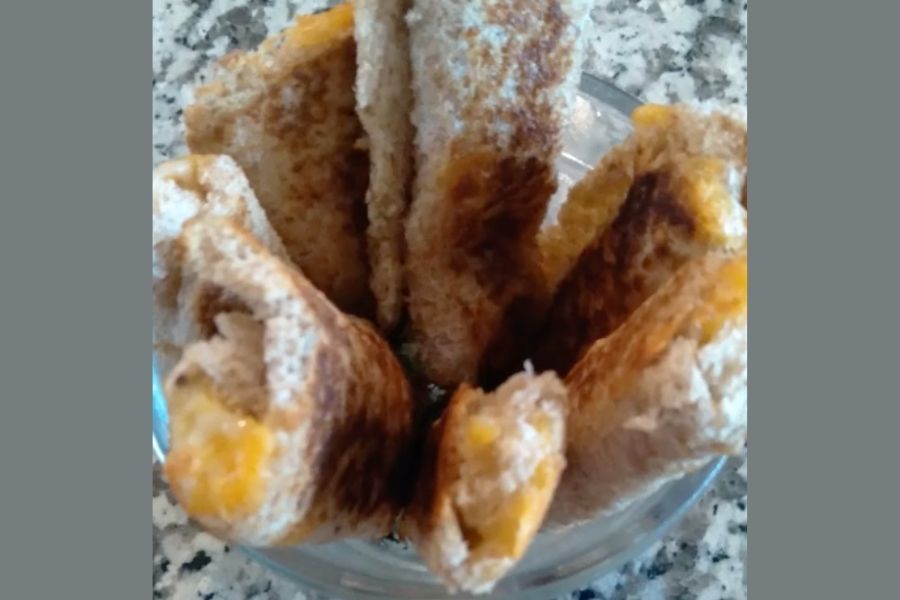
Give the plate to an adult and ask them to toast the roll-ups on a warm pan or in the toaster oven until they are golden brown.
Step 9
Wait until the adult tells you the roll-ups are cool enough to touch.
Step 10
Remove the toothpicks from the roll-ups.
Step 11
Share a photo of your finished grilled cheese roll-ups on DIY.org.
Help!?
I don’t have a rolling pin or toothpicks — what can I use instead?
Use a clean glass or empty jar to press the bread flat, tuck the seam tightly and hold it closed while toasting or use a short piece of clean wooden skewer instead of a toothpick, and have an adult toast them in a warm pan if you don’t have a toaster oven.
My bread rips or the cheese falls out when I roll—what should I do?
Gently press each bread slice flat with the rolling pin or glass without tearing, use thin slices of cheese and trim crusts so you can roll tightly from one short side, and moisten the edge with a little water to help seal the roll before pushing in the toothpick.
How can I adapt this activity for younger or older kids?
For younger children have an adult arrange and flatten the bread, place the cheese, and insert toothpicks while they roll and spread butter, and for older kids let them choose fillings and toast the roll-ups in the toaster oven with supervision.
How can we make the roll-ups more fun or fancy?
Try adding fillings like ham, tomato, or pizza sauce before you roll, brush the outside with garlic or herb butter before toasting, cut the finished roll-ups into pinwheels, or decorate a plate and then share a photo on DIY.org.
Watch videos on how to make grilled cheese roll-ups with UFOcreator32
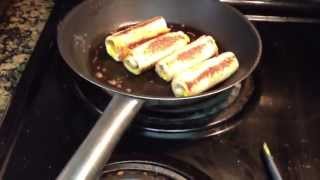
Grilled Cheese Roll-Ups Perfect For A Quick Lunch
3 Videos

Grilled Cheese Roll-Ups Perfect For A Quick Lunch
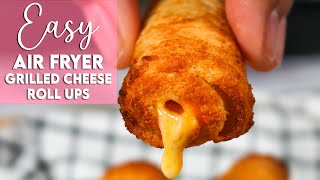
Easy Air Fryer Grilled Cheese Roll Ups Recipe | Munchy Goddess
Toddler Meal Idea: Grilled Cheese Rollers
Facts about cooking for kids
🧀 Cheddar is a favorite for grilled cheese because it melts smoothly and packs bold flavor.
🍞 Rolling bread into thin tubes makes roll-ups toast faster and get extra crispy edges kids love.
🔥 Toaster or stovetop both work—roll-ups usually take about 2–4 minutes to toast, but always have an adult handle the stovetop.
🧼 Washing hands for 20 seconds before cooking helps keep your roll-ups safe and germ-free.
🌎 The idea of warm, melted cheese between bread goes back centuries; many cultures enjoy similar toasted-cheese treats.
How do you make grilled cheese roll-ups with UFOcreator32?
What materials do I need to make grilled cheese roll-ups with UFOcreator32?
What ages is making grilled cheese roll-ups suitable for?
What are the safety tips, benefits, and variations for grilled cheese roll-ups?
