Make Fabric Bunting
Make festive fabric bunting by cutting triangles, sewing or gluing edges, attaching to ribbon, and decorating to learn measuring, patterns, and fine motor skills.


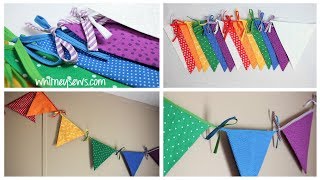
Step-by-step guide to make fabric bunting
DIY BUNTING TUTORIAL | How To Make Bunting - Easy for Beginners!
Step 1
Gather all your materials and clear a flat workspace so you have plenty of room to create.
Step 2
Decide how big you want each triangle to be for your bunting for example 6 inches wide by 7 inches tall.
Step 3
Use the ruler and pencil to draw one triangle on a fabric scrap as your first template.
Step 4
Cut out the drawn triangle carefully with scissors.
Step 5
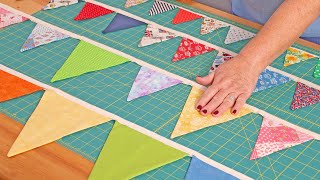
Trace the triangle template onto other fabric scraps until you have six to ten triangles.
Step 6
Cut out all the traced triangles with scissors.
Step 7
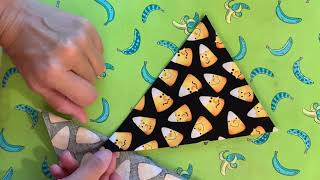
Fold the top edge of each triangle down about 1 centimeter and pin or clip the fold to make a small pocket.
Step 8
If you are sewing: sew a straight stitch along each folded top edge to secure the pocket.
Step 9
If you are gluing: run a thin line of fabric glue along each folded top edge and press the fold to make a pocket.
Step 10
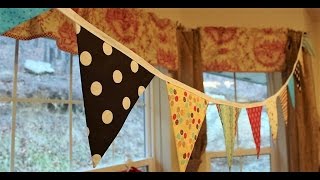
Slide the ribbon through the pockets of all the triangles and leave extra ribbon at both ends for hanging.
Step 11
Move the triangles along the ribbon so they are spaced evenly to make a pretty pattern.
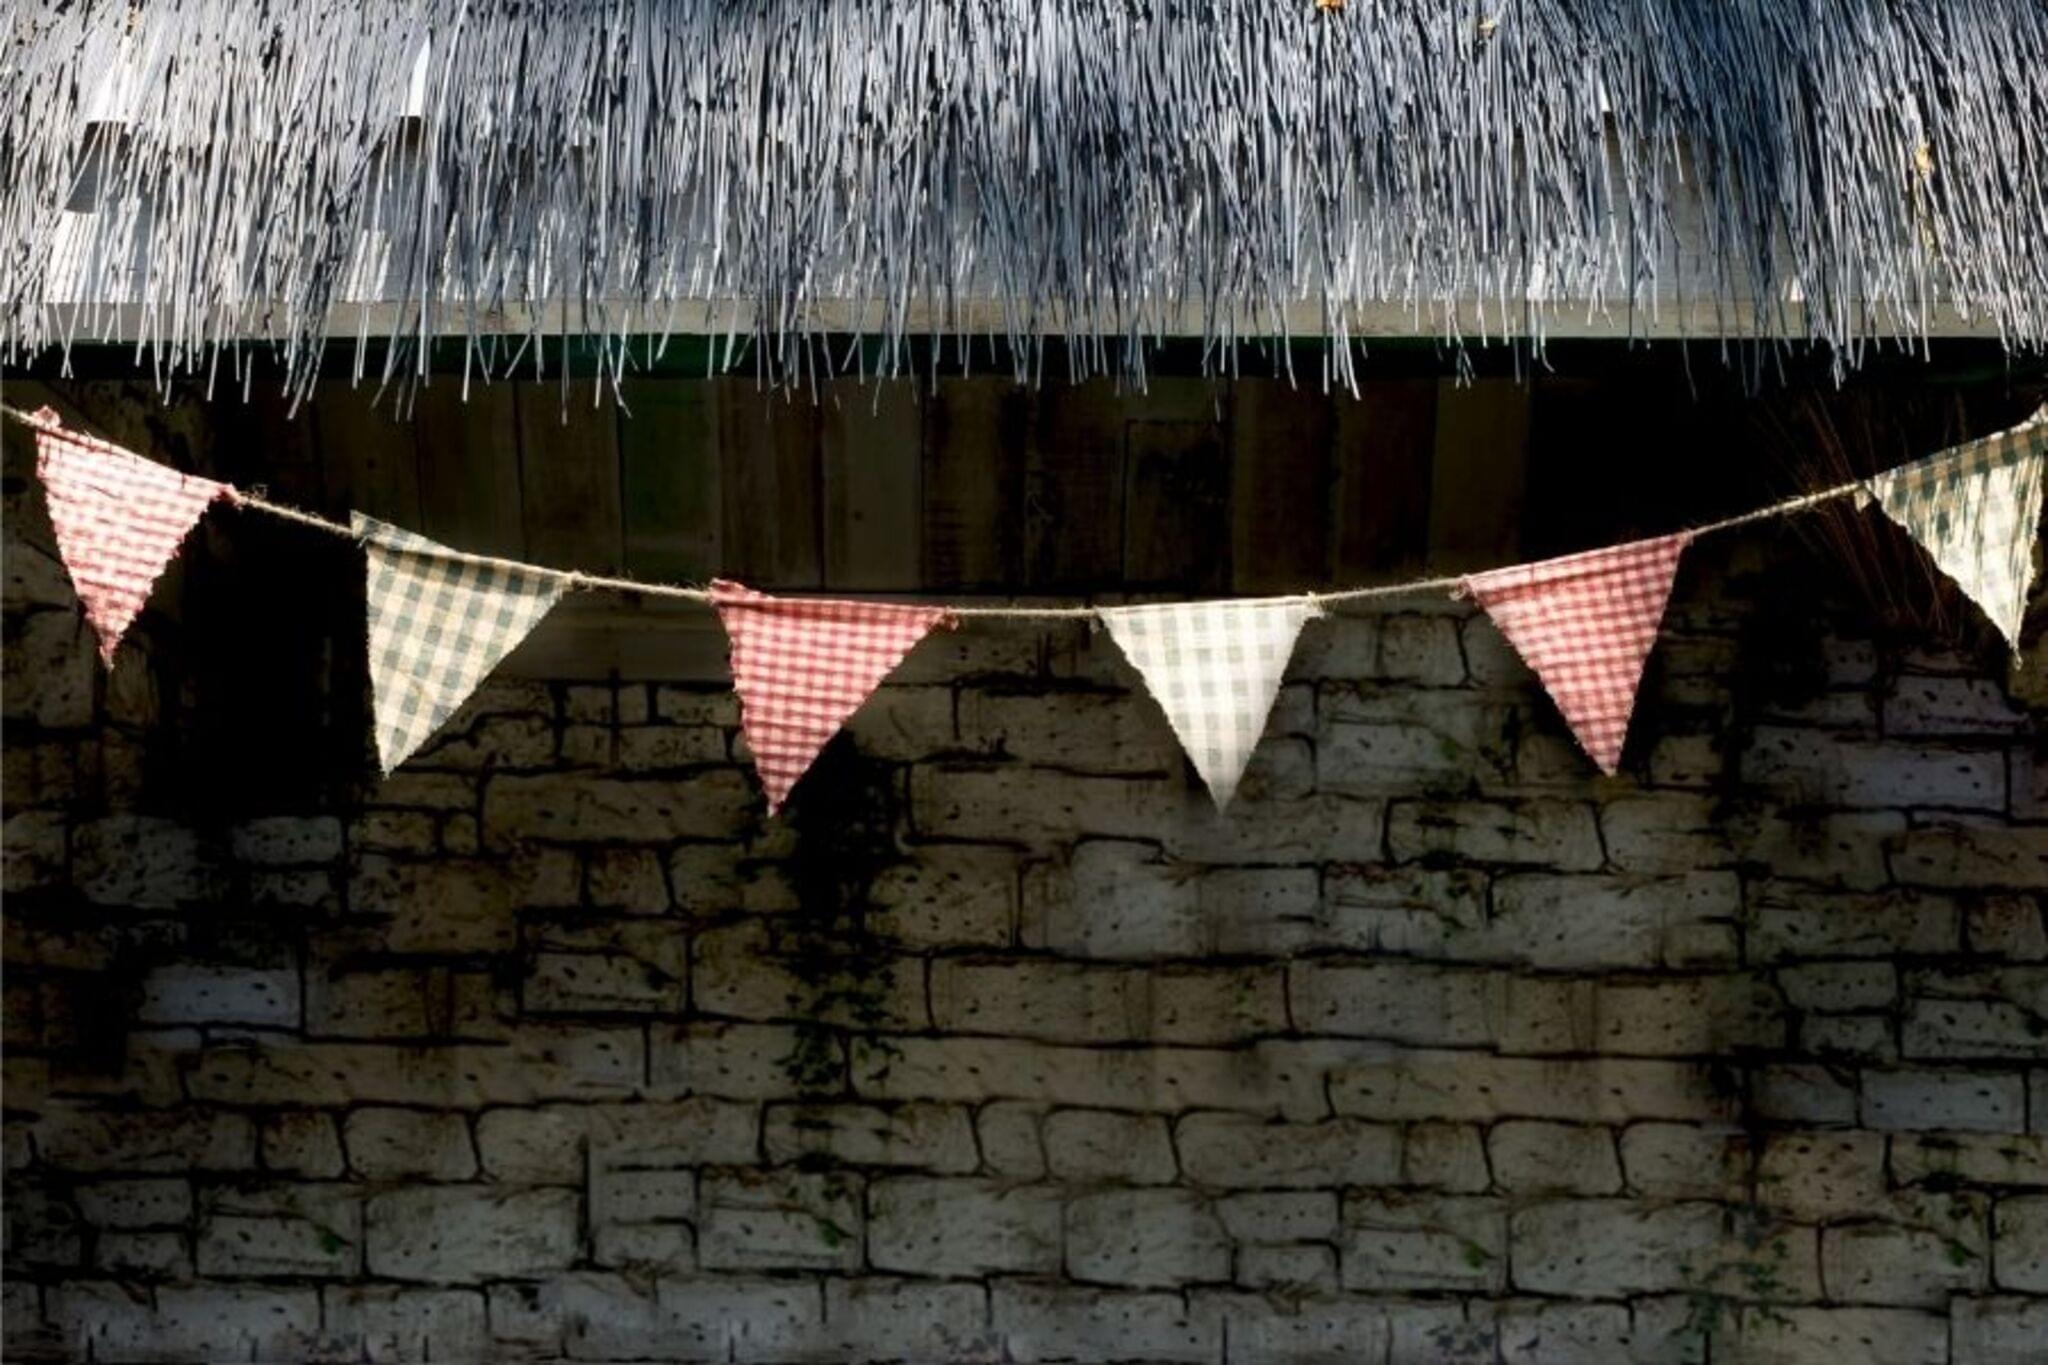
Step 12
Decorate each triangle with buttons sequins fabric paint or stickers to make your bunting festive.
Step 13
Trim any extra ribbon to neat ends with the scissors.
Step 14
Tie small loops or knots at both ribbon ends so your bunting is ready to hang.
Step 15
Share a photo of your finished fabric bunting on DIY.org
Help!?
What can we use instead of fabric scraps or ribbon if we don't have them?
Use sturdy paper, felt, or cut-up old T-shirts for the triangles and baker's twine, a shoelace, or leftover gift ribbon to slide through the pockets created by folding the top edge about 1 centimeter.
My triangles keep sliding together or falling off the ribbon—how can I stop that?
After you move the triangles along the ribbon so they are spaced evenly, tie small knots between them or make a tiny stitch through the ribbon into each folded 1 cm pocket, or add a dab of fabric glue inside the pocket to hold each triangle in place.
How can I adapt this project for different ages?
For toddlers, pre-cut the triangles and let them decorate with stickers while an adult slides the ribbon through the pockets; for early-elementary kids let them trace the triangle template and cut with blunt scissors; and for older kids let them pin the 1 cm fold, sew a straight stitch, and arrange their own pattern on the ribbon.
How can we personalize or extend the bunting to make it more special?
Before you slide the ribbon through the pockets, personalize each triangle by adding initials with fabric paint, ironing on patches, sewing on buttons or sequins, or threading battery fairy lights along the ribbon and finish by tying small loops or knots at the ends.
Watch videos on how to make fabric bunting
The BEST way to make bunting
4 Videos
The BEST way to make bunting
Making A Bunting. Learn Two Techniques Using Directional And Non-Directional Fabric. Easy And Quick.
Fabric Bunting How to with Free Pattern - Whitney Sews
Fabric Banner DIY and FREE Pattern | Whitney Sews
Facts about sewing and fabric crafts for kids
🎉 Bunting has been used for celebrations and decorating since the 19th century—think festivals, parades, and party flags!
✂️ You can teach measuring and cutting by making triangle flags: fold the fabric, mark a triangle, and cut along the line.
📏 Many tape measures show both inches and centimeters, so measuring bunting is a great way to practice units and simple conversions.
🧵 Felt, cotton, and quilting fabrics are kid-friendly choices—felt often doesn’t fray so it’s perfect for quick no-sew bunting.
🎨 Lining up colors or shapes in a repeating ABAB or ABC pattern is an easy way for kids to learn patterning and sequencing.
How do you make fabric bunting with kids?
What materials do I need to make fabric bunting?
What ages is fabric bunting suitable for?
What are the benefits and safety tips for making fabric bunting?
