Make DIY Planter Boxes From Recycled Material
Build small DIY planter boxes using recycled bottles, cartons, and cardboard; decorate, add soil and seeds, and learn about plants and recycling.


Step-by-step guide to make DIY planter boxes from recycled materials
Step 1
Gather your recycled bottles cartons and cardboard and put them on your work table.
Step 2
Rinse each bottle and carton under running water to remove dirt and leftover liquids.
Step 3
Dry each item completely with a towel or let them air dry.
Step 4
Pick one clean recycled item to turn into your first planter.
Step 5
Use the marker to draw a cutting line where you want the top of your planter to be.
Step 6
With adult help cut along the line to make the planter opening.
Step 7
With adult help poke 3 to 5 small drainage holes in the bottom of the planter.
Step 8
If you are using cardboard fold it into a box shape and seal the edges with tape or glue.
Step 9
Decorate the outside of your planter with paint markers stickers or crayons.
Step 10
Let your decorations dry completely before you touch the planter.
Step 11
Fill the planter about two thirds full with potting soil using the spoon or trowel.
Step 12
Make a small hole in the soil place your seed inside and cover it gently with soil.
Step 13
Water the soil gently with a cup until it is just damp but not soaking.
Step 14
Put your planter in a sunny spot and watch for sprouts every day.
Step 15
Take a photo of your finished recycled planter and share it on DIY.org
Help!?
What can we use instead of potting soil, paint markers, or a trowel if we don't have them?
If you don't have potting soil, paint markers, or a trowel, fill the planter two thirds full for the 'Fill the planter' step with a mix of garden soil and compost or shredded paper, decorate with crayons or stickers instead of paint markers, and use a large spoon in place of a trowel.
My cardboard planter is sagging or leaking after I add soil—what should I check or do?
If the cardboard planter is sagging or leaking, reinforce the folded edges with extra tape when you 'fold it into a box shape and seal the edges', line the inside with a clean plastic bag before you 'Fill the planter', and make sure the 3 to 5 drainage holes at the bottom aren't blocked.
How can this activity be adapted for different ages like toddlers, elementary kids, and older kids?
For toddlers let an adult do the 'With adult help cut' and 'poke 3 to 5 small drainage holes' steps while the child draws lines and decorates, elementary kids can measure, cut with supervision and plant seeds themselves, and older kids can design multi-cell planters and drill proper drainage holes under adult supervision.
How can we extend or personalize the recycled planter project to make it more fun or longer-lasting?
To personalize and improve longevity, let your decorations fully dry, then add a layer of clear waterproof tape or non-toxic sealant after 'Let your decorations dry completely', attach a labeled popsicle-stick plant marker, and group several recycled planters into a mini garden for sharing on DIY.org.
Watch videos on how to make DIY planter boxes from recycled materials
Upcycled Tin Can Planter, Earth Day Craft || Crayola CIY
3 Videos
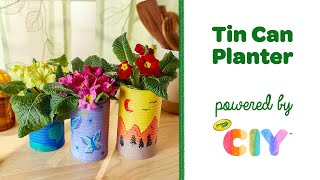
Upcycled Tin Can Planter, Earth Day Craft || Crayola CIY
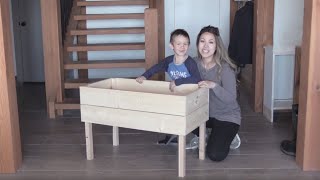
Creating with Kids - Easy DIY Raised Planter
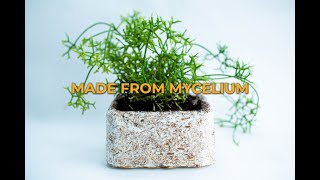
DIY Biodegradable Planter Box: Easy Step-by-Step Guide Using Reishi Mycelium
Facts about gardening and recycling for kids
🌱 Radishes and lettuce can sprout in just 3–7 days, so you'll often see tiny shoots very quickly!
♻️ Reusing a plastic bottle as a planter keeps it out of the trash — about 1 million plastic bottles are bought every minute worldwide.
📦 Cardboard is biodegradable and makes a great seed-starter pot you can plant directly into the soil.
💧 Small DIY planters dry out faster than big pots, so they may need watering every day in warm weather.
🌼 Even a few small planters can attract pollinators like bees and butterflies and help local wildlife.
How do I make DIY planter boxes from recycled bottles, cartons, and cardboard?
What materials do I need to build recycled planter boxes at home?
What ages are suitable for making recycled planter boxes, and how much supervision is needed?
What are the benefits of making planter boxes from recycled materials?
