Make Digital Fashion Illustrations
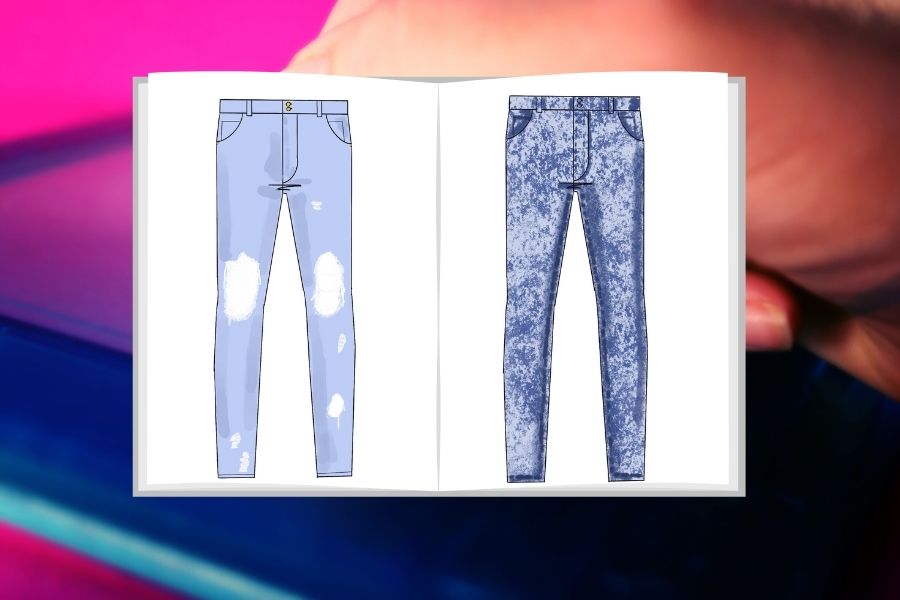
Create digital fashion illustrations using a tablet or computer, sketching outfits, choosing colors, and practicing layering, textures, and simple digital tools.


Step-by-step guide to make digital fashion illustrations
Step 1
Open your drawing app and create a new canvas for your illustration.
Step 2
Add a reference photo or fashion image onto the canvas to inspire your outfit.
Step 3
Create a new light sketch layer to keep your rough lines separate.
Step 4
Draw a simple croquis (fashion figure) using basic shapes and light strokes.
Step 5
Add a new layer above the sketch layer for your outfit outlines.
Step 6
Draw the outfit outlines on the outline layer using clear confident strokes.
Step 7
Create a new layer below the outline layer to hold flat base colors.
Step 8
Pick a color palette in the app that matches the style you want to create.
Step 9
Fill each clothing area with flat base colors on the color layer.
Step 10
Create another layer above the color layer for shadows and highlights.
Step 11
Use a soft brush on the shading layer to add shadows and highlights for depth.
Step 12
Create a new layer and add fabric textures or simple patterns with texture brushes or stamps.
Step 13
Export or save your finished illustration as a PNG or JPEG file.
Step 14
Share your finished fashion illustration on DIY.org.
Final steps
You're almost there! Complete all the steps, bring your creation to life, post it, and conquer the challenge!

Help!?
I don’t have a stylus or fancy drawing app — what can we use instead?
If you don't have a stylus or a paid app, open a free drawing app (like Krita or SketchBook) on a tablet or computer and use your finger or a mouse to create the new canvas and layers, and import simple PNG stamps to replace texture brushes on the texture layer.
My outfit outlines look shaky or my colors go outside the lines — how do we fix that?
Lower the sketch layer opacity and redraw confident strokes on the outline layer, then use the fill tool or lock the color layer's transparency (alpha lock) before painting flat base colors to keep them inside the shapes.
How can we change this activity for younger kids or older teens?
For younger kids (4–7) limit it to three layers—sketch, outline, color—and tracing a reference photo, for 8–12 add a shading layer and simple textures, and teens can use multiple layers, custom brushes, and export high-resolution PNGs to share on DIY.org.
How can we make the illustration more special or keep working on it after we're done?
Personalize and extend the project by creating multiple outfit variations on separate layers, adding fabric textures with stamps on the texture layer, exporting PNG/JPEG files for printing or uploading to DIY.org, and designing a simple background or repeating pattern for a mini collection.
Watch videos on how to make digital fashion illustrations
DIGITAL FASHION ILLUSTRATION FOR BEGINNERS: TIPS & RENDERING ON PROCREATE
4 Videos
DIGITAL FASHION ILLUSTRATION FOR BEGINNERS: TIPS & RENDERING ON PROCREATE
Digital art for beginners 🍃 the basics! How to get started + step-by-step Procreate tutorial

Procreate Fashion Illustration | Step by Step Fashion Sketch and Drawing Tutorial
![Learn Fashion Illustration For Beginners Step by Step [Adobe Illustrator]](https://img.youtube.com/vi/X-dFbhn5Jec/mqdefault.jpg)
Learn Fashion Illustration For Beginners Step by Step [Adobe Illustrator]
Facts about digital art and fashion design
🎨 Digital artists often work in layers — professional illustrations can use 20+ layers to build sketch, color, shadows, and details.
👗 Fashion illustration has been used since the 1800s to show new styles before photography became common in magazines.
🖌️ Many digital art apps include brush libraries that mimic pencils, markers, watercolor, and even fabric textures — and you can create custom brushes too.
📱 Modern graphics tablets often support up to 8,192 pressure levels, so your pen pressure can control line thickness and opacity smoothly.
🖨️ Screen colors use RGB while print uses CMYK, so a design's colors can change a bit when you print your fashion illustrations.
How do I create digital fashion illustrations with my child?
What materials do I need for digital fashion illustrations?
What ages is digital fashion illustration suitable for?
What are the benefits of making digital fashion illustrations?


One subscription, many ways to play and learn.
Only $6.99 after trial. No credit card required