Make compost
Make a small compost bin using kitchen scraps, leaves, and soil; learn layering, turning, and how decomposition creates nutrient rich soil for plants.

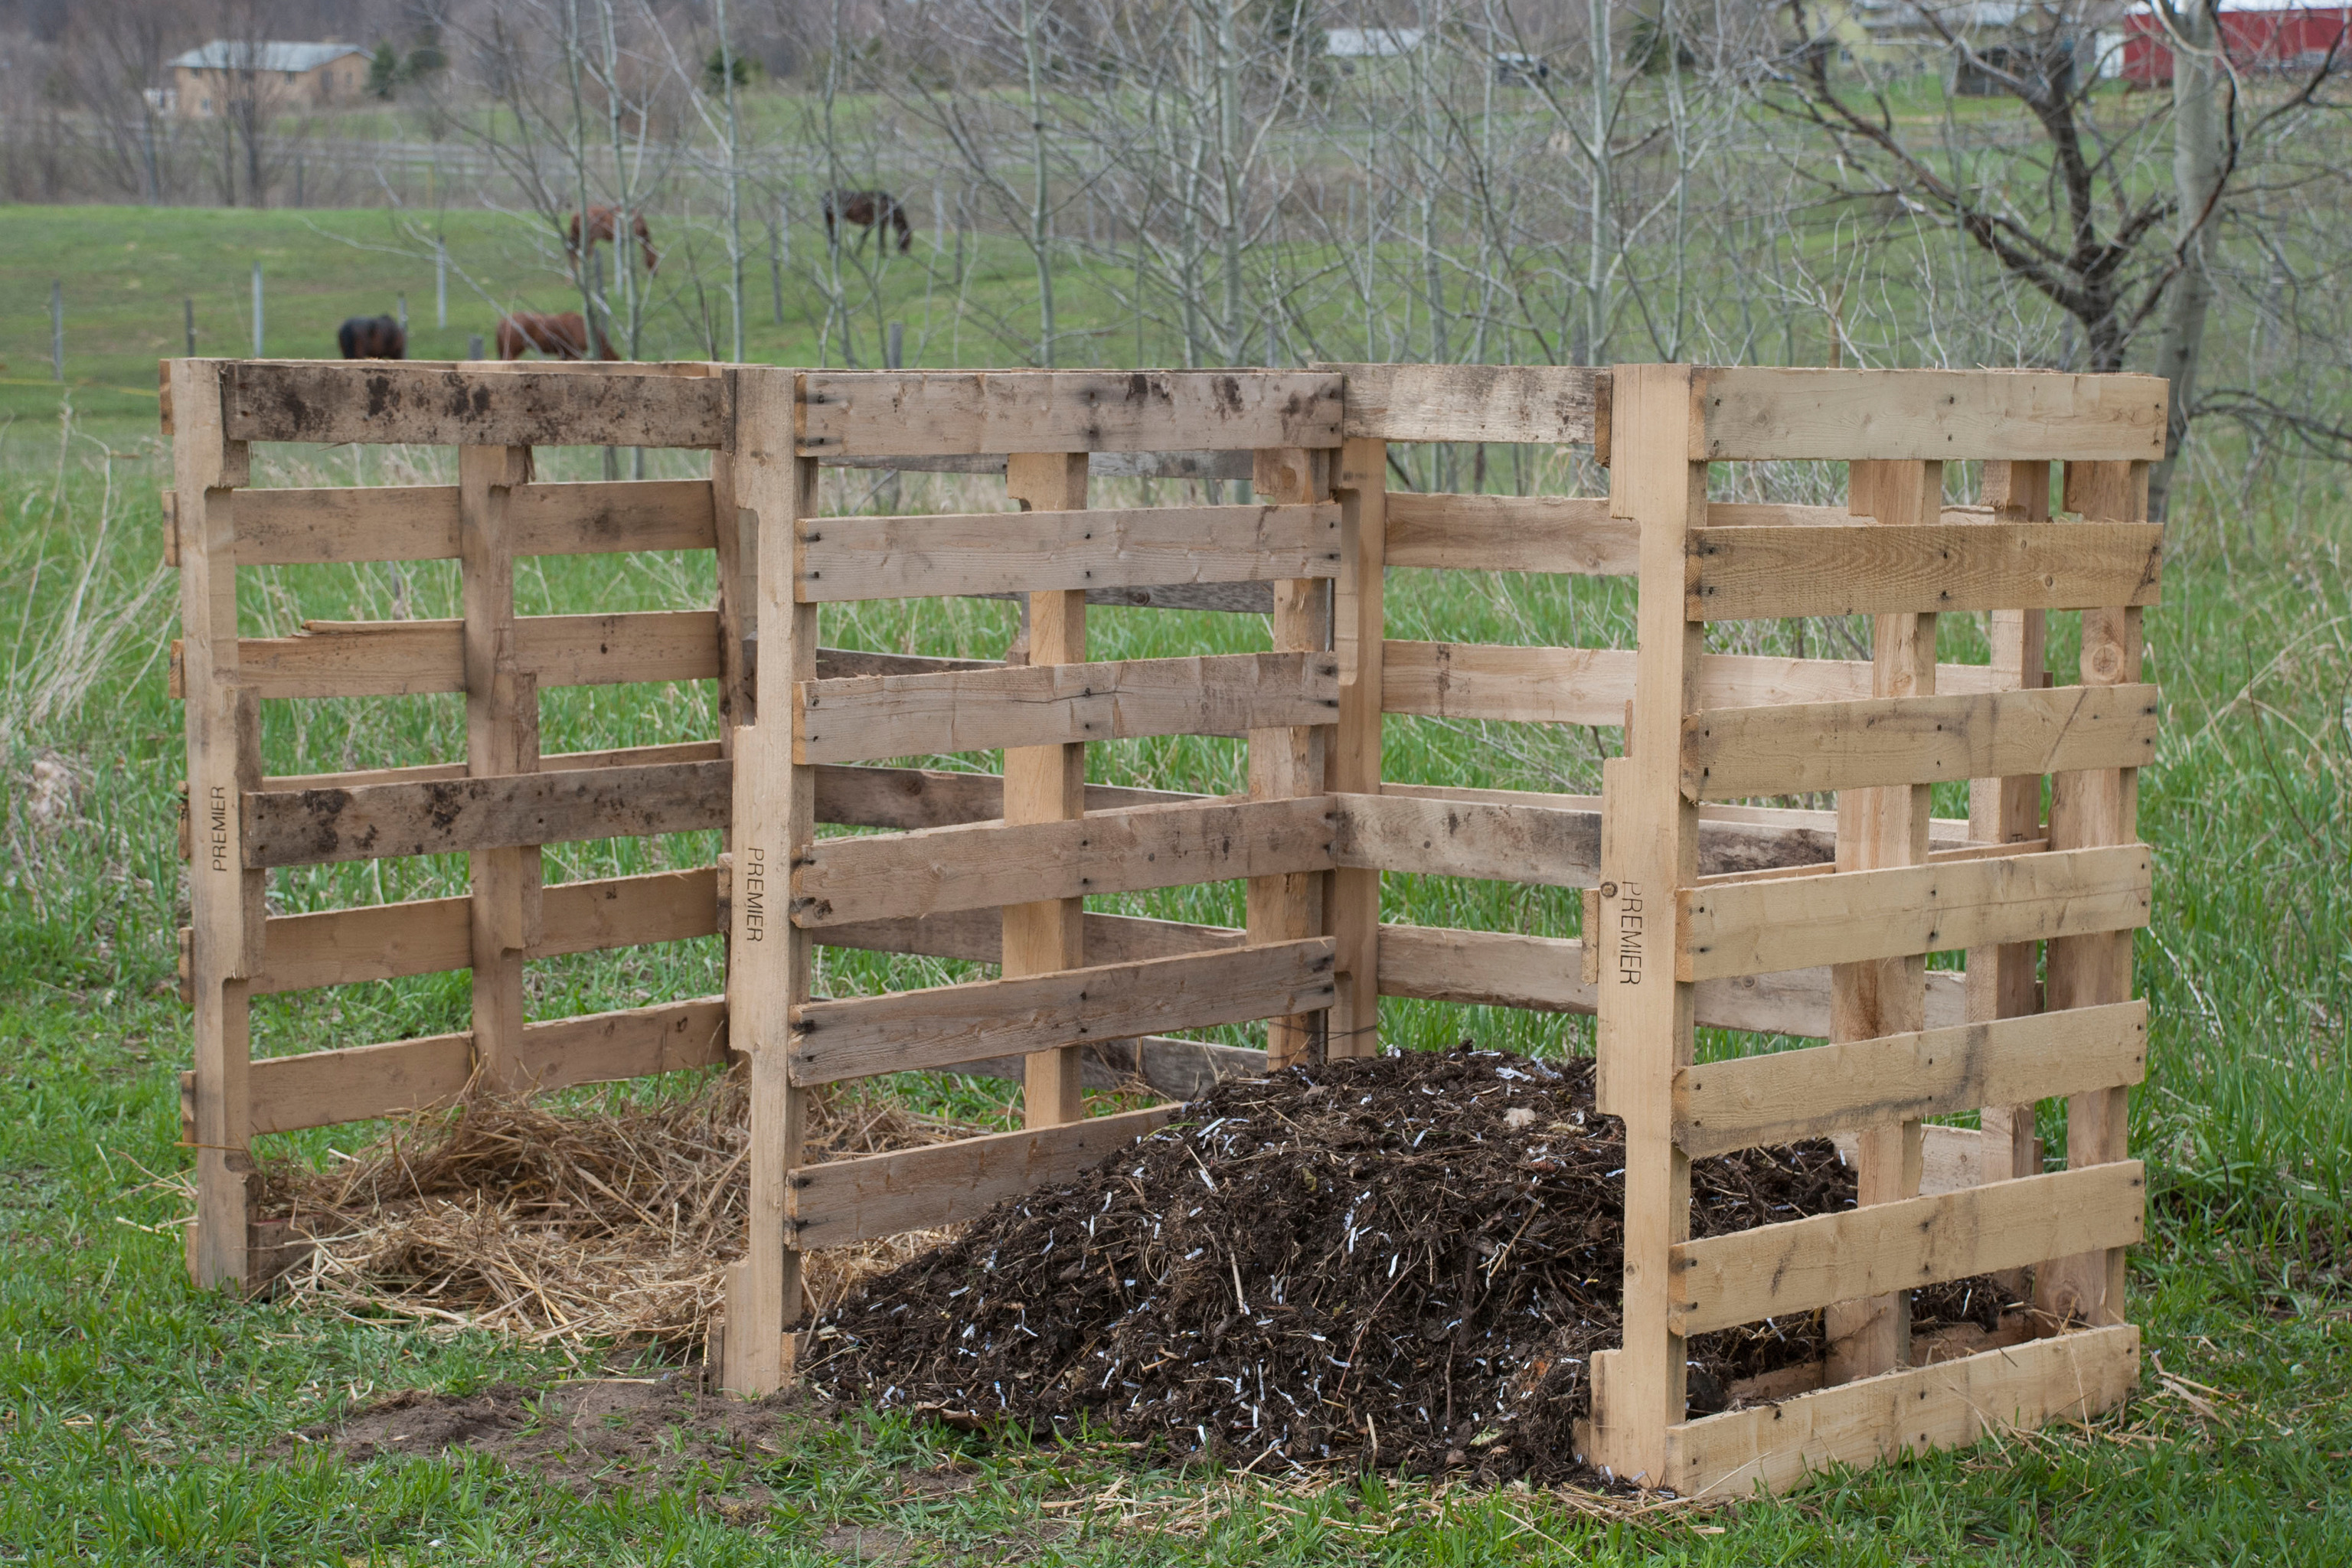

Step-by-step guide to make a small compost bin
How to Start Composting At Home...For Kids!
Step 1
Gather all your materials and bring them to your work spot.
Step 2
Wash the bin with soap and water to make it clean for composting.
Step 3
With adult help poke several air holes in the sides and lid of the bin for airflow.
Step 4
Place the bin in a shady spot outside or on a balcony where it will stay undisturbed.
Step 5
Add about one inch of garden soil to the bottom of the bin as a starter layer.
Step 6
Add about two inches of dry leaves or shredded newspaper as a brown layer on top of the soil.
Step 7
Add about one inch of chopped kitchen scraps as a green layer on top of the brown layer.
Step 8
Cover the green layer with a thin layer of soil or more brown material to help control smells and bugs.
Step 9
Spray the layers lightly with water until they are damp like a wrung-out sponge.
Step 10
Close the lid securely so the bin stays moist and warm inside.
Step 11
Label the bin with today’s date so you can track how long it takes.
Step 12
Turn the compost once a week using your stick or trowel to add air and speed up decomposition.
Step 13
Wait about four to eight weeks for the scraps to break down into dark crumbly compost.
Step 14
Scoop out the dark crumbly compost with your trowel to use for your plants.
Step 15
Share your finished composting creation on DIY.org.
Help!?
What can we use if we don't have the plastic bin or garden soil called for in the instructions?
If you don't have the compost bin, use an old lidded plastic storage container or large bucket and poke air holes in the sides and lid as the instructions say, and substitute potting soil or a scoop of backyard dirt for the one inch of garden soil starter layer.
My compost smells or has bugs—what step did I miss and how do I fix it?
If your bin smells or attracts bugs, add more brown material (about two inches of dry leaves or shredded newspaper), cover the green one-inch layer with a thin layer of soil or more brown material as instructed, keep the lid closed, and turn the compost once a week to aerate it.
How can I adapt this compost project for kids of different ages?
For preschoolers, have them help pour the one-inch soil starter and add brown and green layers while an adult pokes the holes and sprays water lightly, and for older kids let them measure layer thickness, label the bin with today's date, turn the compost weekly with a trowel, and track the four-to-eight week breakdown.
What are some ways to extend or personalize the composting activity after following the steps?
You can personalize the project by decorating and labeling the bin, adding red wiggler worms after the layers are set and dampened to speed decomposition, keeping a weekly turning log with your stick or trowel, and sharing the finished dark crumbly compost on DIY.org.
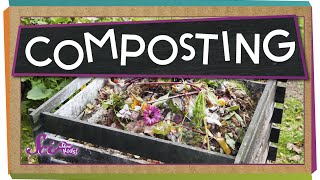
Watch videos on how to make a small compost bin
🗑 Composting for Kids | What is Composting? | Fact Files for Kids | Twinkl USA
4 Videos

🗑 Composting for Kids | What is Composting? | Fact Files for Kids | Twinkl USA
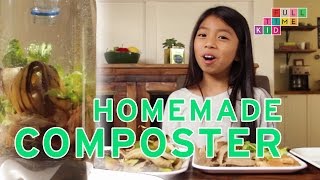
Making a Homemade Composter! | Full-Time Kid | PBS Parents

Composting For Kids| Beary learns how to turn food scraps into organic compost for his garden.
Make the Most of Compost!
Facts about composting and soil health
🍌 Banana peels and fruit scraps can break down in a compost pile within weeks to a few months, depending on conditions.
🐛 Worms are superstar helpers in compost — their castings (poop) are packed with nutrients plants love.
🌡️ A well-managed hot compost pile can reach about 55°C (130°F), which helps kill weed seeds and pathogens.
♻️ Composting keeps kitchen scraps and yard waste out of landfills and turns them into useful soil instead.
🌱 Mixing compost into garden soil improves structure, water retention, and nutrient availability for plants.
How do I make a small compost bin with my child?
What materials do I need to make a kid-friendly compost bin?
What ages are suitable for composting with kids and what tasks can they do?
What are the benefits of composting with children and what safety tips should I follow?
