Make art from found materials
Collect found natural and recycled materials to design a collage or small sculpture, exploring texture, composition, and safe gluing techniques to make eco art.


Step-by-step guide to make art from found materials
Found Object Art - Art and craft for kids - Learn Super Easy Ideas - Art projects for students
Step 1
Gather your collected natural and recycled materials and bring them to your workspace.
Step 2
Clear a table or floor area and place your flat base on it.
Step 3
Sort your materials into piles by texture and color so you can see your choices.
Step 4
Arrange pieces on the base without glue to try different compositions and find a design you like.
Step 5
Ask an adult to help trim or break any pieces that are too big sharp or hard to change.
Step 6
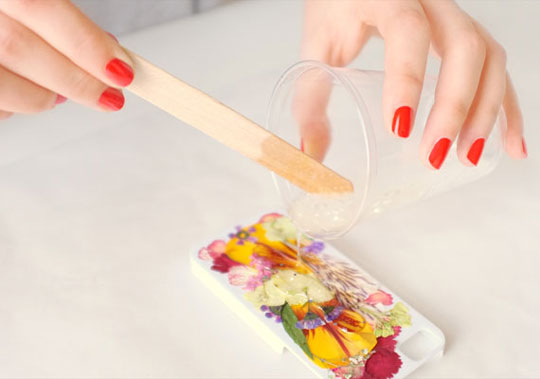
Put a small dab of glue on the base where you want your first piece to go.
Step 7
Place the piece onto the glued spot and press gently for a few seconds to stick it down.
Step 8
Repeat gluing and placing to build layers and interesting textures across your artwork.
Step 9
Use colouring materials to add color highlights or draw details on or around your pieces.
Step 10
Set your artwork somewhere safe and let it dry completely.
Step 11
Tidy up your workspace and put all leftover materials and tools away.
Step 12
Share your finished eco art creation on DIY.org.
Help!?
What can we use instead of a flat base or craft glue if those are hard to find?
If you don't have a flat base use a sturdy cereal-box panel, paper plate, or poster board and swap hot glue for white school glue, glue dots, or double-sided tape when you 'put a small dab of glue on the base'.
Why won't some pieces stick or keep falling off, and how can we fix that?
If heavy or damp natural pieces won't stick, dry them first, trim them smaller with adult help as the instructions say, and use stronger adhesive like tacky craft glue or extra dabs where you 'place the piece onto the glued spot' so they press and hold.
How can I change the activity for a 3‑year‑old, a 7‑year‑old, or a 12‑year‑old?
For a 3‑year‑old use large safe pieces and pre-apply glue dots, for a 7‑year‑old let them sort textures and arrange pieces without glue, and for a 12‑year‑old encourage trimming with adult supervision, layered textures, and detailed color highlights as in the 'Repeat gluing' and 'Use colouring materials' steps.
How can we make the artwork more special or long‑lasting?
To personalize and preserve your piece, add layered textures as you 'build layers and interesting textures', seal natural bits and colouring highlights with Mod Podge or clear varnish, and photograph the finished work to share on DIY.org.
Watch videos on how to make art from found materials
Found Object Art Lesson | Assemblage Art Tutorial
4 Videos
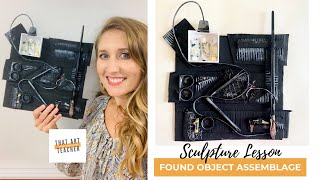
Found Object Art Lesson | Assemblage Art Tutorial
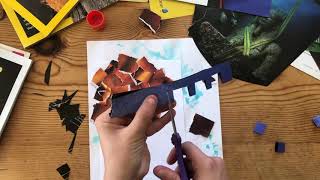
Found Material Collage | Make Art at Home
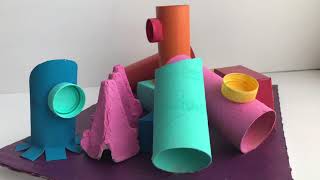
Make a Sculpture Using Recycled Materials - Art with Ms. Natasha - Art for Kids
Found Object Assemblage Art
Facts about eco-friendly art and recycled crafts
♻️ Recycling and upcycling cut waste — recycling one ton of paper can save about 17 mature trees.
🖼️ Collage jumped into fine art when Picasso and Braque began pasting paper and fabric into Cubist works around 1912.
🔎 Marcel Duchamp’s readymades (like Fountain, 1917) helped turn everyday objects into recognized artworks.
🌿 Natural materials in eco-art often change or decompose over time, and many artists design projects that evolve.
🧴 School-grade white (PVA) glue is non-toxic and washable; low-temp glue guns plus adult supervision are safer for kids doing 3D glue work.
How do you make eco art from found natural and recycled materials?
What materials and tools do I need to make a found-material collage or small sculpture?
What ages is making eco art from found materials suitable for?
What safety tips should parents follow when making art from found materials?
