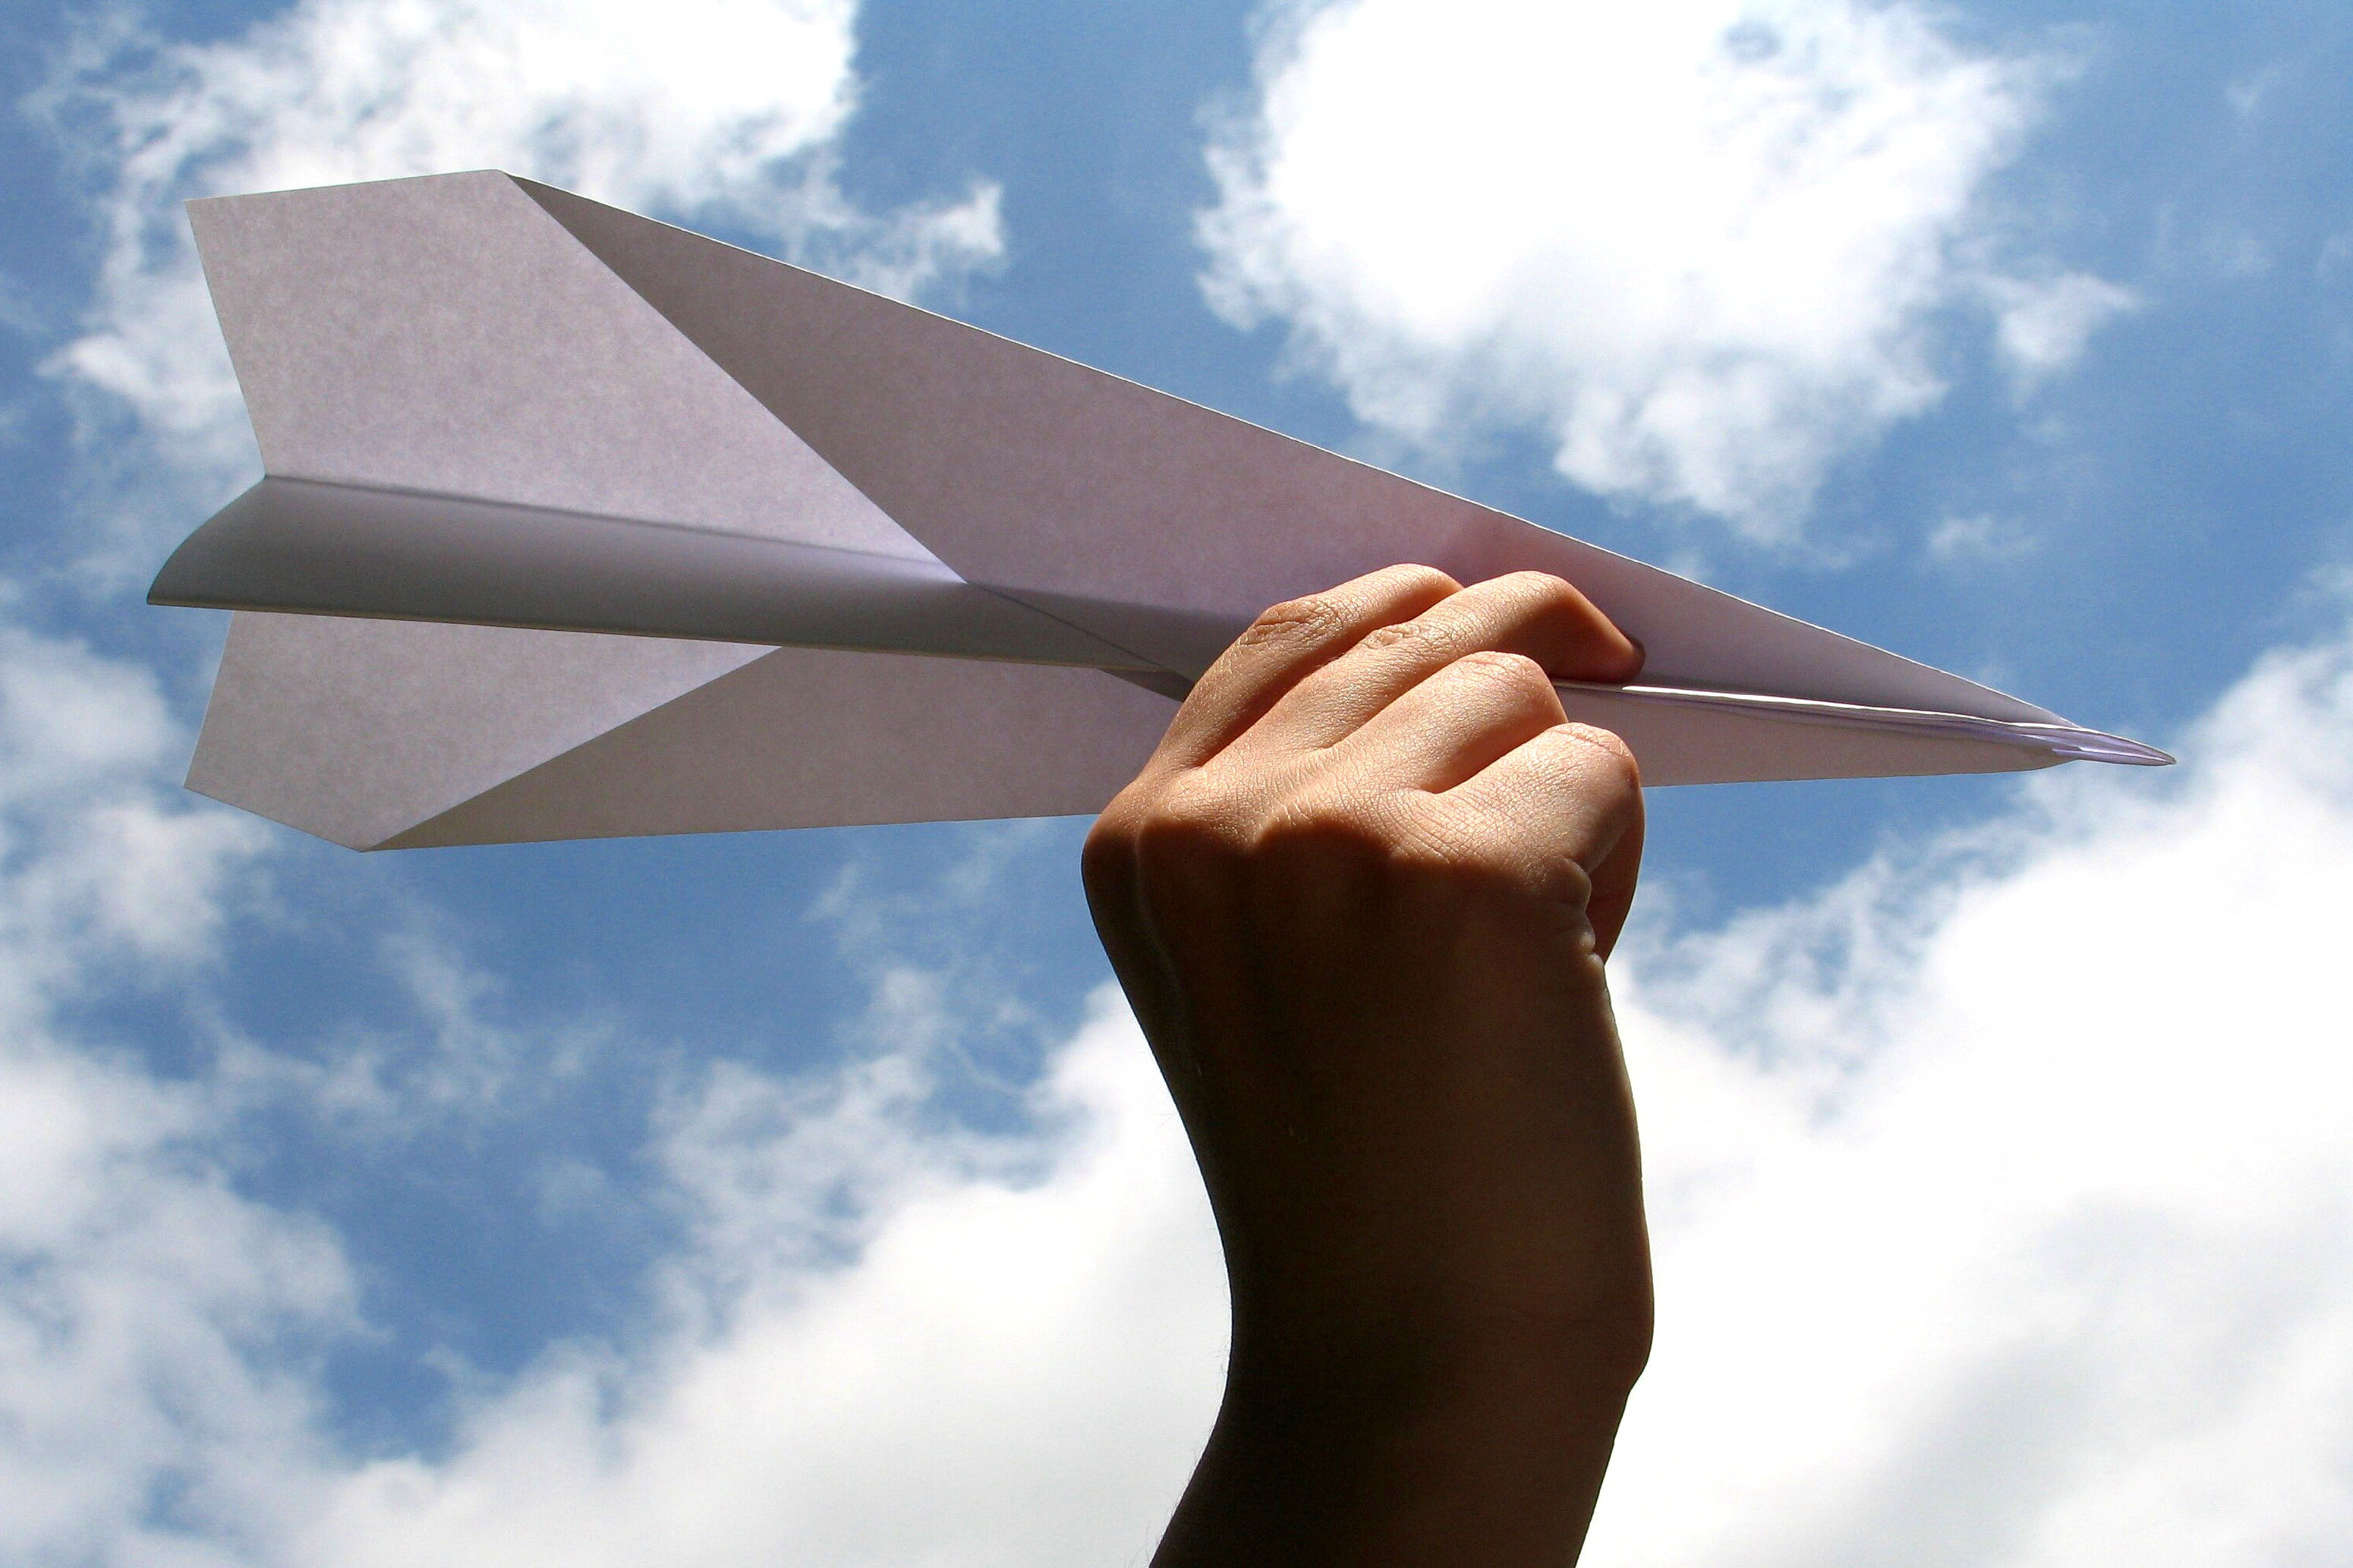
Make and fly a paper airplane
Fold and decorate a paper airplane, test different designs for distance and accuracy, and learn basic aerodynamics through safe hands on experiments.


Step-by-step guide to make and fly a paper airplane
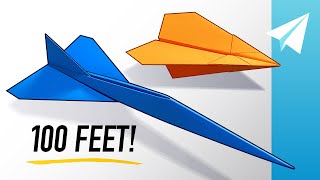
FLIES OVER 100 FEET! How to Make the BEST Easy Paper Airplane in 1 Minute (60 seconds)
Step 1
Gather all your materials and bring them to a table or floor space.
Step 2
Find a clear open area to fly your airplane where nothing can get knocked over.
Step 3
Fold the paper in half lengthwise and press a firm crease down the middle.
Step 4
Fold the top corners toward the center crease and then fold the new top edges toward the center to make a sharp nose.
Step 5
Fold the paper in half toward you along the center crease so the nose is tight.
Step 6
Fold one wing down so its outer edge lines up with the bottom of the body.
Step 7
Fold the other wing down so its outer edge lines up with the bottom of the body.
Step 8
Fold up small winglets on the tips of both wings to help stability.
Step 9
Decorate your airplane with colours and patterns so you can tell different designs apart.
Step 10
Place your target on the ground and mark a clear launch line to stand behind.
Step 11
Throw your airplane gently with the same smooth underhand motion to test its distance and aim at the target.
Step 12
Measure how far it flew with the measuring tape and write the distance and what happened in your notebook.
Step 13
Make one simple change like bending a winglet slightly or adding a small piece of tape to the nose to try a new design.
Step 14
Test the changed airplane by throwing it the same way and measure and note the new distance and accuracy.
Step 15
Share your finished airplane and what you learned about which design flew best on DIY.org.
Help!?
What can we use if we don't have a measuring tape, notebook, or printer paper?
Use a ruler or a smartphone measuring app to measure distance, record results on scrap paper or a notes app instead of a notebook, and make the airplane from printer paper, magazine pages, or the back of old drawings.
My airplane keeps nosediving or spinning — what should I check?
Check that the center crease and nose are firm from steps 3–4, ensure both wing outer edges line up with the bottom of the body in steps 5–6, and try bending the winglets slightly or adding a small piece of tape to the nose to stabilize flight.
How can I adapt this activity for younger or older kids?
For younger kids have an adult pre-fold through step 4 and let them fold wings (steps 5–6) and decorate, while older kids can test different paper types, fine-tune winglet angles, and carefully log measured distances in the notebook for steps 13–14.
How can we extend or personalize the paper airplane activity?
Turn decorating into a design challenge, set multiple targets at different distances, make one simple change like adding tape to the nose or tweaking winglets from step 15, and compare results in your notebook before sharing on DIY.org.
Watch videos on how to make and fly a paper airplane
5 Easy Paper Airplanes that Fly REALLY Far! — How to Make the Easiest Paper Airplanes
4 Videos
5 Easy Paper Airplanes that Fly REALLY Far! — How to Make the Easiest Paper Airplanes
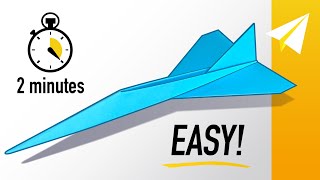
How to Make an Easy Jet Paper Airplane in 2 Minutes — Flies REALLY Far!
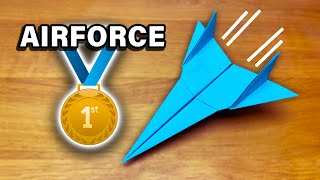
Origami Airforce Paper Airplane | Easy Tutorial!
How to Make a Paper Airplane
Facts about aerodynamics for kids
✈️ The world record for the farthest paper airplane flight is 69.14 m (226 ft 10 in), set in 2012 by Joe Ayoob using a design from John Collins.
🔬 Paper airplanes show lift and drag in action — faster air over the wing lowers pressure and helps lift the plane (Bernoulli's principle).
🧩 Making paper airplanes is a form of origami: different folds change wing shape, center of gravity, and flight behavior.
🧷 Tiny changes like adding a paper clip or bending the tail can dramatically improve stability and accuracy by shifting weight or altering airflow.
🛩️ Design types differ: 'darts' fly fast and straight for accuracy, while 'gliders' have bigger wings to stay aloft longer and travel farther.
How do you fold, decorate, and test a paper airplane to learn aerodynamics?
What materials do I need for paper airplane distance and accuracy experiments?
What ages is making and flying paper airplanes suitable for?
What safety tips and variations can we try with paper airplane experiments?
