Make an underwater house with @LuMo
Build a miniature underwater house with @LuMo using a clear jar, waterproof toys, colored sand, fake plants, and sealed water to explore habitat design.


Step-by-step guide to make an underwater house with @LuMo
Step 1
Gather all materials and put them on a clean table so your workspace is ready.
Step 2
Wash and dry the clear jar and the waterproof toys to make sure everything is clean.
Step 3
Use the funnel or spoon to pour colored sand into the jar to make a colorful base about one to two inches deep.
Step 4
Press small wells or hills into the sand where you want to place plants or little rooms.
Step 5
Push the small fake plants into the wells to anchor them in the sand and create underwater foliage.
Step 6
Place the waterproof toys and tiny house pieces into the sand to build your mini underwater neighborhood with @LuMo.
Step 7
Slowly pour clean water into the jar until it is nearly full while leaving a small air gap at the top to prevent overflow.
Step 8
Screw the lid on tightly and wipe any water from the outside of the jar.
Step 9
Ask an adult to apply waterproof sealant or strong tape around the lid and let it dry so your house stays sealed and leakproof.
Step 10
Share your finished underwater house with @LuMo on DIY.org and tell everyone about your habitat design.
Help!?
What can I use instead of colored sand or small fake plants if I can't find them?
Use aquarium gravel, dyed rice, or craft beads in place of colored sand and small plastic seaweed or cut paper plants instead of fake plants when you pour the base and push plants into wells.
What should I do if water seeps out after I screw the lid on?
Unscrew the lid, dry the rim and threads, re-tighten it, then follow the instructions to have an adult apply waterproof sealant or strong tape around the lid and let it fully cure before filling again.
How can I adapt the activity for different ages?
For younger children have an adult wash the jar and pre-pour the colored sand and anchor the plants so the child can place toys, while older kids can press detailed wells, arrange tiny house pieces, and experiment with layered sand colors.
How can we make the underwater house more special or long-lasting?
Personalize it by adding glow-in-the-dark paint to tiny house pieces, include a small waterproof LED before screwing the lid, and finish by sharing your habitat design with @LuMo on DIY.org as suggested.
Watch videos on how to make an underwater house with @LuMo
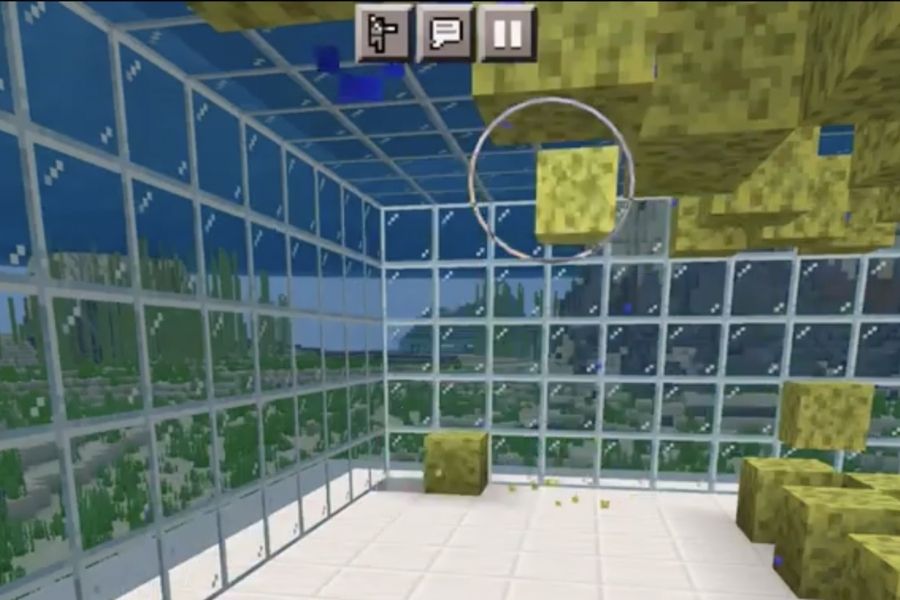
Minecraft House Tutorial: How to Build the Ultimate Underwater Base
4 Videos
Minecraft House Tutorial: How to Build the Ultimate Underwater Base
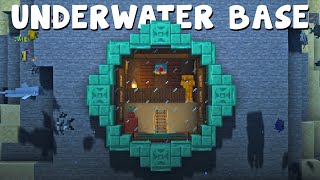
Minecraft - Underwater Base Tutorial (How to Build)
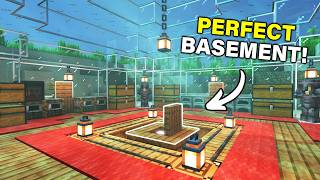
Minecraft Underwater House Build Tutorial 🏡
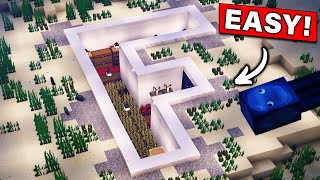
Minecraft Underwater House Tutorial 🏠 #minecraft
Facts about aquatic habitat design for kids
🐠 Bottle dioramas and jar aquariums have been made for centuries as tiny, contained worlds to explore.
🌊 Freshwater jar projects are easier for kids than saltwater ones because ocean chemistry is more complicated.
🪴 Live aquatic plants produce oxygen during the day, helping keep small sealed habitats healthy.
🧴 Use only waterproof, non-toxic toys and seal lids tightly — some plastics and glues can contaminate water.
🏠 Building an underwater house is a form of diorama-making—miniatures plus sand, plants, and creativity!
How do I make an underwater house with @LuMo?
What materials do I need to make an underwater house with @LuMo?
What ages is the underwater jar house activity suitable for?
What are the benefits and safety tips for the underwater house activity?
