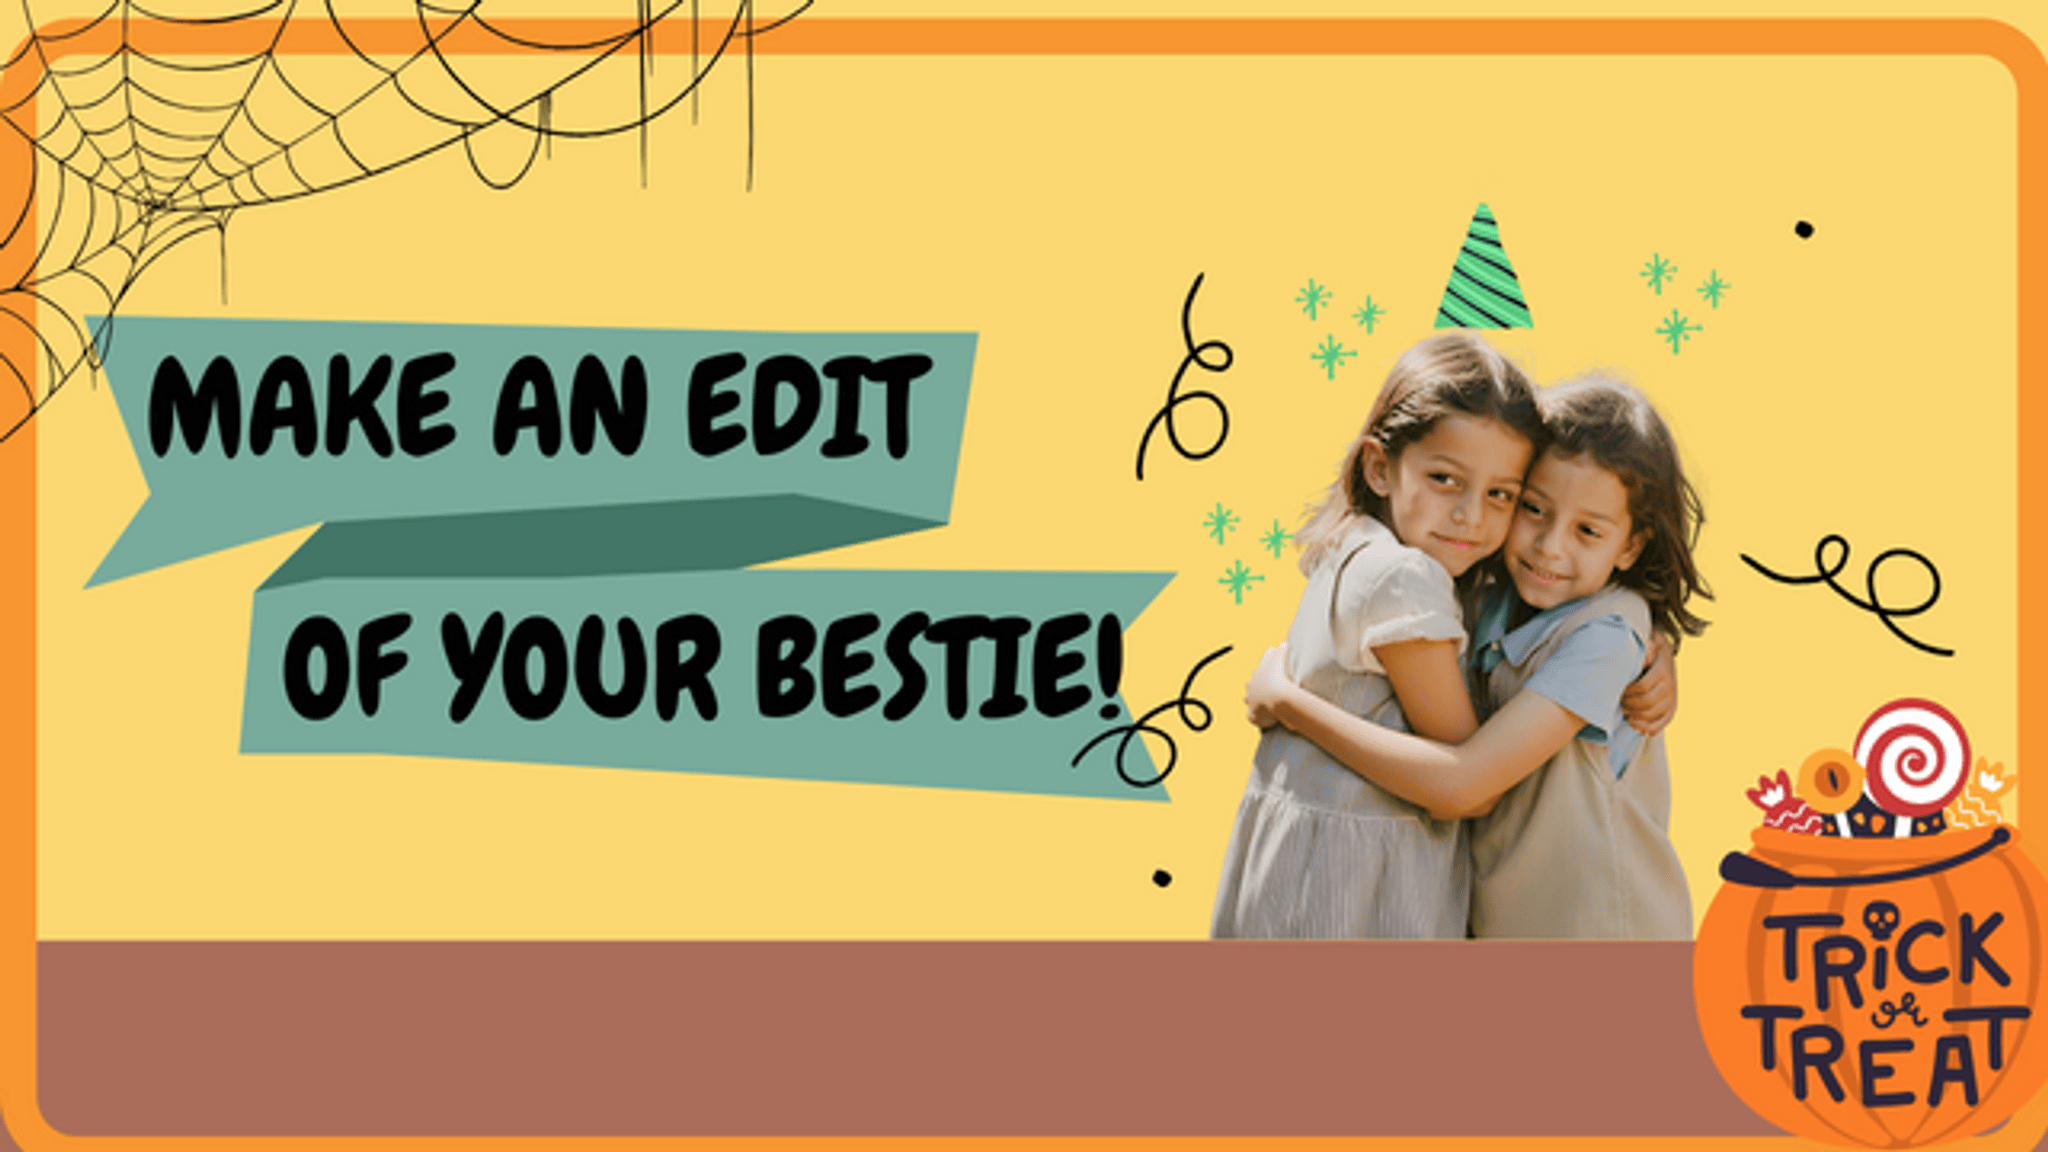
Make An Edit Of Your Bestie #DTIYS
Create a playful portrait edit of your best friend using drawing, collage, and safe craft supplies, and always ask permission before using any photos.

Drawing Apps
Step-by-step guide to make an edit of your bestie (DTIYS)
PHOTO EDITING FOR BEGINNERS - 9 Simple Steps to Improve Your Photos
Step 1
Ask your best friend or their parent for permission to use their photo and to post the finished portrait.
Step 2
Choose one clear photo of your bestie that shows their face.
Step 3
Gather the materials listed and bring them to your workspace.
Step 4
Smooth your drawing paper flat on the table.
Step 5
Place the photo in the center of the drawing paper.
Step 6
Lightly trace the photo's outline with a pencil to make a guide for your edits.
Step 7
Cut shapes from magazines or patterned paper for fun costumes props and background pieces.
Step 8
Arrange the cut shapes around and on top of the photo until you like the look without gluing.
Step 9
Glue the chosen collage pieces onto the paper and smooth them flat.
Step 10
Use coloring materials to draw playful details like bright hair funky glasses or a silly hat.
Step 11
Add stickers or small embellishments for extra sparkle.
Step 12
Write your name and the date on your portrait.
Step 13
Share your finished creation on DIY.org with your bestie's permission.
Help!?
What can I use if I don't have magazines or patterned paper to cut shapes from?
Use scraps of colored construction paper, old greeting cards, wrapping paper, or printed patterns from a home printer as substitutes for the 'Cut shapes from magazines or patterned paper' step.
My collage pieces keep shifting or the glue makes the photo wrinkle; how can I fix that?
When you 'Arrange the cut shapes around and on top of the photo without gluing,' test placement with a repositionable glue stick, then use an even layer of white craft glue and smooth each piece with a ruler or the back of a spoon to prevent wrinkling and shifting.
How can I adapt this activity for younger kids or older kids?
For younger kids, pre-cut shapes and help with the 'Lightly trace the photo's outline' and gluing steps on larger paper, while older kids can add finer 'coloring materials' details, mixed-media fabrics, or edit the photo digitally before printing for more complex edits.
What are some fun ways to personalize or extend the finished portrait before sharing it on DIY.org?
Personalize the portrait by adding a fabric collar, glitter glue highlights, a hand-written friendship note on the back, or create a short time-lapse video of the 'Glue the chosen collage pieces' and drawing steps to share with the DIY.org post.
Watch videos on how to make an edit of your bestie (DTIYS)
BEST Canva Photo Editing Tips and Tricks
3 Videos
BEST Canva Photo Editing Tips and Tricks
90% of Photo Editing Basics in Just 15 Minutes
Top 5 Photoshop Tricks to Instantly Improve Any Photo!
Facts about photo editing and collage crafts for kids
🎨 Portraits have been made for over 5,000 years — ancient Egyptians created painted faces to remember people.
✂️ The word "collage" comes from the French "coller" meaning "to glue" — collage became a major art technique in the early 20th century.
🖼️ Mixed-media artists often combine paper, paint, fabric, and photos so a single piece can have many surprising textures.
🔒 Always ask permission before using someone’s photo — it’s respectful, and many platforms expect consent before sharing images.
🤳 A few simple edits like changing brightness, contrast, or adding colorful doodles can totally transform a portrait’s vibe.
How do I make an edit of my bestie for a #DTIYS?
What materials do I need to make an edit of my bestie #DTIYS?
What ages is the Make An Edit Of Your Bestie #DTIYS activity suitable for?
What are the benefits and safety tips for Make An Edit Of Your Bestie #DTIYS?
