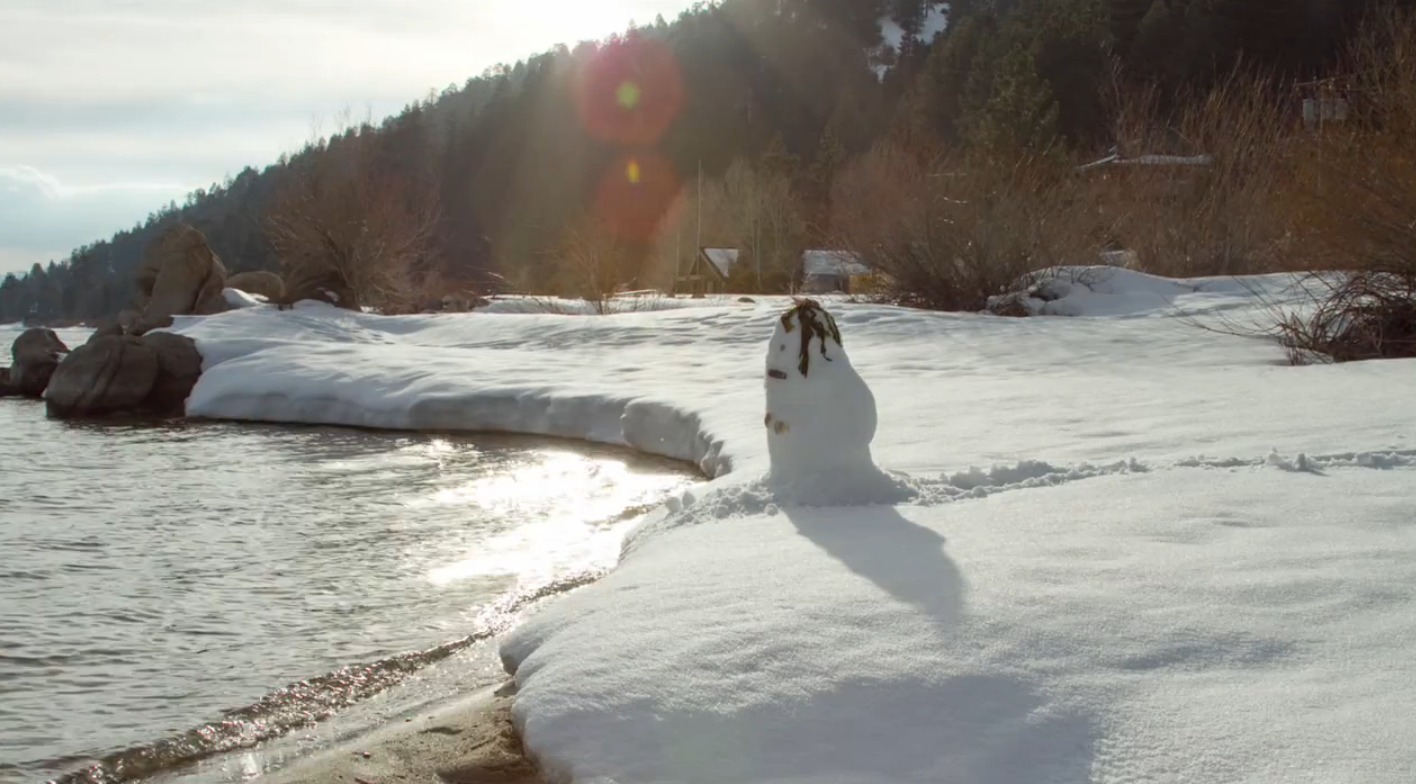
Make an animation outdoors
Make a stop-motion animation outdoors using a smartphone or camera, natural props, and simple frame-by-frame movements to tell a short story.


Step-by-step guide to make a stop-motion animation outdoors
How To Create Kids Animation Learning Videos Using CANVA For Beginners (FULL TUTORIAL)
Step 1
Think of a very short story in one sentence about your outdoor characters or object.
Step 2
Draw a simple 3-panel storyboard in your notebook showing the beginning middle and end.
Step 3
Choose a flat outdoor spot with steady light to set up your scene.
Step 4
Gather small natural props you will use for characters and scenery.
Step 5
Put the small flat board or large rock down to be your stop-motion stage.
Step 6
Arrange the starting scene on the board using your natural props.
Step 7
Use small bits of modeling clay or playdough to anchor characters so they stand steady.
Step 8
Place your smartphone or camera on a stable surface or rock so the lens points at the whole board.
Step 9
Set the camera to photo mode and turn on a timer or use a remote shutter if you have one.
Step 10
Take the first photo of your starting scene.
Step 11
Move one prop a tiny bit following your storyboard then take another photo and repeat this move-and-photo cycle until your story is finished.
Step 12
Use a stop-motion app or simple video editor to turn your photos into a short video at about 6–10 frames per second and save the video.
Step 13
Share your finished stop-motion animation on DIY.org
Final steps
You're almost there! Complete all the steps, bring your creation to life, post it, and conquer the challenge!


Help!?
What can we use instead of a small flat board, modeling clay, or a remote shutter if we can't find them?
Use a sturdy piece of cardboard or a shoebox lid as the stop-motion stage, rolled tin foil or a pebble stack to anchor characters instead of modeling clay, and your phone's self-timer or Bluetooth earbuds as a remote shutter.
My camera moves and my characters topple during the shoot—what should I check and fix?
Make sure your smartphone is placed on a stable surface or rock as in step 7, reinforce characters with extra modeling clay or thicker playdough per step 6, and use the timer or remote so you avoid touching the camera during the move-and-photo cycle.
How can I adapt the activity for different ages?
For preschoolers keep the story to one sentence and do three big moves with adult help anchoring clay, for early elementary have them draw the 3-panel storyboard and move props themselves, and for older kids do finer frame-by-frame moves at 6–10 fps and edit in a stop-motion app before sharing on DIY.org.
How can we make the final stop-motion more creative or polished?
Attach a paper backdrop behind the board, decorate or label natural props for character detail, record voices or outdoor sounds to add in a stop-motion app, and increase frames per second slightly for smoother motion before saving and sharing the video on DIY.org.
Watch videos on how to make a stop-motion animation outdoors
🎬 How to Create a 3D Animated Video for Kids Using Just ONE App! (No Watermark!) 🎨✨
Facts about stop-motion animation for kids
⏱️ Shooting around 12 frames per second often looks smooth while cutting the number of photos compared to 24 fps.
🎬 Famous stop-motion films include The Nightmare Before Christmas and Coraline — big stories made from tiny moves!
📱 Many smartphones can shoot burst photos or time-lapse, which makes capturing frame-by-frame shots super easy.
🎥 Stop-motion has been used since the early 1900s to create magical special effects in films.
🍃 Using natural props like leaves, stones, and twigs makes your set eco-friendly and one-of-a-kind.
How do I make a stop-motion animation outdoors with my smartphone?
What materials do I need to make an outdoor stop-motion animation?
What ages is outdoor stop-motion animation suitable for?
What safety tips should I follow when making stop-motion outdoors?


Make things. Learn new skills. Share safely.
DIY is a creative community where kids draw, build, explore ideas, and share.
No credit card required


