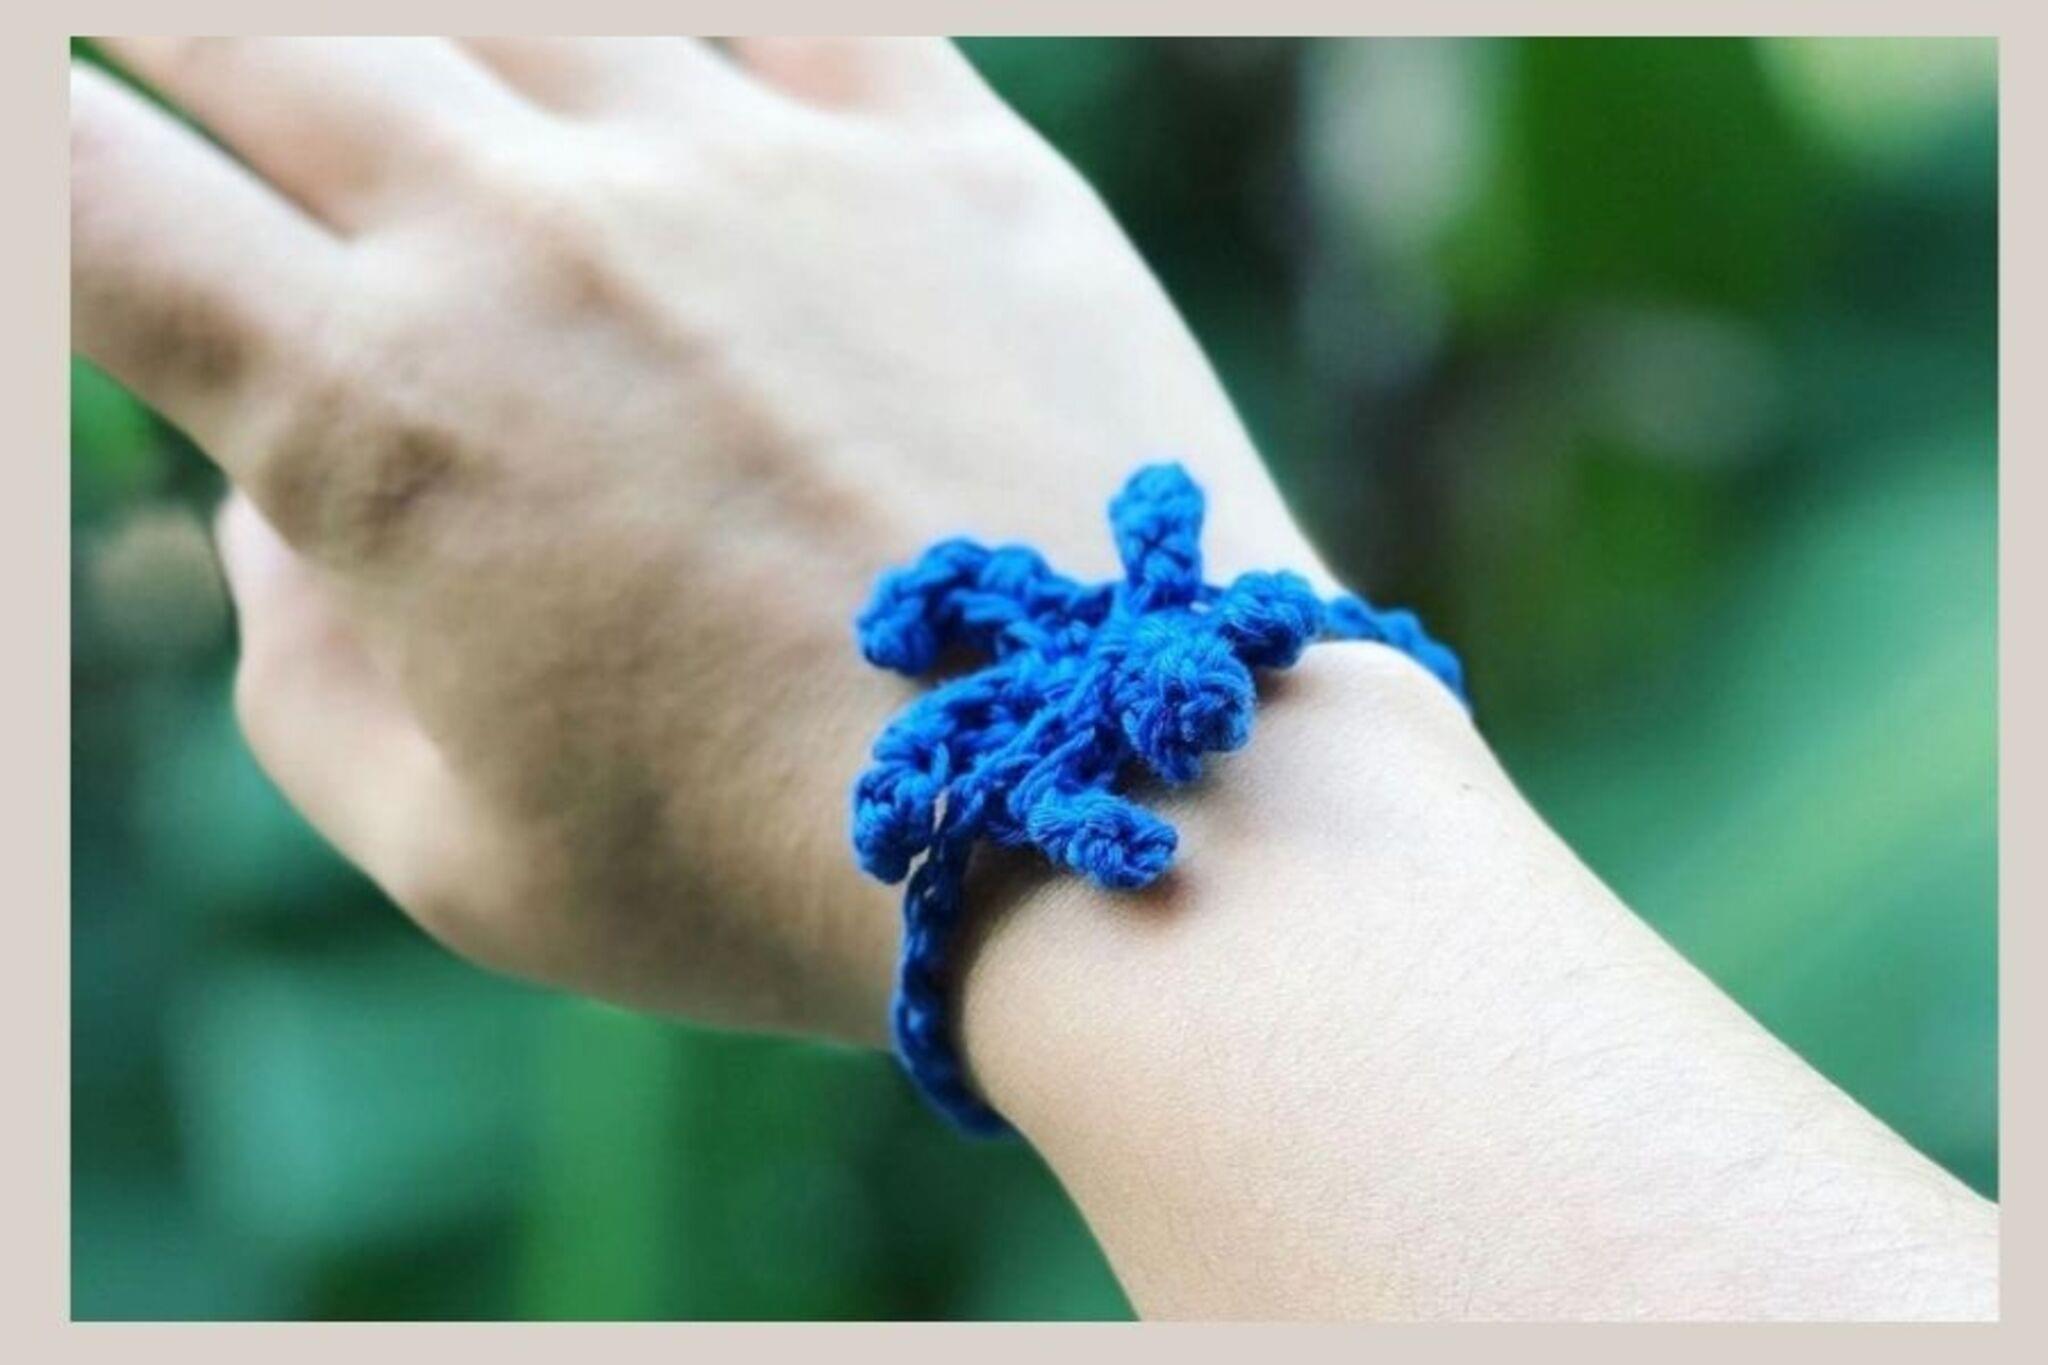
Make a Yarn Bracelet
Make a colorful braided yarn bracelet with beads using simple knots, measuring, and pattern design to practice fine motor skills and creativity.


Step-by-step guide to make a yarn bracelet
How To Make Your Own Yarn Bracelet
Step 1
Measure your wrist with the ruler or tape measure and add 15 cm (6 in) to get the right yarn length.
Step 2
Cut three equal lengths of yarn using the measurement you just made.
Step 3
Hold the three yarn strands together and tie a single knot near one end leaving a small loop about 2 cm long.
Step 4
Tape the knotted loop to the table or clip it to a clipboard so the strands stay steady.
Step 5
Lay out your beads in a line to plan a colorful pattern you like.
Step 6
Slide beads onto the yarn strands where you want them in your planned pattern.
Step 7
Separate the yarn into three strands and start a basic braid by crossing the right strand over the middle.
Step 8
Continue braiding tightly until you are about 2 cm from the ends of the yarn.
Step 9
Tie a firm knot at the end of the braid to hold the beads and braid in place.
Step 10
Trim the extra yarn tails with scissors leaving a small tail to tuck or hide.
Step 11
Use the loop at the start and the end knot to fasten the bracelet on your wrist to check the fit.
Step 12
Share a photo of your finished yarn bracelet and tell the story of your pattern on DIY.org
Help!?
What can I use if I don't have yarn, beads, or tape/clipboard?
If you don't have yarn, use embroidery floss, thin ribbon, or a shoelace; swap beads for large buttons or pasta tubes that slide onto strands, and substitute the tape/clipboard in step 4 by wedging the knotted loop under a heavy book or pinning it to a cushion.
My braid keeps coming undone or the beads slide off — what should I do?
If the braid loosens while adding beads, secure the knotted loop with stronger tape or a clipboard (step 4), keep steady tension by pinching the braid as you cross strands in step 6, and tie a very firm end knot (step 8) with a drop of clear glue before trimming in step 9.
How can I adapt this activity for younger or older kids?
For younger children, pre-measure and pre-cut the three yarn lengths (steps 1–2), use large beads and safety scissors and provide adult help for knotting (steps 3 and 8), while older kids can add more strands and try more complex braids or smaller glass beads independently.
How can we personalize or make the bracelet more advanced?
To personalize, plan a name or color pattern with letter and colored beads in step 5 and slide them on during step 6, add a charm after tying the end knot in step 8, or braid two bracelets together and tuck the tails as in step 9 to create a thicker cuff.
Watch videos on how to make a yarn bracelet
How To Make Bracelet With Beads
4 Videos
How To Make Bracelet With Beads
How To Make An Impressive String Bracelet

How To Make Your Own Bracelet Using Crochet
How to Make Perler Bead Bracelets
Facts about yarn crafts for kids
🧶 Yarn comes in lots of materials like cotton, wool, and acrylic—each makes your bracelet feel different!
🪢 Macramé is a knotting craft—many braided bracelets use the same simple knot techniques.
📿 Beads have decorated people for tens of thousands of years—ancient beads have been found around the world!
🎨 Making color patterns (like repeating stripes or chevrons) is a fun way to practice planning and memory.
✋ Braiding, knotting, and threading beads are great for building fine motor skills and hand-eye coordination.
How do I make a yarn bracelet with beads step by step?
What materials do I need to make a braided yarn bracelet with beads?
What ages is making a yarn bracelet suitable for?
What are the benefits and safety tips for yarn bracelet making?
