Make a wind powered walker
Build a small wind powered walker using cardboard, straws, skewers, wheels, and a sail; test and adjust it outside to learn about wind energy.


Step-by-step guide to make a wind-powered walker
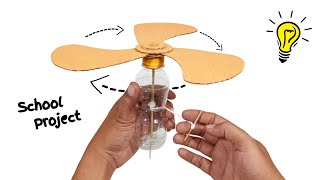
Amazing WIND POWER GENERATOR Project Model for School Science
Step 1
Cut a rectangle of cardboard about 12 cm by 6 cm to make the walker body.
Step 2
Use the ruler and pencil to mark one spot near each long end about 1 cm from the edge for the axles.
Step 3
Cut two straw pieces the same width as the cardboard base.
Step 4
Tape the two straw pieces to the underside of the cardboard over your marks so they run side to side.
Step 5
Push a wooden skewer through each straw tube until the skewer is centered and both ends stick out.
Step 6
Trim the skewer ends so about 1 cm of skewer sticks out past each straw for the wheels.
Step 7
Slide a wheel onto each skewer end so the wheel sits snug against the skewer.
Step 8
Secure each wheel in place with a tiny roll of tape or a small dab of modelling clay on the skewer tip.
Step 9
Cut a rectangle of paper about 8 cm by 6 cm to make the sail.
Step 10
Tape one short edge of the paper sail to a straight straw to make a mast with the sail hanging free.
Step 11
Tape the straw mast upright to the top center of the cardboard body so the sail can catch the wind.
Step 12
Take your walker outside and place it on a flat surface with the sail facing into the wind.
Step 13
Adjust the sail angle by tilting the mast slightly to help the wind push the walker more smoothly.
Step 14
Share a photo and description of your finished wind powered walker on DIY.org
Help!?
What can we use if we don't have wooden skewers, plastic straws, or modeling clay listed in the instructions?
If you lack wooden skewers (step: push a wooden skewer through each straw) use straightened bamboo chopsticks or sturdy wire, replace the straw axle tubes (step: Tape the two straw pieces to the underside) with rolled cardboard or cut sections of a thicker drinking straw, and swap modeling clay (step: Secure each wheel) for a tiny roll of tape or a dab of hot glue.
My wind walker won't roll smoothly—what should I check and fix from the steps?
If the walker sticks, check that the two straw pieces taped to the underside (step: Tape the two straw pieces) are parallel and centered over the axle marks, make sure each skewer is centered and trimmed so about 1 cm sticks out (step: Trim the skewer ends), and add small paper washers or loosen the tape holding the straws so the wheels can turn freely after you slide them on (step: Slide a wheel onto each skewer end).
How can I adapt this activity for different ages using the materials and steps provided?
For preschoolers, have an adult pre-cut the cardboard and straws and pre-thread the skewers (steps: Cut a rectangle... Tape... Push a wooden skewer), while older kids can redesign the sail size and shape (step: Cut a rectangle of paper about 8 cm by 6 cm to make the sail), experiment with bottle-cap wheels, and test different mast positions (step: Tape the straw mast upright).
What are simple ways to improve performance or personalize the wind powered walker after finishing the instructions?
To boost performance or personalize the finished walker, try a larger or stiffer paper sail and change the mast tilt (steps: Cut a rectangle of paper... Tape the straw mast; Adjust the sail angle), swap in smooth bottle-cap wheels or add tiny washers at the skewer tips (step: Secure each wheel), and decorate the cardboard body before sharing a photo on DIY.org.
Watch videos on how to make a wind-powered walker
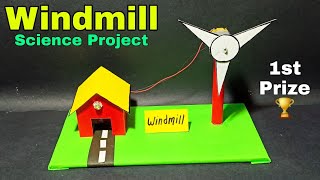
How To Make Windmill For School Project | Easy DIY Windmill Working Model Using Cardboard
4 Videos
How To Make Windmill For School Project | Easy DIY Windmill Working Model Using Cardboard
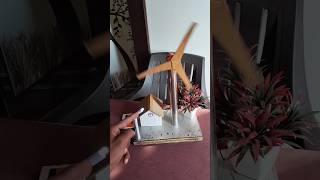
Mini Wind Energy Project 🌬️ | DIY Windmill Model for School Science Fair
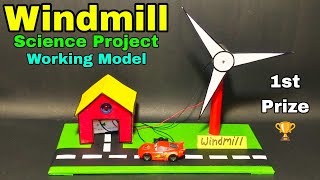
How to make windmill for school project | Windmill science project
How to make wind turbine science project | Windmill science project | science project | windmill
Facts about wind energy
🌀 A single modern wind turbine can produce enough electricity to power hundreds of homes.
🐾 Theo Jansen builds wind-powered 'Strandbeests' that walk using clever linked legs — no motors needed!
🧩 Turning wind into walking motion uses simple machines like levers and linkages — that's physics you can build.
♻️ Cardboard is lightweight, easy to cut, and recyclable — perfect for prototyping eco-friendly walkers.
🌬️ Wind speed changes performance: gentle breezes make slow steps, gusts can send tiny walkers sprinting — test outdoors!
How do you build a wind-powered walker for kids?
What materials do I need to make a wind-powered walker?
What ages is a wind-powered walker suitable for?
What are the benefits of making a wind-powered walker?
