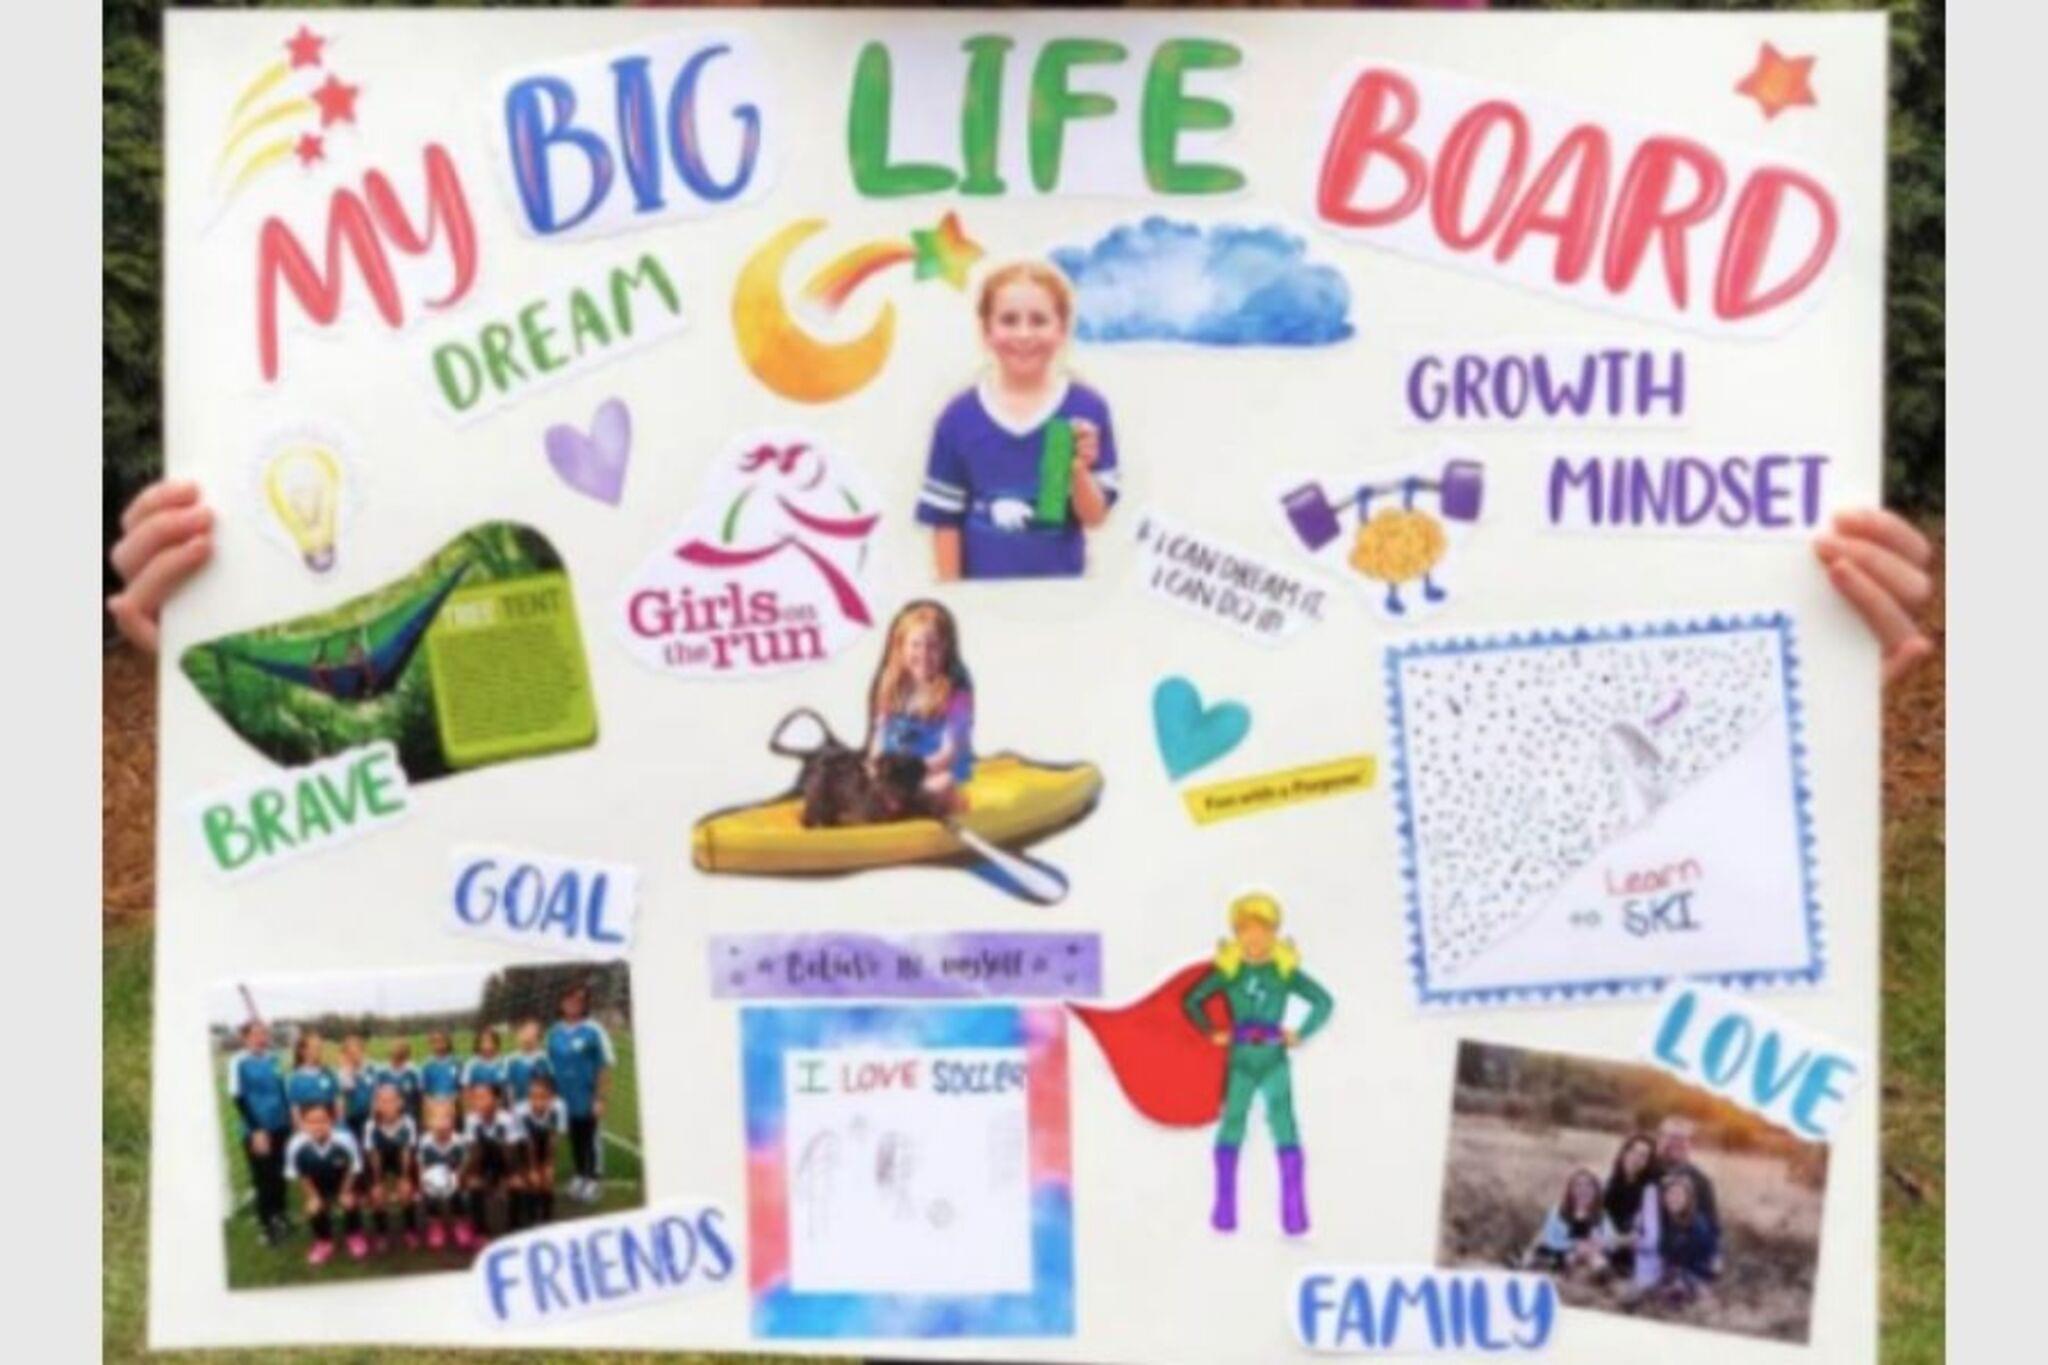
Make a Vision Board
Create a personal vision board by cutting pictures, drawing goals, and arranging images and words on poster board to visualize dreams and plans.


Step-by-step guide to make a vision board
How to make a Vision Board [VISION BOARD FOR KIDS]
Step 1
Gather all materials and put them on a clean table so you can reach everything easily.
Step 2
Sit quietly and choose five dreams or goals you want to see on your vision board.
Step 3
Write each goal on a small scrap of paper using a marker so the words are bold and clear.
Step 4
Flip through magazines or printed pictures and cut out images and words that match your goals.
Step 5
Lay your poster board flat and arrange the cut pictures and goal scraps on it without gluing to test different layouts.
Step 6
Trim any pictures or scraps that are too big so they fit nicely on the poster board.
Step 7
Glue down the largest pictures first to create a strong background for your board.
Step 8
Glue the smaller pictures and the goal scraps in the spots you planned.
Step 9
Use markers to write short labels or positive affirmations next to each picture.
Step 10
Create a big title at the top of your board like My Vision or Dream Big using bright letters.
Step 11
Add stickers or colored paper borders to decorate and make your board feel joyful.
Step 12
Look over your vision board and make one small change if something does not feel right.
Step 13
Share your finished vision board on DIY.org
Help!?
What can I use if I don't have poster board, magazines, or a glue stick?
Use a flat piece of cardboard (like a cereal box) in place of the poster board, print or hand-draw pictures from the internet or your phone instead of magazines, and substitute double-sided tape or a glue stick alternative when you reach the 'Glue down the largest pictures first' step.
What should I do if pictures won't stay in place or the layout looks messy when I try to glue them?
Follow the instruction to 'Lay your poster board flat and arrange the cut pictures and goal scraps on it without gluing' to test layouts, trim oversized pieces as in step five, then glue down the largest pictures first and press them under a heavy book until dry to keep everything flat and secure.
How can I adapt the activity for younger or older children?
For preschoolers, reduce to three simple goals, have an adult pre-cut images before 'Flip through magazines', and use stickers for 'Add stickers or colored paper borders', while older kids can choose five detailed goals, write short action steps next to each picture with markers, and create a bold title as in step ten.
How can we make the vision board more personal or useful after it's finished?
After you 'Glue the smaller pictures and the goal scraps', add a small paper pocket or envelope to the board to hold progress notes or replacement goal scraps so the board can be updated as dreams change.
Watch videos on how to make a vision board
A Vision Board for Kids
4 Videos
A Vision Board for Kids
Day 1 of 7: Goal Setting Vision Board - August Kid's Activities Challenge "Back-to-School Grooves"

Vision Board 101: Step-by-Step Vision Board Tutorial to manifest your dream life ✨
Let's Create a Vision Board That Transforms Your Life | Step-by-Step Guide
Facts about vision boards and goal setting
🎯 Making a visual goal (like a vision board) helps turn vague wishes into clear, memorable targets you can work toward.
🧠 Mental imagery activates many of the same brain areas as actually doing a task, so imagining success can strengthen skills.
🎨 The modern collage technique was popularized by Pablo Picasso and Georges Braque around 1912.
✂️ Cutting, gluing, and arranging pictures on a board builds fine motor skills and planning ability in kids.
🌟 Many top athletes and performers use visualization or mental rehearsal as part of their training routine.
How do I make a vision board with my child?
What materials do I need for a kid-friendly vision board?
What ages is making a vision board suitable for?
What are the benefits of kids making vision boards?
