Make A Unique Bookmark
Design and create a unique bookmark using cardstock, ribbon, and decorations while practicing measuring, cutting, and personalizing to protect and mark favorite pages.


Step-by-step guide to make a unique bookmark
How To Make Your Own Bookmark
Step 1
Gather all Materials Needed and put them on a clear workspace.
Step 2
Decide how tall and wide you want your bookmark.
Step 3
Use the ruler and pencil to draw a rectangle of that size on the cardstock.
Step 4
Cut out the rectangle carefully with the scissors.
Step 5
Round the corners of the rectangle by trimming each corner with the scissors.
Step 6
Use coloring materials to create a background design on one side of the bookmark.
Step 7
Stick decorations like stickers or sequins onto the bookmark using the glue stick or clear tape.
Step 8
Use the hole punch to make one hole near the top center of the bookmark.
Step 9
Cut a piece of ribbon about 15 centimeters long.
Step 10
Thread the ribbon through the hole in the bookmark.
Step 11
Tie a knot or bow in the ribbon to secure it.
Step 12
Share your finished bookmark on DIY.org
Help!?
I don't have cardstock or a hole punch—what can I use instead?
Use a cleaned cereal-box or layered construction paper for the rectangle instead of cardstock and make the hole near the top center by carefully pushing a sharpened pencil or folded paperclip through before threading the ribbon.
My corners keep ripping and the ribbon tears the hole when I thread it—how can I fix that?
Make smaller, shallower snips when rounding each corner with the scissors and reinforce the punched hole with a small square of clear tape or a glued sticker before threading the 15-centimeter ribbon.
How can I adapt this bookmark activity for different ages?
For younger kids have an adult pre-measure and cut the cardstock rectangle and let them use stickers and crayons, while older kids can use the ruler and pencil to draw exact sizes, add sequins with glue, and tie decorative knots in the ribbon.
How can we extend or personalize the finished bookmark beyond the basic steps?
Personalize and preserve the design by adding initials with markers, layering patterned paper using the glue stick, covering with clear tape or laminating, and swapping the ribbon for a tassel or beaded string before sharing on DIY.org.
Watch videos on how to make a unique bookmark
How to Draw a Bookmark Easy | Cute Back to School Supplies
4 Videos
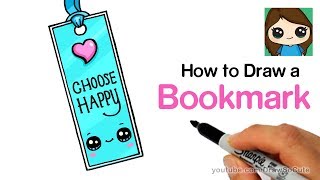
How to Draw a Bookmark Easy | Cute Back to School Supplies

How to Make a Bookmark Cute and Easy - DIY Cute Paper Craft
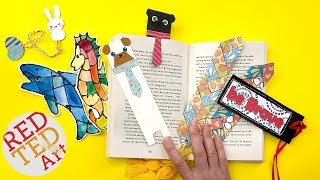
5 Creative Bookmark IDEAS - BEST OF Bookmark DIYs - DIY School Supplies
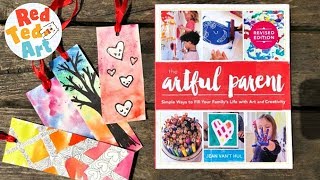
Easy Watercolor Bookmarks with the Artful Parent - DIY Homemade Bookmarks
Facts about paper crafts for kids
📚 Bookmarks have been used for centuries—readers in medieval times used slips of parchment or cords to save their page.
📏 A standard US letter sheet is 8.5 × 11 inches (21.6 × 27.9 cm), so measuring helps you plan bookmark size and placement.
✂️ The modern pivoting scissors design dates back to ancient Rome (around the 1st century AD) — cutting tools have a long history!
🎀 Ribbons come in many materials like satin, grosgrain, and organza, and each material changes how your bookmark looks and feels.
🌈 Bright colors or a unique tassel make a bookmark easier to spot — a handy trick librarians and students use all the time.
How do I make a unique bookmark with my child?
What materials do I need to make a unique bookmark?
What ages is this bookmark activity suitable for?
What are the benefits of making personalized bookmarks with kids?
