Make a Travel Postcard & Win a Bluetooth Beanie
Make a travel postcard using paper, markers, and photos, write a short message, and submit it for a chance to win a Bluetooth beanie.


Step-by-step guide to make a travel postcard and enter to win a Bluetooth beanie
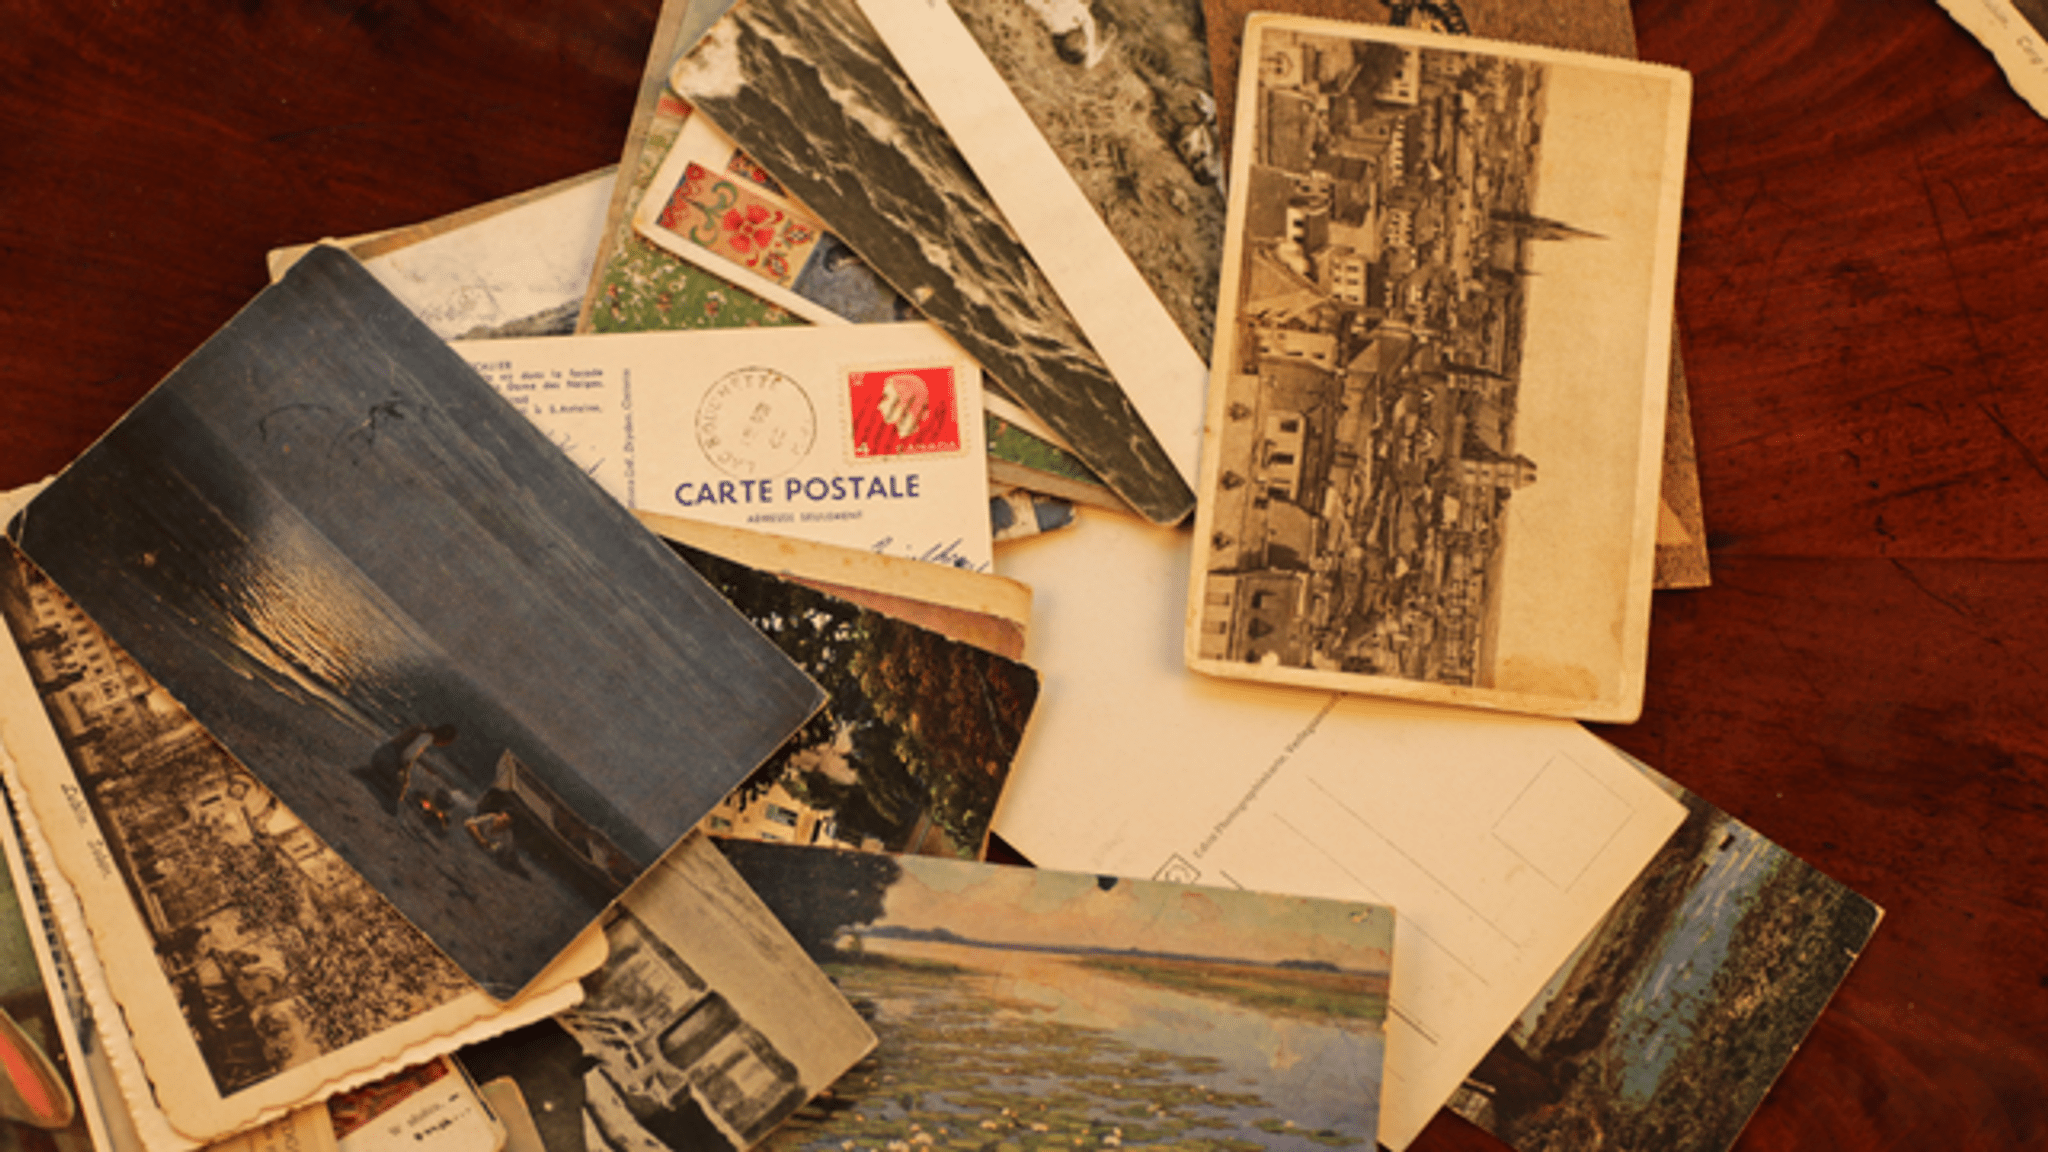
Travel Around the World by means of Postcards
Step 1
Pick a travel place you like and choose one or two photos that show that place.
Step 2
Measure and cut your paper to postcard size using the ruler and scissors.
Step 3
Lay your photos and decorations on the front of the postcard to see how they look.
Step 4
Draw a fun border or title on the front with markers.
Step 5
Glue the photos and decorations onto the front of the postcard.
Step 6
Wait five minutes for the glue to dry completely.
Step 7
Flip the postcard and write a short greeting and one or two sentences about your trip.
Step 8
Write the recipient address lines and draw a small square for a stamp on the back.
Step 9
Take a clear photo or scan of your finished postcard for uploading.
Step 10
Share your finished postcard on DIY.org for a chance to win a Bluetooth beanie.
Help!?
What can I use if I don’t have printed photos or thick postcard paper?
If you don't have printed photos, use magazine cutouts or hand-drawn pictures, and if you lack thick postcard paper, cut and fold a cereal box to the postcard size using your ruler and scissors before decorating.
What should I do if the photos keep sliding or the glue wrinkles the paper?
Spread a thin layer of glue, press the photos flat with a clean scrap of paper and a light weight, then wait the five minutes for the glue to dry completely or use double-sided tape to avoid moisture wrinkles.
How can I adapt the steps for younger children or older kids?
For younger kids, pre-measure and cut the postcard size and let them glue photos and draw a simple border and one-word greeting, while older kids can measure with the ruler and scissors, write a longer trip description, and take the photo/scan for uploading themselves.
How can I personalize or improve my postcard before I upload it to DIY.org to make it stand out?
Add a watercolor or colored-paper background before gluing photos, use markers to draw a bold title on the front, glue small 3D decorations and press to dry for five minutes, then include a fun travel fact in the back message and take a clear photo/scan for uploading.
Watch videos on how to make a travel postcard and enter to win a Bluetooth beanie
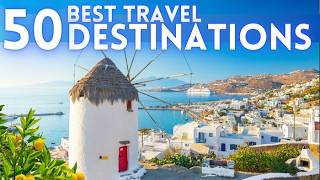
Top Travel Destinations for 2025: Your Ultimate Guide! Includes must-see places in each destination
3 Videos

Top Travel Destinations for 2025: Your Ultimate Guide! Includes must-see places in each destination
Best Travel Destinations in the World (2025) 🌟 | Ultimate 4K Bucket List!

TOP 50 WORLD BEST PLACES TO VISIT - BEST TRAVEL DESTINATIONS
Facts about paper crafts for kids
📮 The first commercial postcard was issued in Austria in 1869 — postcards quickly became the speedy way to send a short hello!
🌍 Early travel photographers lugged heavy cameras and glass plates, so each travel photo was a real adventure to take.
✂️ Collage was popularized by Pablo Picasso and Georges Braque around 1912, mixing paper, photos, and paint—just like making a postcard!
🎧 Bluetooth is named after a 10th-century Danish king, Harald Bluetooth, who united tribes—now the name unites devices wirelessly.
🧢 Bluetooth beanies combine cozy knit hats with tiny speakers so you can listen to music while your ears stay warm.
How do I make and submit a travel postcard to enter the Bluetooth beanie contest?
What materials do I need to make a travel postcard for the contest?
What ages is the travel postcard activity and contest suitable for?
What are the benefits of making a travel postcard and entering the contest?
