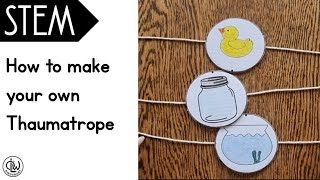
Make a Thaumatrope
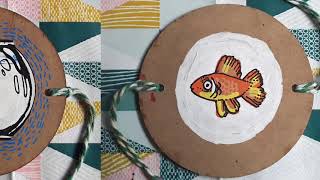
Make a thaumatrope by drawing matching images on cardboard discs, attach with string or a stick, spin it to explore persistence of vision.


Step-by-step guide to make a thaumatrope
Step 1
Gather all the materials on a clear table so you are ready to start.
Step 2
Place a round object on the cardboard and trace two equal circles with your pencil.
Step 3
Cut out the two cardboard circles carefully using the scissors.
Step 4
Use your pencil to make a small dot in the center of each circle to mark the middle.
Step 5
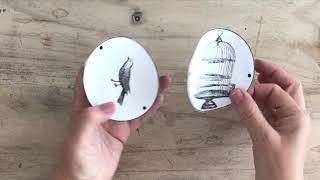
Pick a fun matching pair of images like a bird and a cage or a sun and a cloud.
Step 6
Draw the first image centered on one circle using the pencil.
Step 7
Draw the matching image centered on the other circle using the pencil so they will line up when spun.
Step 8
Colour both drawings with your colouring materials to make them bright and clear.
Step 9
Apply a small dab of glue to the center of one circle.
Step 10
Press the popsicle stick onto the glued center of that circle so the stick sticks to it.
Step 11
Place the second circle on top aligning the center dots and press the edges together so the two circles join with the stick between them.
Step 12
Let the glue or tape dry completely before you move on.
Step 13
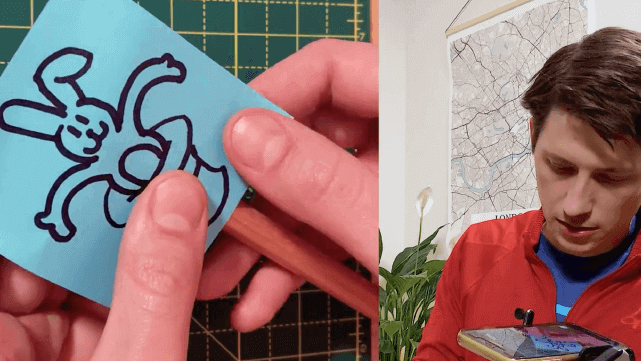
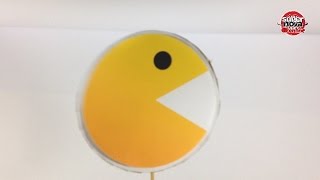
Hold the stick and twirl the thaumatrope quickly between your palms to watch the two pictures become one.
Step 14
Share your finished creation on DIY.org
Help!?
What can I use instead of cardboard or a popsicle stick if I don't have them?
Use a clean cereal box or thick cardstock instead of cardboard and substitute a pencil, straw, or chopstick for the popsicle stick by taping or gluing it between the circles during the step where you 'Press the popsicle stick onto the glued center.'
The two pictures don't line up when I spin it — what should I check?
Check that the small center dots are exactly aligned before you press the two circles together, use a tiny dab of glue so the stick stays centered, press the edges firmly, and let the glue or tape dry completely as directed in the instructions.
How can I adapt this thaumatrope for younger or older children?
For younger kids have an adult trace and cut the circles and use stickers or chunky crayons with tape instead of glue, while older kids can draw more detailed images with markers, use stronger glue, or punch through the center dots to spin the thaumatrope on a pencil for faster twirling.
How can we make the thaumatrope more creative or longer-lasting?
Color with waterproof markers, cover each circle with clear tape or laminate before you 'Apply a small dab of glue' to protect the drawings, or create multiple pairs of slightly different images to make simple animation and then share your finished creation on DIY.org.
Watch videos on how to make a thaumatrope
STEM | How to make a Thaumatrope (optical illusion toy)
4 Videos
STEM | How to make a Thaumatrope (optical illusion toy)
Make a thaumatrope tutorial
How to make your own animation! (Thaumatrope)
How to Make a Thaumatrope | Animation Station by Hannah Postlethwaite (1/4 )
Facts about persistence of vision and optical toys
🎡 The thaumatrope was a Victorian-era optical toy that makes two drawings appear as one when spun.
👀 'Persistence of vision' means our eyes hold images for a tiny moment — that's why spinning pictures can fuse together.
🧑🔬 John Ayrton Paris popularized the thaumatrope in the 1820s to demonstrate how sight and memory work.
♻️ You can make a simple thaumatrope in about 10–20 minutes with cardboard, markers, and string — perfect for upcycling!
🎞️ Toys like thaumatropes, zoetropes, and phenakistiscopes were early steps toward animation and movies.
How do I make a thaumatrope step by step?
What materials do I need to make a thaumatrope?
What ages is making a thaumatrope suitable for?
What are the benefits of making a thaumatrope for kids?
