Make a sundial
Make a simple sundial using a paper plate, pencil gnomon, and compass; mark hourly shadows, observe sun movement, and learn about time and Earth’s rotation.

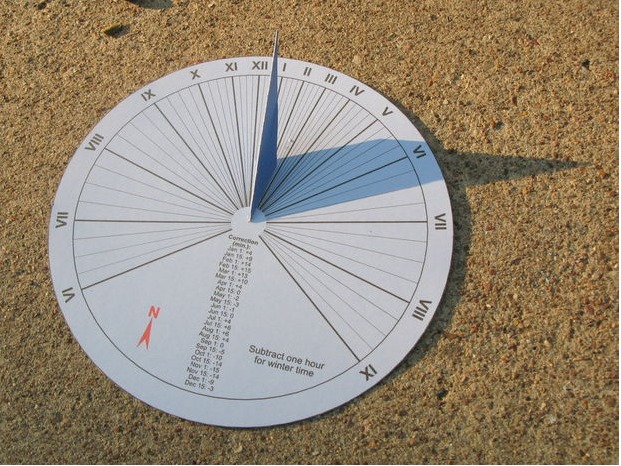

Step-by-step guide to make a paper plate sundial
Homemade Sundial Experiment: Telling Time with the Sun
Step 1
Find a sunny flat spot outside and set the paper plate flat on the ground.
Step 2
Press a small ball of modeling clay into the center of the plate and push the pencil into the clay so it stands straight up.
Step 3
Hold the compass beside the plate and gently rotate the plate until the pencil points toward north.
Step 4
Look at a clock and remember the current time when you see a clear shadow from the pencil.
Step 5
Put a small dot on the plate at the tip of the pencil shadow using the marker.
Step 6
Write the remembered time next to the dot on the plate.
Step 7
Repeat Steps 4 to 6 every hour for at least four hours to collect hourly shadow marks.
Step 8
Draw a straight line from the center of the plate through each dot out to the rim using your marker.
Step 9
Label each line with the time you wrote so your sundial shows the hours clearly.
Step 10
Watch how the shadow moves around the plate and notice which direction it travels.
Step 11
Share a photo or description of your finished sundial on DIY.org
Help!?
What can we use if we don't have modeling clay or a compass?
Use rolled-up aluminum foil or playdough to hold the pencil upright (Step 2) and a smartphone compass app or a paper map with a known landmark to find north for Step 4.
My pencil keeps falling over or the plate moves—how do I fix that?
Press a larger ball of clay around the pencil and press the plate edges down or tape the plate to the ground so the gnomon stays vertical (Step 2) and your hourly shadow dots (Step 6) remain accurate.
How can I change the activity for younger or older children?
For younger kids have an adult hold the compass and place sticker dots while writing times for Steps 4–6, and for older kids collect marks every 30 minutes, calculate angle differences between the labeled lines (Step 8), or remake the sundial on wood for permanence.
How can we make the sundial more permanent or creative?
Decorate, paint, and varnish the paper plate or transfer the lines onto a wooden base, add seasonal date marks by repeating Steps 4–6 on different days, and then photograph the finished sundial to share on DIY.org.
Watch videos on how to make a paper plate sundial
How Can Kids Make A Sundial? - Astronomy Made Simple
4 Videos

How Can Kids Make A Sundial? - Astronomy Made Simple

DIY Sundial for Kids
How to Make a Sundial: STEM education activity for kids / pupils / adults / parents / teachers

How Does A Sundial Work? - Astronomy Made Simple
Facts about sundials and Earth's rotation
☀️ Sundials have been used for over 3,500 years — ancient Egyptians measured time with shadows!
🕒 Sundials show solar time, which can differ from clock time by up to about 16 minutes because of Earth's orbit and tilt.
🧭 A compass helps you point the gnomon toward north — but it shows magnetic north, which can be a little different from true north.
🌍 The shadow on a sundial moves because Earth spins once every 24 hours, making the sun appear to travel across the sky.
📐 If you tilt the gnomon to match your latitude it aligns with Earth's axis, points toward the North Star at night (in the Northern Hemisphere), and helps the sundial keep correct hour angles.
How do I make a paper plate sundial step-by-step?
What materials do I need for a paper plate sundial?
What ages is making a paper plate sundial suitable for?
What are the benefits of making a paper plate sundial?
