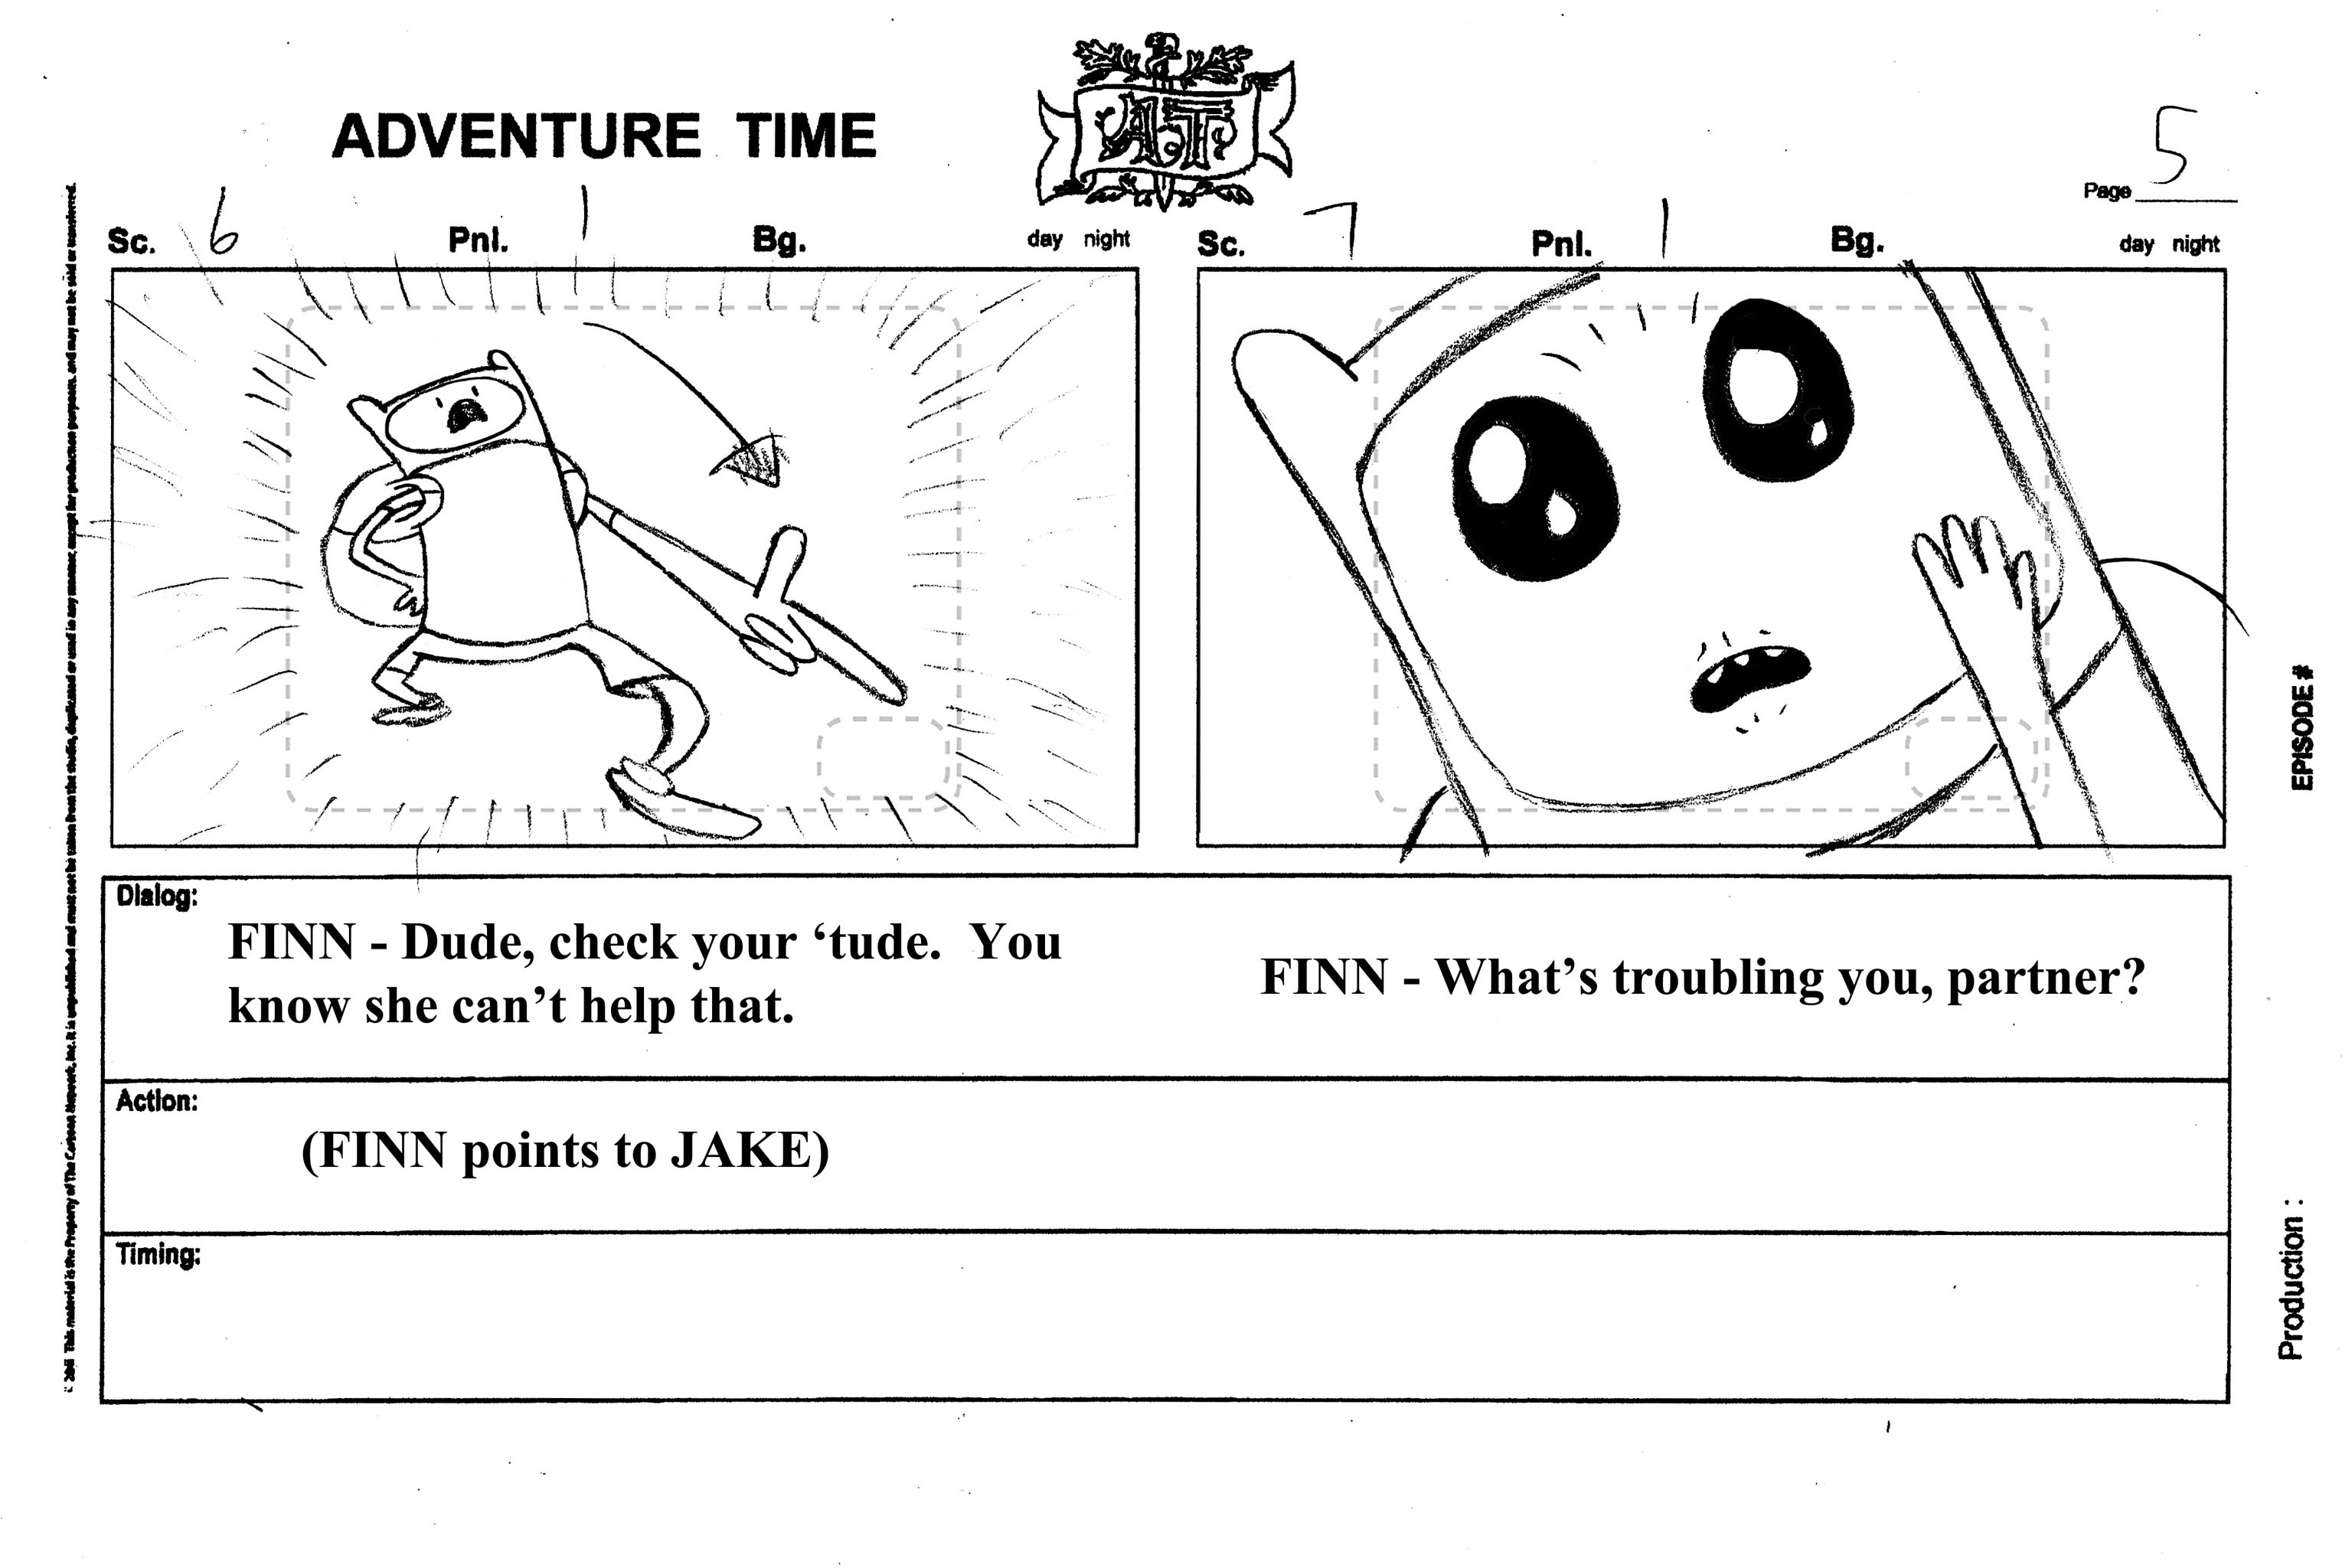
Make a storyboard
Create a four-panel storyboard for a short story or video by sketching scenes, adding captions, and arranging them to plan clear storytelling.


Step-by-step guide to make a four-panel storyboard
Storyboard Tutorial For Kids
Step 1
Gather your materials.
Step 2
Write a short story idea in one sentence at the top of the page.
Step 3
Write your main character's name under the story title.
Step 4
Use your ruler and pencil to divide the page into four equal panels.
Step 5
Number the panels 1 through 4 in the top corner of each panel.
Step 6
Write a short one-sentence caption for each panel describing what happens there.
Step 7
Lightly sketch the scenes for all four panels with your pencil following the captions.
Step 8
Add facial expressions and simple background details in each panel.
Step 9
Trace over the best pencil lines with a darker pencil or pen to finalize the drawings.
Step 10
Erase extra pencil marks and smudges to clean up your panels.
Step 11
Color your panels using your coloring materials to make them bright and clear.
Step 12
Cut out each panel if you want to rearrange them.
Step 13
Arrange the panels in order and use tape or glue to secure them onto another sheet if desired.
Step 14
Share your finished creation on DIY.org.
Final steps
You're almost there! Complete all the steps, bring your creation to life, post it, and conquer the challenge!


Help!?
What can we use if we don't have a ruler, darker pen, or tape for this storyboard?
Use a straight-edged book or a folded piece of paper instead of a ruler to 'Use your ruler and pencil to divide the page into four equal panels,' swap the darker pencil or pen for a fine-tip marker when you 'Trace over the best pencil lines,' and replace tape with glue or a paperclip when you 'Arrange the panels in order and use tape or glue to secure them.'
What should we do if the panels come out uneven or the ink smudges when finalizing drawings?
If panels are uneven when you 'divide the page into four equal panels,' re-measure and mark the center points before redrawing with a straight edge, and if ink smudges after you 'Trace over the best pencil lines' let the ink dry fully before you 'Erase extra pencil marks and smudges' or use a smear-proof pen.
How can this activity be adapted for younger or older children?
For preschoolers skip the 'Write a short story idea' and have them dictate captions while you make bold sketches for them to color, and for older kids expand the instruction to add more panels, detailed backgrounds during 'Add facial expressions and simple background details,' or use the 'Cut out each panel' step to build a flipbook or comic strip series.
What are simple ways to extend or personalize the finished storyboard?
Enhance your project by adding speech bubbles and sound effects in the one-sentence captions, gluing small photo clippings or fabric into the 'Color your panels' step for texture, or rearranging and taping panels after you 'Cut out each panel' to tell alternate versions of the same story before you 'Share your finished creation on DIY.org.'
Watch videos on how to make a four-panel storyboard
How to Create a Children's Book Storyboard • CANVA • Free!!
Facts about storyboarding and visual storytelling
🎬 Storyboards were developed at Walt Disney Studios in the 1930s to plan animated sequences before production.
🖼️ The four-panel comic format is famously called yonkoma in Japan and is built around a clear beginning-to-end gag structure.
✏️ Filmmakers often use hundreds or even thousands of storyboard panels to map out a feature film scene by scene.
💡 Storyboarding is a great way for kids to practice sequencing — arranging events so a story makes sense from start to finish.
📚 Pairing sketches with short captions (like in a storyboard) helps strengthen storytelling, planning, and writing skills.
How do I make a four-panel storyboard with my child?
What materials do I need to make a four-panel storyboard at home?
What ages is creating a four-panel storyboard suitable for?
What are the benefits of making a four-panel storyboard with kids?


Make things. Learn new skills. Share safely.
DIY is a creative community where kids draw, build, explore ideas, and share.
No credit card required


