Make a Spiral Paper Building
Make a spiral paper building model by cutting, rolling, and gluing paper sheets. Measure, decorate, and explore shapes, balance, and simple architecture.

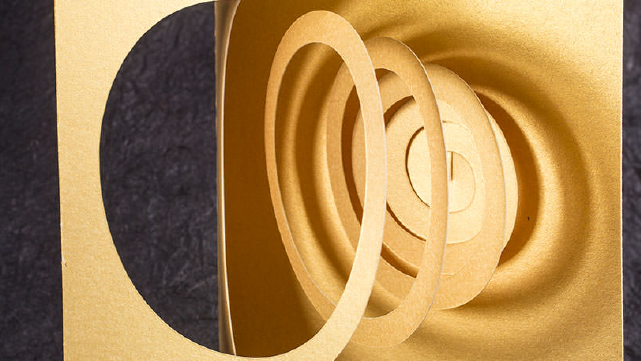

Step-by-step guide to make a spiral paper building
Step 1
Gather all the materials listed and bring them to a clear workspace.
Step 2
Cut a piece of cardboard to make a flat base about as big as your hand or larger.
Step 3
Use your pencil and ruler to mark a center point on a paper sheet and draw a spiral line with about 1–2 cm spacing between loops.
Step 4
Cut along the spiral line carefully with scissors to make one long spiral strip.
Step 5
Decorate the spiral strip with colouring materials using patterns or colors you like.
Step 6
Put a drinking straw or an extra pencil on the center of the spiral and start rolling the spiral tightly around it from the outer end.
Step 7
Put a small dot of glue on the inner tip of the spiral while it is still rolled.
Step 8
Press the glued inner tip onto the center of your cardboard base and hold it until the glue sets a little.
Step 9
Slowly unroll the spiral a little and press each loop down onto the base while adding small dabs of glue where a loop touches the layer below.
Step 10
Add tape or more glue to any loose places to make the spiral building stable.
Step 11
Use your ruler to measure the height of your spiral building and count how many loops or levels it has to explore shapes and balance.
Step 12
Share a photo and a short description of your finished spiral paper building on DIY.org
Final steps
You're almost there! Complete all the steps, bring your creation to life, post it, and conquer the challenge!

Help!?
What can we use if we don't have cardboard or a drinking straw?
If you don't have cardboard for the base, flatten and cut a cereal box panel or use a stiff book cover, and replace the drinking straw in the 'Put a drinking straw or an extra pencil on the center of the spiral' step with a pencil, chopstick, or wooden skewer for rolling.
My spiral keeps unrolling or the glue won't hold — how do I fix that?
If the spiral unrolls or the glue doesn't hold, press the small dab of glue on the inner tip onto the cardboard base until it sets, add small dabs of white craft glue and clear tape at each loop as you 'Slowly unroll the spiral a little and press each loop down', and roll tighter around the straw during the 'start rolling the spiral tightly' step.
How can I adapt this activity for younger or older kids?
For preschoolers, have an adult mark and pre-cut the spiral and let them decorate and press loops onto the cardboard base, while older kids can draw precise 1–2 cm-spaced spirals with a ruler, try different paper types, and use the ruler to measure height and count loops for extra challenge.
How can we make the spiral building more creative or challenging?
To enhance the project, decorate the spiral strip with stickers, sequins, or paint, glue a second spiral on top for layers, add small LED tea lights or paper flags to each loop, and then use the ruler to measure how added weight affects the height and balance as suggested in the 'Use your ruler to measure the height' step.
Watch videos on how to make a spiral paper building
How To Make a Paper MAGIC CUBES SPIRAL - Fun & Easy Origami
4 Videos

How To Make a Paper MAGIC CUBES SPIRAL - Fun & Easy Origami
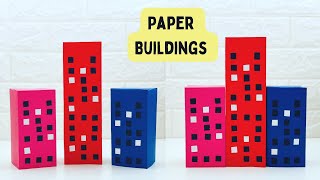
How To Make Easy Paper Building For Kids / Paper Skyscraper / Paper Craft Easy / KIDS crafts
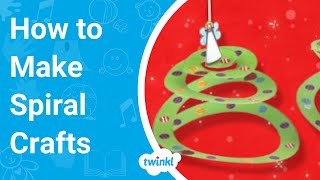
How to Make a Spiral Christmas Tree Paper Craft

Origami Magic Cube Spiral (Easy Tutorial)
Facts about paper architecture and model-making
⚖️ Knowing the center of mass helps you place supports and decorations so your spiral paper building won't tip over.
🏗️ Architects often make small-scale models to test shapes, balance, and how light and shadows fall on a building.
🧻 Rolled paper tubes (like those you make by rolling sheets) can be surprisingly strong and are used in model-building and experiments.
🎨 Simple decoration tricks—like vertical stripes or lighter colors—can make a paper building appear taller or slimmer.
📐 The Archimedean spiral keeps equal spacing between turns, which makes it a neat pattern for spiraled towers and ramps.
How do you make a spiral paper building?
What materials do I need for a spiral paper building model?
What ages is this spiral paper building activity suitable for?
What are the benefits and safety tips for making spiral paper buildings?


One subscription, many ways to play and learn.
Only $6.99 after trial. No credit card required