Make a spectroscope
Build a simple cardboard-and-CD spectroscope to split light into colors, observe spectra from different light sources, and learn about how light wavelengths vary.


Step-by-step guide to make a spectroscope
Build your own spectroscope (kids crafting activity) | Cambridge Festival 2021
Step 1
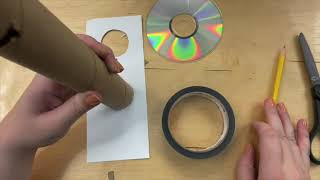
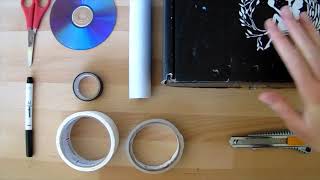
Gather all the materials on a clean table so everything is ready.
Step 2
Cut a small rectangular viewing window about 1.5 cm wide and 1 cm tall near one end of the tube using scissors.
Step 3
Line the inside of the tube with black construction paper and tape it flat to make the interior dark.
Step 4
Measure and mark the opposite end of the tube about 10 cm from the viewing window to place the light slit.
Step 5
Cut a narrow straight slit about 1 mm wide and 1 cm tall at the marked end using the craft knife with adult supervision.
Step 6
Cut a small triangular piece from the CD about 3 cm wide using strong scissors with adult supervision.
Step 7
Tape the CD piece inside the tube at a 45 degree angle near the viewing window with the shiny side facing the slit.
Step 8
Seal gaps around the CD piece with tape so light only enters through the slit.
Step 9
Hold the spectroscope so the slit faces a light source and keep the viewing window at your eye level.
Step 10
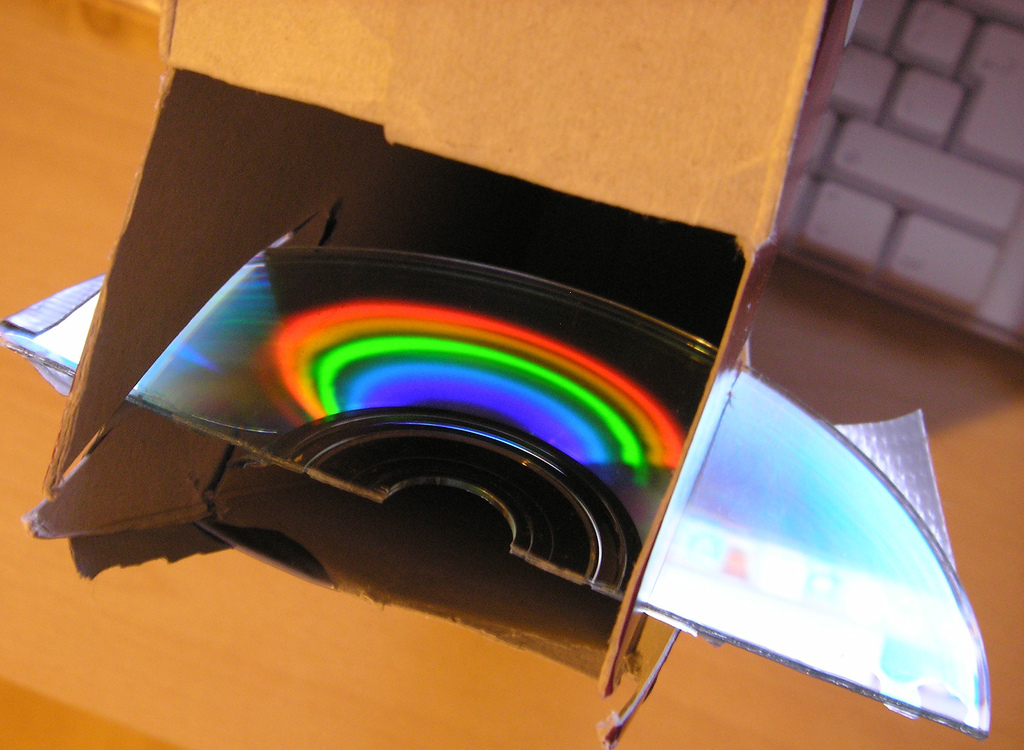
Look through the viewing window to see the colored bands and note what you see.
Step 11
Repeat Steps 9 and 10 for different light sources and draw each spectrum on paper labeling the light source.
Step 12
Share your finished spectroscope and your drawings on DIY.org
Help!?
What can I use instead of a CD if I can't find one?
If you don't have a CD for Step 6, use a DVD, a small piece of reflective gift-wrap, or a handheld plastic diffraction grating and tape it inside at a 45° angle with the shiny side facing the slit.
I don't see any colors — what might be wrong?
If you see no or washed-out colors, make sure the slit you cut in Step 5 is narrow and straight (about 1 mm wide), the tube interior is fully lined with black construction paper per Step 3, and the CD piece in Step 7 is positioned at 45° with gaps sealed in Step 8.
How can I adapt the steps for younger or older children?
For preschoolers, have an adult complete the Step 2 viewing-window cut, the Step 5 slit, and the Step 6 CD cutting while the child tapes the CD in Step 7 and draws spectra in Step 11, while older kids can measure the 10 cm mark in Step 4, cut the slit themselves with supervision, and compare multiple light sources in Steps 9–11.
How can we extend or personalize the spectroscope project?
To extend the activity, try swapping different slit widths in Step 5 or interchangeable CD/diffraction pieces from Step 6, mount the tube for steadier viewing in Step 9, photograph the spectra you see in Step 10, and make labeled comparison charts from your drawings in Step 11 to share on DIY.org.
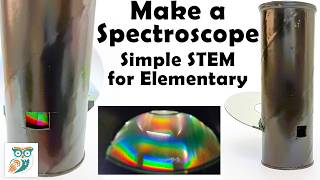
Watch videos on how to make a spectroscope
EPL Kids: How to Make a Spectroscope
3 Videos
EPL Kids: How to Make a Spectroscope
Playing With Light Science - A Spectroscope Project Tutorial
Discovery at Home: How to make a Spectroscope
Facts about optics and light experiments
🔬 A simple cardboard-and-CD spectroscope can separate white light into colors using the CD's tiny grooves as a diffraction grating.
🌈 The visible spectrum that we can see ranges roughly from about 380 nanometers (violet) to 750 nanometers (red).
💿 A CD or DVD acts like thousands of tiny mirrors—its spiral grooves spread light into colors just like a professional diffraction grating.
🔦 Different light sources make different spectra: incandescent bulbs give a smooth rainbow, while gases like neon show bright colored lines.
🧭 Astronomers read spectra to identify elements in stars and to measure how fast galaxies move by spotting redshift or blueshift.
How do you make a cardboard-and-CD spectroscope?
What materials do I need for a cardboard-and-CD spectroscope?
What ages is this spectroscope activity suitable for?
What safety tips, learning benefits, and variations should we consider?
