Make A Spaghetti Bridge
Build a bridge from uncooked spaghetti, glue or tape, and cardboard supports; test how much weight it holds and learn basic engineering.


Step-by-step guide to make a spaghetti bridge
HPL STEM: Building a Spaghetti Bridge
Step 1
Gather all the Materials Needed and bring them to your workspace.
Step 2
Use the ruler and pen to measure and mark two equal support rectangles on the cardboard.
Step 3
Cut out the two cardboard supports with scissors.
Step 4
Break several spaghetti sticks into the lengths you plan to use for the truss pieces.
Step 5
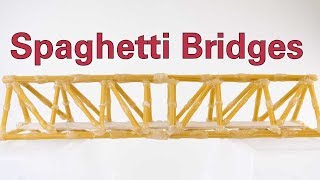
Lay out the broken spaghetti pieces on the table in a triangular truss shape for the first side.
Step 6
Glue or tape each joint of the first truss so the triangle holds together and let the glue get tacky.
Step 7
Lay out matching spaghetti pieces on the table in the same triangular shape for the second truss.
Step 8
Glue or tape each joint of the second truss so it matches the first and let the glue get tacky.
Step 9
Place the two cardboard supports on the table spaced apart to match the width of your trusses.
Step 10
Stand the two finished trusses upright on the supports so they face each other.
Step 11
Attach several horizontal spaghetti sticks between the two trusses across the top to form the bridge deck using glue or tape.
Step 12
Let all glued joints dry completely before you touch the bridge.
Step 13
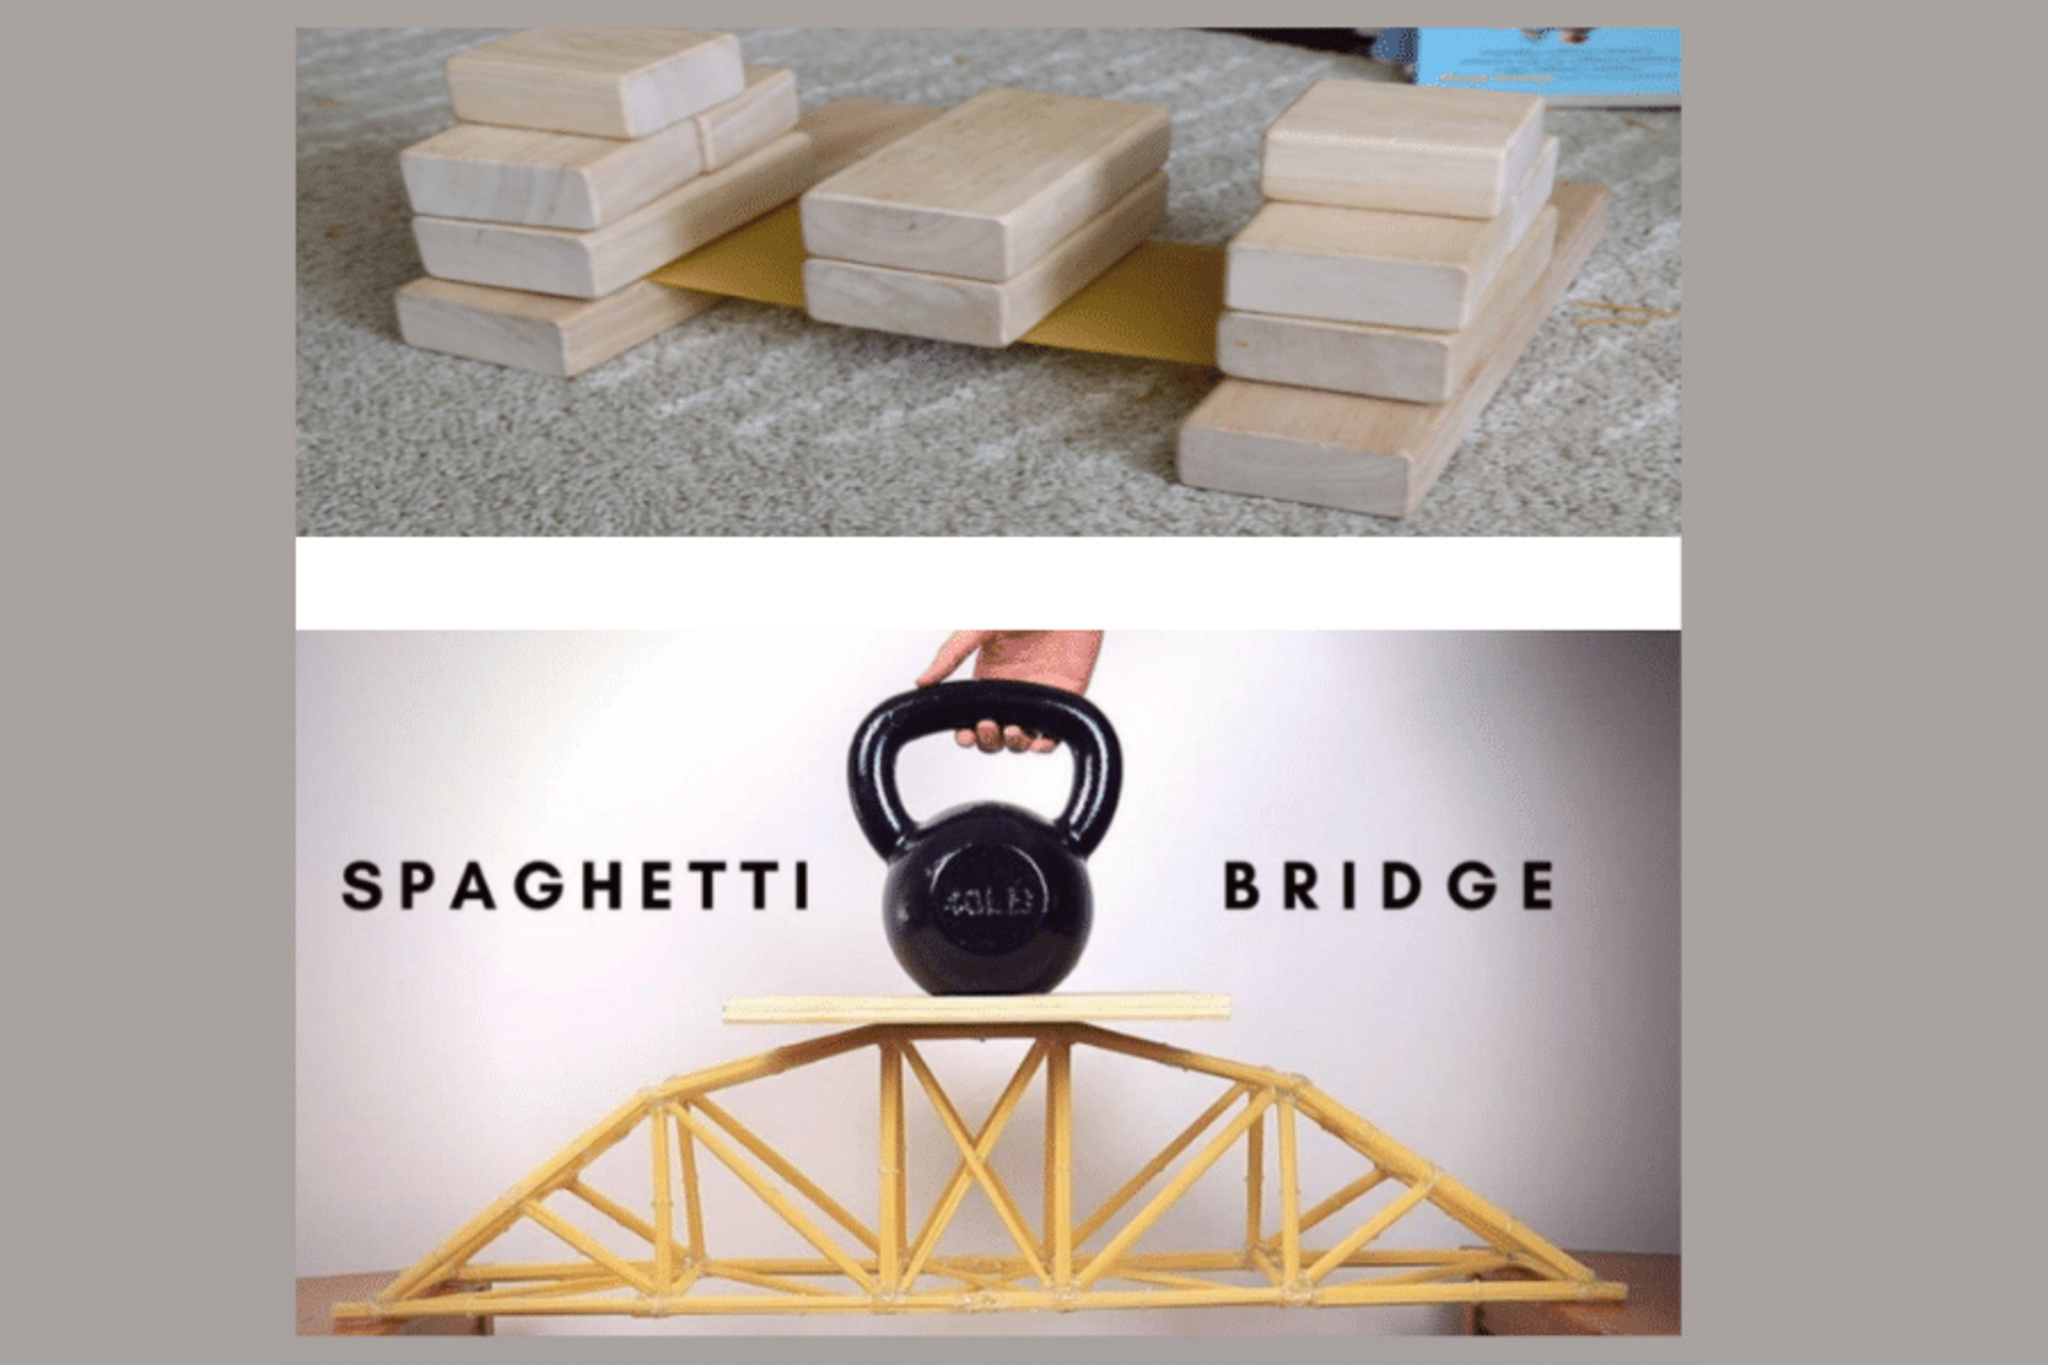
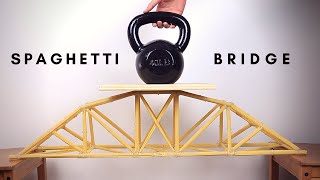
Test the bridge by placing small weights one at a time at the center until the bridge bends or breaks.
Step 14
Write down how much weight the bridge held and where it bent using your pen or marker.
Step 15
Share a photo and your results of your finished spaghetti bridge on DIY.org
Help!?
What can we use if we don't have uncooked spaghetti sticks or cardboard?
If you don't have uncooked spaghetti sticks, use wooden skewers or sturdy coffee stirrers broken to the same lengths for the 'Break several spaghetti sticks...' step and substitute a cereal box or poster board for the cardboard supports you 'Cut out' in the instructions.
My truss keeps falling apart before the glue dries — how can we fix it?
Secure each joint with small pieces of tape or clothespins while the glue gets tacky as described in 'Glue or tape each joint...' and let the truss rest flat until it holds, or use quick-setting hot glue with adult supervision for faster bonding.
How can I adapt the activity for younger or older kids?
For younger kids, pre-measure and pre-cut the cardboard supports and pre-break the spaghetti so they can lay out and tape pieces together, while older kids can design different truss patterns, increase the span, and precisely record weights during the 'Test the bridge...' step for more challenge.
How can we make the bridge stronger or more unique once it's built?
Strengthen or personalize the bridge by adding a second layer of horizontal spaghetti for the deck, reinforcing joints with extra glue or tape, painting the cardboard supports, and then compare how those changes affect the weight recorded in 'Write down how much weight the bridge held...'.
Watch videos on how to make a spaghetti bridge
Educational Activities for Kids: Spaghetti Bridges
4 Videos

Educational Activities for Kids: Spaghetti Bridges

Making the Simplest Spaghetti Bridge that Works!
Making and Testing a Spaghetti Bridge!
Spaghetti Bridges
Facts about structural engineering for kids
🏗️ A tiny spaghetti bridge can hold many times its own weight if you use triangles and strong joints!
🌉 Real bridges use trusses, arches, or cables to spread loads so no single part gets overloaded.
🍝 'Spaghetti' comes from the Italian 'spaghetto', meaning 'little string' — perfect for building tiny bridges!
🔺 Triangles are super stable, so engineers use triangular shapes to stop structures from collapsing or twisting.
🧪 Engineers test models to failure — testing a spaghetti bridge teaches how designs behave before building bigger ones.
How do I build a spaghetti bridge to test how much weight it holds?
What materials do I need to build a spaghetti bridge?
What ages is building a spaghetti bridge suitable for?
What are the benefits and safety tips for a spaghetti bridge activity?
