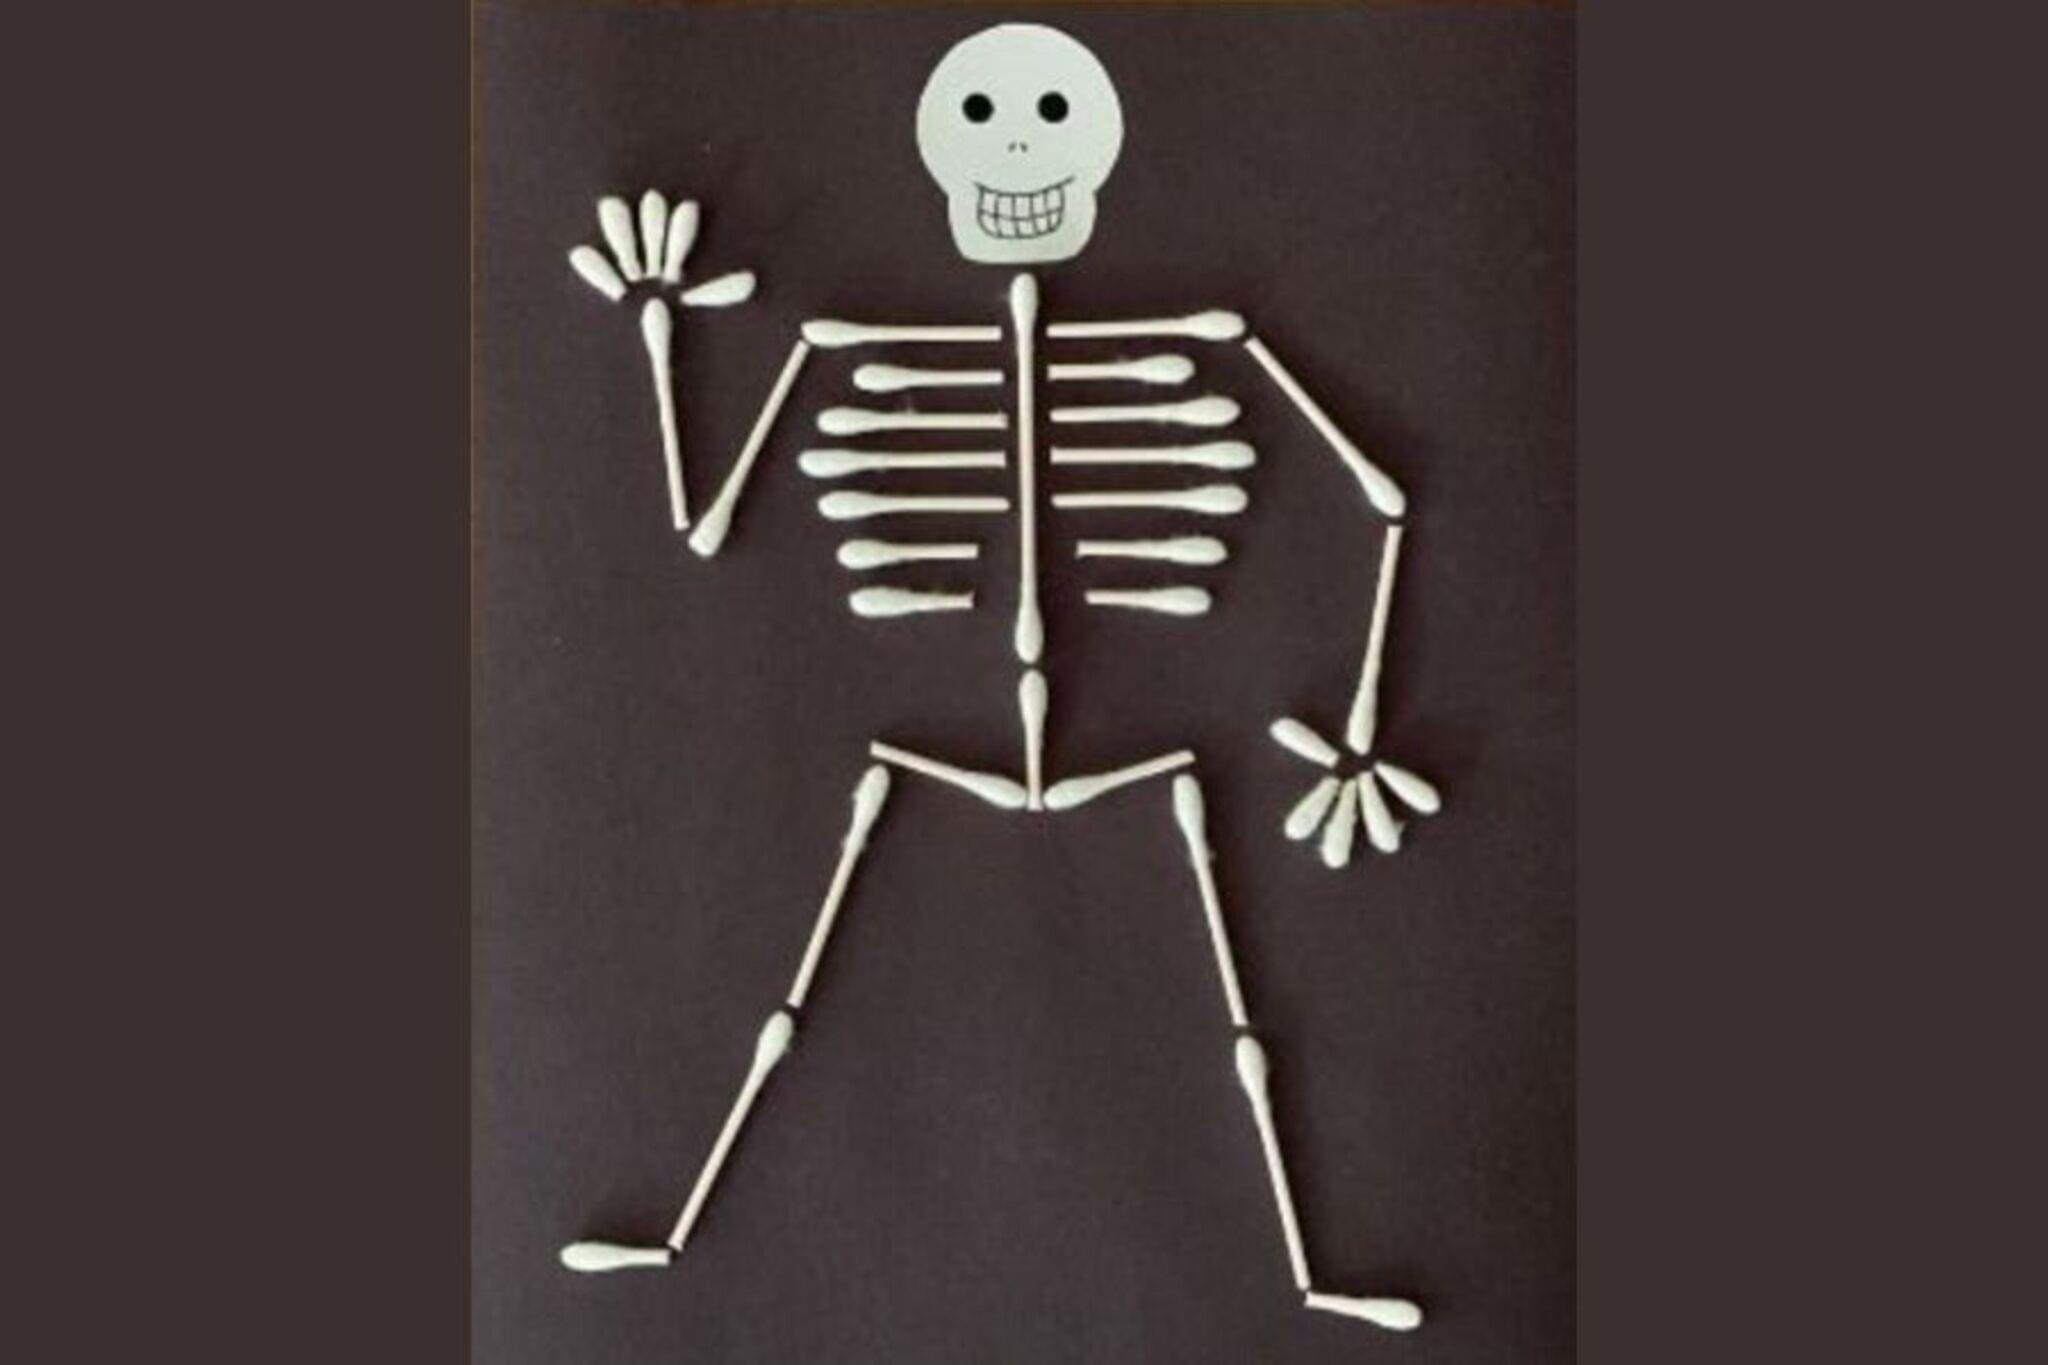
Make A Skeleton With Q-Tips
Build a simple human skeleton model using Q-tips, glue, and paper. Label major bones and learn basic anatomy while practicing fine motor skills.


Step-by-step guide to Make A Skeleton With Q-Tips
Easy Q-tip Skeleton Craft Project - Halloween or Anatomy Activity!
Step 1
Gather all materials and find a flat workspace with a clean sheet of paper.
Step 2
Place the paper on the workspace and draw a simple head-to-toe body outline with a pencil.
Step 3
Lightly mark where the skull spine ribs pelvis arms and legs will go on your drawing.
Step 4
Use scissors to cut some Q-tips into halves and thirds so you have different bone sizes.
Step 5
Glue Q-tip pieces together on the head mark to make a round skull shape.
Step 6
Glue small Q-tip pieces in a straight line down the center mark to make the spine.
Step 7
Glue curved Q-tip halves across the spine area to make the ribcage.
Step 8
Glue a few Q-tip pieces in the hip area to form the pelvis shape.
Step 9
Glue full-length Q-tips where the upper arms and thighs should be to make long bones.
Step 10
Glue shorter Q-tip pieces where the forearms and lower legs should be to finish the limb bones.
Step 11
Glue tiny Q-tip pieces at the ends of the arms and legs to make hands and feet bones.
Step 12
Let the glue dry completely before you touch your skeleton.
Step 13
Use a pencil or marker to label major bones like the skull spine ribs pelvis humerus femur and tibia.
Step 14
Add color or small decorations with your coloring materials to make your skeleton unique.
Step 15
Take a picture of your finished skeleton and share your creation on DIY.org.
Help!?
What can we use instead of Q-tips if we don't have any?
Substitute toothpicks, cut drinking straws, short craft sticks, or pipe cleaners cut into halves and thirds to mimic the long and short 'bones' called for when you cut Q-tips in the instructions.
My Q-tip pieces keep sliding off before the glue dries—how can we fix that?
Use white school glue applied in small dots, press pieces onto heavier paper or cardstock, hold them flat with a book or clothespins while the glue dries, or use a low-temp hot glue gun for faster setting so the spine, ribs, and pelvis stay in place.
How do we adapt this activity for younger or older kids?
For preschoolers pre-draw the outline and pre-cut Q-tip pieces so they can glue full-length 'bones', for elementary kids let them cut halves/thirds and label skull, spine, ribs and pelvis with a pencil, and for older kids add fiddly details like tiny toe bones and movable joints with brads while researching bone names to write with a marker.
How can we extend or personalize our Q-tip skeleton after it's finished?
Make it movable by fastening joints with small brads, paint or add glitter and yarn muscles as you color, mount the finished skeleton on cardboard for display, and then take the picture to share on DIY.org as suggested in the instructions.
Watch videos on how to Make A Skeleton With Q-Tips
Skeleton Craft with Q-Tips | Halloween Crafts for Kids | Easy Crafts for Kids
3 Videos
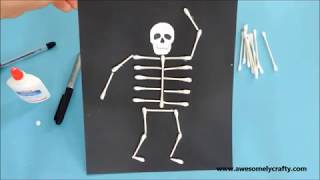
Skeleton Craft with Q-Tips | Halloween Crafts for Kids | Easy Crafts for Kids
Q-tip Skeleton Craft for Kids ☠️💀
How to make a Skeleton Craft with Q tips?
Facts about the skeletal system for kids
🦴 Adults have 206 bones in their bodies.
🧒 Babies are born with about 270 bones that fuse together as they grow.
💀 The skull is made of roughly 22 bones that protect the brain.
🩹 Cotton swabs (like Q-tips) were popularized in the 1920s — but never stick them into your ear canal.
🤏 Building tiny models with Q-tips helps develop pincer grip, hand–eye coordination, and concentration.
How do you make a skeleton with Q-tips?
What materials do I need to make a Q-tip skeleton?
What ages is this Q-tip skeleton activity suitable for?
What safety tips and variations can I use for the Q-tip skeleton craft?
