Make a shark with legs using LEGO®
Build a shark with legs using LEGO bricks, experiment with balance and movement, and customize fins and legs to explore design and creativity.


Step-by-step guide to make a shark with legs using LEGO bricks
LEGO Megalodon Shark MOC! (Instructions now available!)
Step 1
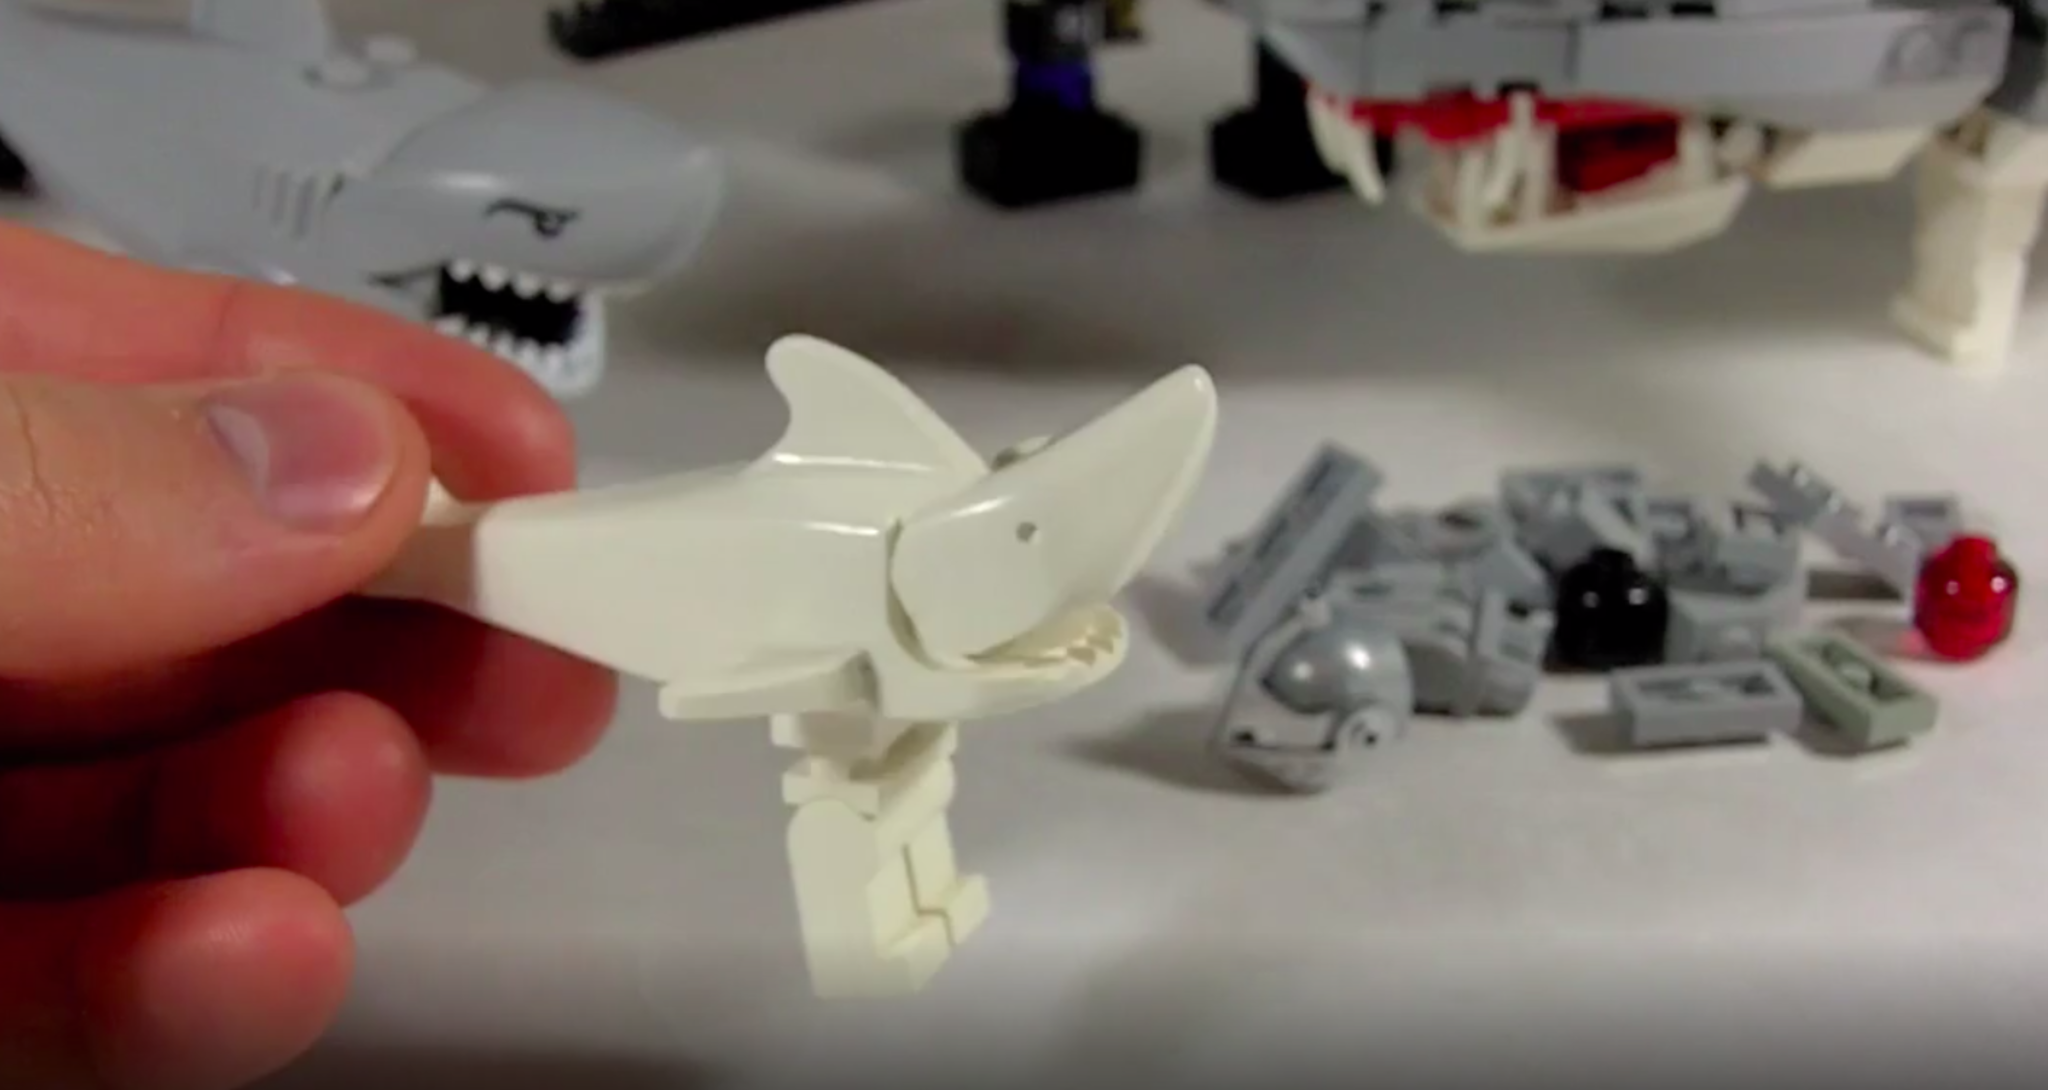
Gather all your LEGO pieces and put them on a flat table so you can see everything.
Step 2
Build a long low body for your shark by snapping plates and bricks together into a curved shape.
Step 3
Attach a triangular dorsal fin to the top center of the body so it looks like a shark.
Step 4
Attach a tail fin to the back end of the body so the shark has a proper tail.
Step 5
Build one movable leg using a hinge or wheel piece plus a few small bricks so the leg can bend or spin.
Step 6
Repeat Step 5 three more times to make a total of four movable legs.
Step 7
Attach the first leg to the front-left underside of the shark body so it clicks into place.
Step 8
Attach the second leg to the front-right underside of the shark body.
Step 9
Attach the third leg to the back-left underside of the shark body.
Step 10
Attach the fourth leg to the back-right underside of the shark body.
Step 11
Place your shark on a flat surface and check if it stands steady to test its balance.
Step 12
Gently push the shark and watch how the legs move to see if it walks rolls or tips.
Step 13
Change one fin shape or make one leg longer or shorter and test again to see how the design affects balance and movement.
Step 14
Share a photo of your shark with legs and tell what you changed on DIY.org.
Help!?
What can I use if I don't have a hinge or wheel piece for the movable legs?
Use a LEGO clip-and-bar or a small Technic pin/axle joined to the small bricks described in Step 5 so the leg can bend or spin like a hinge or wheel piece.
My shark tips over when placed on a flat surface—what should I try?
When you Place your shark on a flat surface and check if it stands steady, move the legs from steps 6–9 slightly outward, shorten one leg as suggested in Step 13, or add an extra plate under the low body to lower the center of gravity.
How can I modify the build for younger or older children?
For younger builders use larger plates/bricks and prebuilt leg modules instead of repeating Step 5, while older kids can use Technic hinges or add a small motor to the wheel piece from Step 5 and experiment with fin geometry in Step 13.
What are easy ways to personalize or improve the shark after building?
Personalize by swapping the triangular dorsal fin (Step 3) for different fin shapes, adding stickers or eyes to the body, testing asymmetrical leg lengths as in Step 13 to study balance, and then Share a photo on DIY.org describing what you changed.
Watch videos on how to make a shark with legs using LEGO bricks
LEGO Sharkosaurus MOC
4 Videos

LEGO Sharkosaurus MOC
Lego Fish Building Instructions - Lego Classic 10695 "How To"
10 Sea Creatures You Can Make With 10 Lego Pieces (Easy to build Lego ocean animals by Gold Puffin)

LEGO Creator 3-in-1 Deep Sea Creatures Set: Build a Shark, Squid, & Angler Fish! Book 3
Facts about building with LEGO and basic mechanics
🦈 Sharks have existed for over 400 million years and there are more than 500 known species.
🧱 The modern LEGO brick design introduced in 1958 still lets bricks from different decades click together.
⚖️ Adding legs to a model changes its center of mass — a wider stance usually makes your LEGO shark steadier.
🔩 Clever linkages and staggered leg placement can make a simple LEGO model walk or wobble without motors.
🎨 Custom LEGO builds are often called MOCs (My Own Creations) — perfect when inventing a shark with legs!
How do I build a shark with legs using LEGO®?
What materials do I need to make a LEGO® shark with legs?
What ages is building a LEGO® shark with legs suitable for?
What are the benefits of making a LEGO® shark with legs?
