Make a Roblox Edit
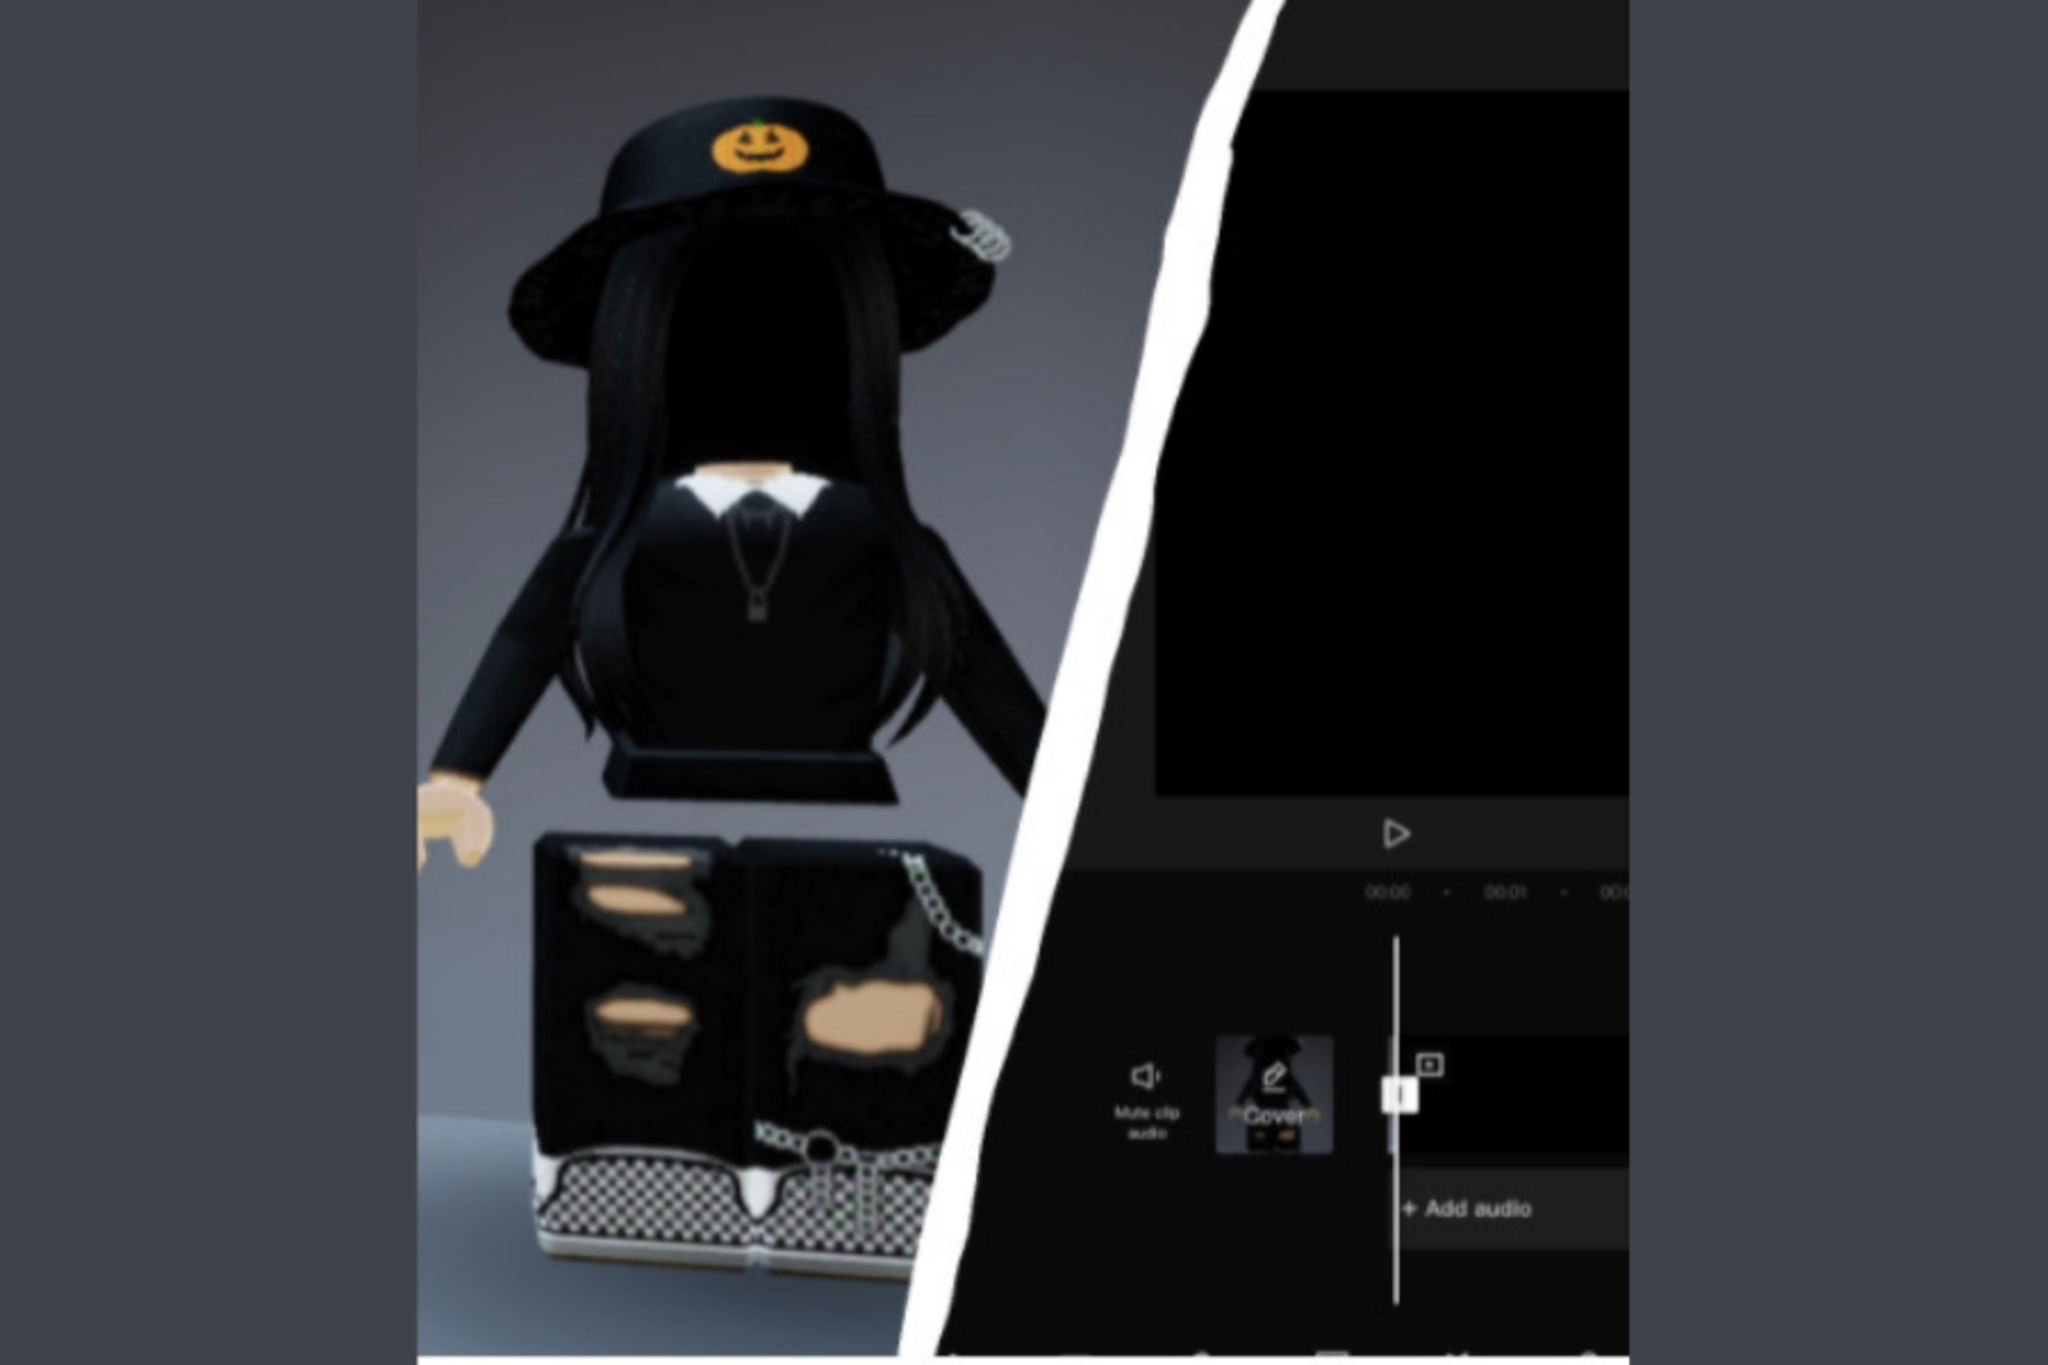
Make a Roblox avatar edit by taking a screenshot, arranging poses, adding backgrounds and colors with a simple image editor to create a unique thumbnail.


Step-by-step guide to make a Roblox edit
How To Code On Roblox | Coding For Beginners | Fun Activities For Kids
Step 1
Open Roblox and sign in to the account you will use for your avatar.
Step 2
Pick the avatar outfit and look you want to turn into a thumbnail.
Step 3
Put your avatar into a clear pose using an emote or the Avatar Editor.
Step 4
Move the camera so your avatar fills the screen the way you like.
Step 5
Take a screenshot of your avatar.
Step 6
Change to a different pose and take at least one more screenshot.
Step 7
Open your simple image editor.
Step 8
Create a new canvas sized like a thumbnail (square or 16:9).
Step 9
Import your favorite screenshot and place it on the canvas.
Step 10
Add the other screenshots as smaller layers or gallery images on the canvas.
Step 11
Pick or add a bright background color or image behind the avatars.
Step 12
Use color tools filters or outlines to make the avatars pop.
Step 13
Add a short bold title sticker or text to your thumbnail.
Step 14
Save or export your final thumbnail image to your device.
Step 15
Share your finished Roblox avatar edit on DIY.org.
Help!?
What can I use if I don't have the 'simple image editor' mentioned in the instructions?
If you don't have a simple image editor on a computer, use a tablet or phone with free apps like Canva or Pixlr or the device's built-in Photos editor to create the thumbnail canvas, import screenshots, add background colors, and save the final image.
My screenshots come out blurry or the camera won't frame the avatar—what should I try?
If screenshots are blurry or the camera won't frame the avatar, open the Avatar Editor or use an emote to set a clear pose, adjust the Roblox camera zoom/FOV and go full-screen or use your device's snipping tool/Print Screen to capture higher-resolution images.
How can I adapt this activity for different ages?
For younger kids have a parent pick the avatar, pose with a single emote, and press the screenshot button, for elementary kids let them place multiple screenshots as layers and choose background colors, and for teens encourage experimenting with filters, outlines, and text styles on a 16:9 or square canvas.
How can we extend or personalize the Roblox avatar thumbnail beyond the basic steps?
To extend the edit add bold outlines and drop shadows to avatar layers, arrange extra screenshots as a corner gallery, use a themed background image or bright contrasting color, and add a short bold title sticker before exporting to share on DIY.org.
Watch videos on how to make a Roblox edit
So What IS Roblox Anyway??? | DIY.org
4 Videos
So What IS Roblox Anyway??? | DIY.org
Game Development for Kids | Coding for Kids | Coding Games for Kids | Game Development Beginner
Turning Kids Drawings Into Real Toys
How To Draw A Game Controller For Kids
Facts about digital image editing for kids
🎮 Roblox launched in 2006 and now lets millions of creators build and share games and avatar styles.
🧑🎨 Roblox avatars can mix body parts, clothing, and accessories to create thousands of unique looks.
📸 You can capture your best avatar pose with a screenshot — on PCs use Print Screen or shortcuts, on phones use button combos.
🖼️ Thumbnails act like tiny posters: a bright, clear thumbnail helps your image stand out and get more clicks.
✂️ Simple image editors let you layer screenshots, swap backgrounds, add color overlays, and place text for a pro thumbnail vibe.
How do I make a Roblox avatar edit thumbnail step by step?
What materials and apps do I need to make a Roblox edit?
What ages is making Roblox edits suitable for?
What safety and privacy tips should I follow when making Roblox edits?
