Make a raised bed
Build a simple raised garden bed using wood, screws, soil, and plants; learn measuring, basic carpentry, and gardening skills safely with adult help.


Step-by-step guide to make a raised garden bed
How To Build A Raised Garden Bed - Cheap And Easy | Gardening For Beginners
Step 1
Put on your gardening gloves and safety goggles so your hands and eyes stay safe.
Step 2
Pick a sunny flat spot for your raised bed and clear away rocks and sticks from that area.
Step 3
Decide how big you want the bed to be and use the measuring tape and pencil to mark the wood lengths.
Step 4
Ask an adult to cut the wood to your marked lengths with the saw.
Step 5
Sand the cut edges of each board so they are smooth to touch.
Step 6
Lay the boards on the ground and arrange them into a rectangle with the ends overlapping to make the sides.
Step 7
Use the drill or screwdriver to fasten the boards together with screws at each corner so the box is sturdy.
Step 8
Carry or slide the assembled bed into its final spot in the garden.
Step 9
Line the bottom of the box with landscape fabric or cardboard to keep weeds out.
Step 10
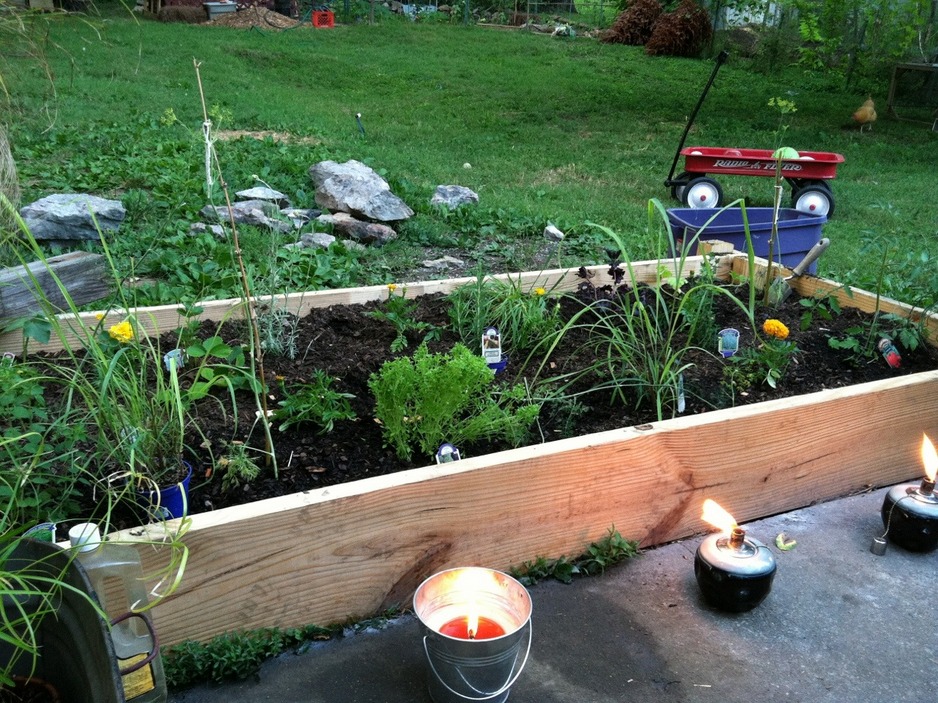
Fill the bed with garden soil until it comes within about two inches of the top edge.
Step 11
Place your plants or seeds into the soil following the spacing you planned.
Step 12
Water the soil gently until it is evenly damp but not flooded.
Step 13
Take photos and share your finished raised garden bed on DIY.org so others can see your hard work.
Help!?
If we don't have a saw or an adult to cut the wood for the measured lengths, what can we use instead?
Buy pre-cut lumber or a raised-bed kit from a garden center and then sand the cut edges and assemble the boards into the rectangle as in the instructions.
What should we do if the boards don't line up squarely when fastening the corners with screws?
Clamp the boards into a right-angle, mark and pre-drill pilot holes, and then use the drill or screwdriver to fasten screws at each corner so the box becomes sturdy and corners stay square.
How can this activity be adjusted for younger children (4–6) versus older kids (10+)?
For ages 4–6 let them clear the spot, hold the measuring tape and help place soil and seeds, while older kids (10+) can mark and measure wood, sand edges, and help fasten boards with an adult using the drill.
How can we personalize or improve the finished raised bed after filling it with garden soil?
Paint or stain the sanded boards, add plant labels or a simple trellis on the back edge, and take photos to share your finished raised garden bed on DIY.org so others can see your hard work.
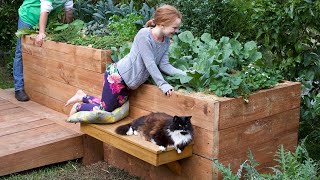
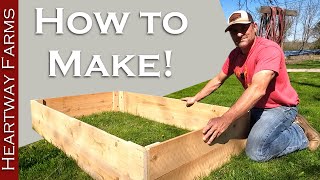
Watch videos on how to make a raised garden bed
HOW TO BUILD RAISED GARDEN BEDS | super easy cedar beds, GARDEN 01
4 Videos
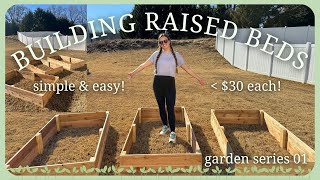
HOW TO BUILD RAISED GARDEN BEDS | super easy cedar beds, GARDEN 01
How to build a raised garden bed
Create Your Own Raised Garden Bed For Less Than $25! Diy Guide Included

SUPER EASY Raised Garden Beds: Step-by-Step Guide for Beginners
Facts about gardening and basic carpentry for kids
🌱 Raised beds warm up faster in spring—often 6–11°C (10–20°F) warmer—so you can plant earlier.
🥕 Intensive planting in raised beds can produce 2–3 times more vegetables per square foot than traditional rows.
🪚 A 4-foot-wide bed is a kid- and reach-friendly size: you can work the middle from either side without stepping on the soil.
🌿 Cedar and redwood resist rot naturally, so many people choose them for untreated, kid-safe raised beds.
🔩 Building a bed teaches measuring, drilling, and problem-solving—skills kids practice safely with adult supervision.
How do I build a raised garden bed with my child?
What materials do I need to build a raised garden bed?
What ages is building a raised garden bed suitable for?
What are the benefits and safety tips for building a raised bed with kids?
