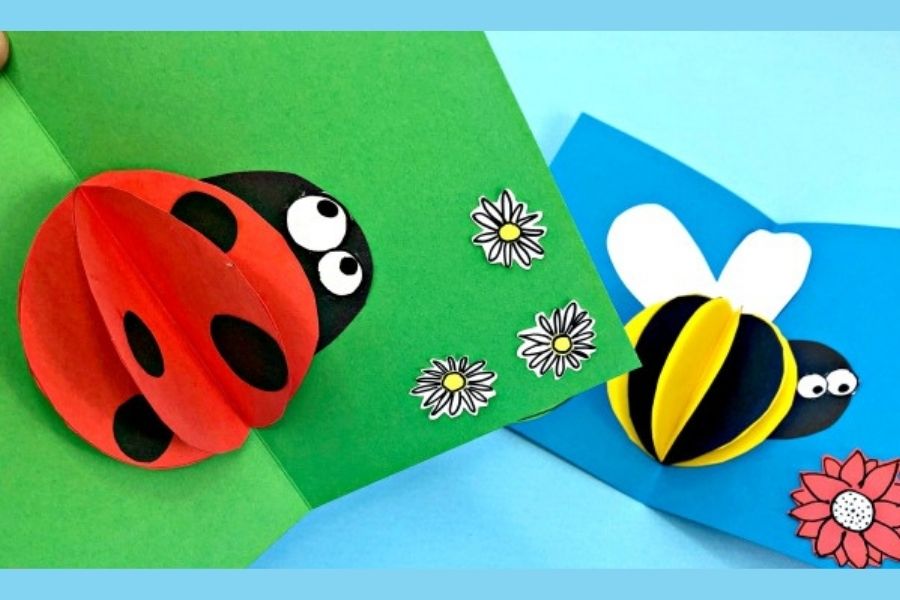
Make a Pop-Up Card
Make a pop-up greeting card using paper, scissors, glue, and simple folds with adult help; design decorations and test the pop-up mechanism.


Step-by-step guide to make a pop-up card
Step 1
Fold a sheet of paper or cardstock in half to make the card base.
Step 2
Use a ruler and pencil to mark two short parallel lines about 3–4 cm apart on the folded edge where the pop-up will go.
Step 3
Carefully cut along the pencil marks on the folded edge to make two slits.
Step 4
Push the cut section inward through the fold to create a pop-up tab and crease the fold so it pops out when opened.
Step 5
Draw a fun pop-up shape like a heart star or animal on a separate piece of scrap paper.
Step 6
Cut out the shape you drew on the scrap paper.
Step 7
Put glue on the front face of the pop-up tab.
Step 8
Stick your cut-out shape onto the glued pop-up tab and press gently to hold it in place.
Step 9
Decorate the rest of your card with coloring materials stickers and any extra decorations you like.
Step 10
Open and close the card slowly to test the pop-up mechanism and make sure it moves smoothly.
Step 11
Share your finished pop-up card creation on DIY.org
Help!?
What can we use instead of cardstock if we don't have any?
If you don't have cardstock, use regular printer paper folded in half twice to make a firmer card base or trim and fold a cereal-box cardboard to the size of the sheet before folding.
My pop-up tab won't fold out properly or the scrap shape droops—what should I check?
Make sure your two slits are only about 3–4 cm apart, sharply crease the fold so the tab pops out when opened, trim any extra paper, and use a thin layer of glue on the front face so the cut-out shape doesn't weigh it down.
How can I adapt this activity for younger or older kids?
For younger children pre-cut the slits and pop-up tab and provide stickers or pre-cut shapes to stick during the 'Put glue on the front face' step, while older kids can measure and add multiple 3–4 cm pop-up tabs and design more complex layered shapes to glue.
How can we extend or personalize the pop-up card beyond the basic instructions?
To personalize it, decorate the rest of your card with patterned paper or stickers, repeat the 'mark two short parallel lines' and 'cut along the pencil marks' steps to add additional pop-up tabs at different heights, and attach varied scrap shapes for a layered scene.
Watch videos on how to make a pop-up card
DIY Photo Pop Up Card Tutorial | Easy Paper Crafts
4 Videos

DIY Photo Pop Up Card Tutorial | Easy Paper Crafts
Learn How To Make A Rotating Pop Up Card - Part 1
5 Simple and Easy Pop Up Card Tutorials
Create a simple pop-up card- make your cards pop!
Facts about paper crafts for kids
✂️ Pop-up mechanisms use mountain and valley folds plus clever cuts to turn flat paper into 3D surprises.
📐 Paper engineering is the craft of designing moving paper parts—tabs, hinges, and slots make things slide, rotate, and pop.
🎉 Pop-up greeting cards add a mini paper sculpture to your message, giving an extra ‘wow’ when opened.
🧩 Kirigami focuses on cutting as well as folding, which lets you make intricate pop-up shapes you can’t do with origami alone.
📬 A well-designed pop-up card folds flat to fit in an envelope and springs into shape when opened — perfect for mailing or gifting.
How do I make a pop-up greeting card with my child?
What materials do I need to make a pop-up card?
What ages is making a pop-up card suitable for?
What are the benefits and safety tips for making pop-up cards?
