Make a pole vaulter scene using LEGO®
Build a LEGO pole-vaulting scene with a vaulter, pole, crossbar, and landing pit; experiment with pole lengths and angles to learn stability.


Step-by-step guide to make a pole vaulter scene using LEGO®
Step 1
Gather all your materials and put them on a clear table.
Step 2
Place the LEGO baseplate flat on the table to make your arena.
Step 3
Build a landing pit at one end using lots of plates and bricks to create a cushioned area.
Step 4
Build two upright supports a short distance apart on the baseplate.
Step 5
Make a crossbar from a long flat plate and balance it between the uprights.
Step 6
Build at least three poles of different lengths using your long beams or rods.
Step 7
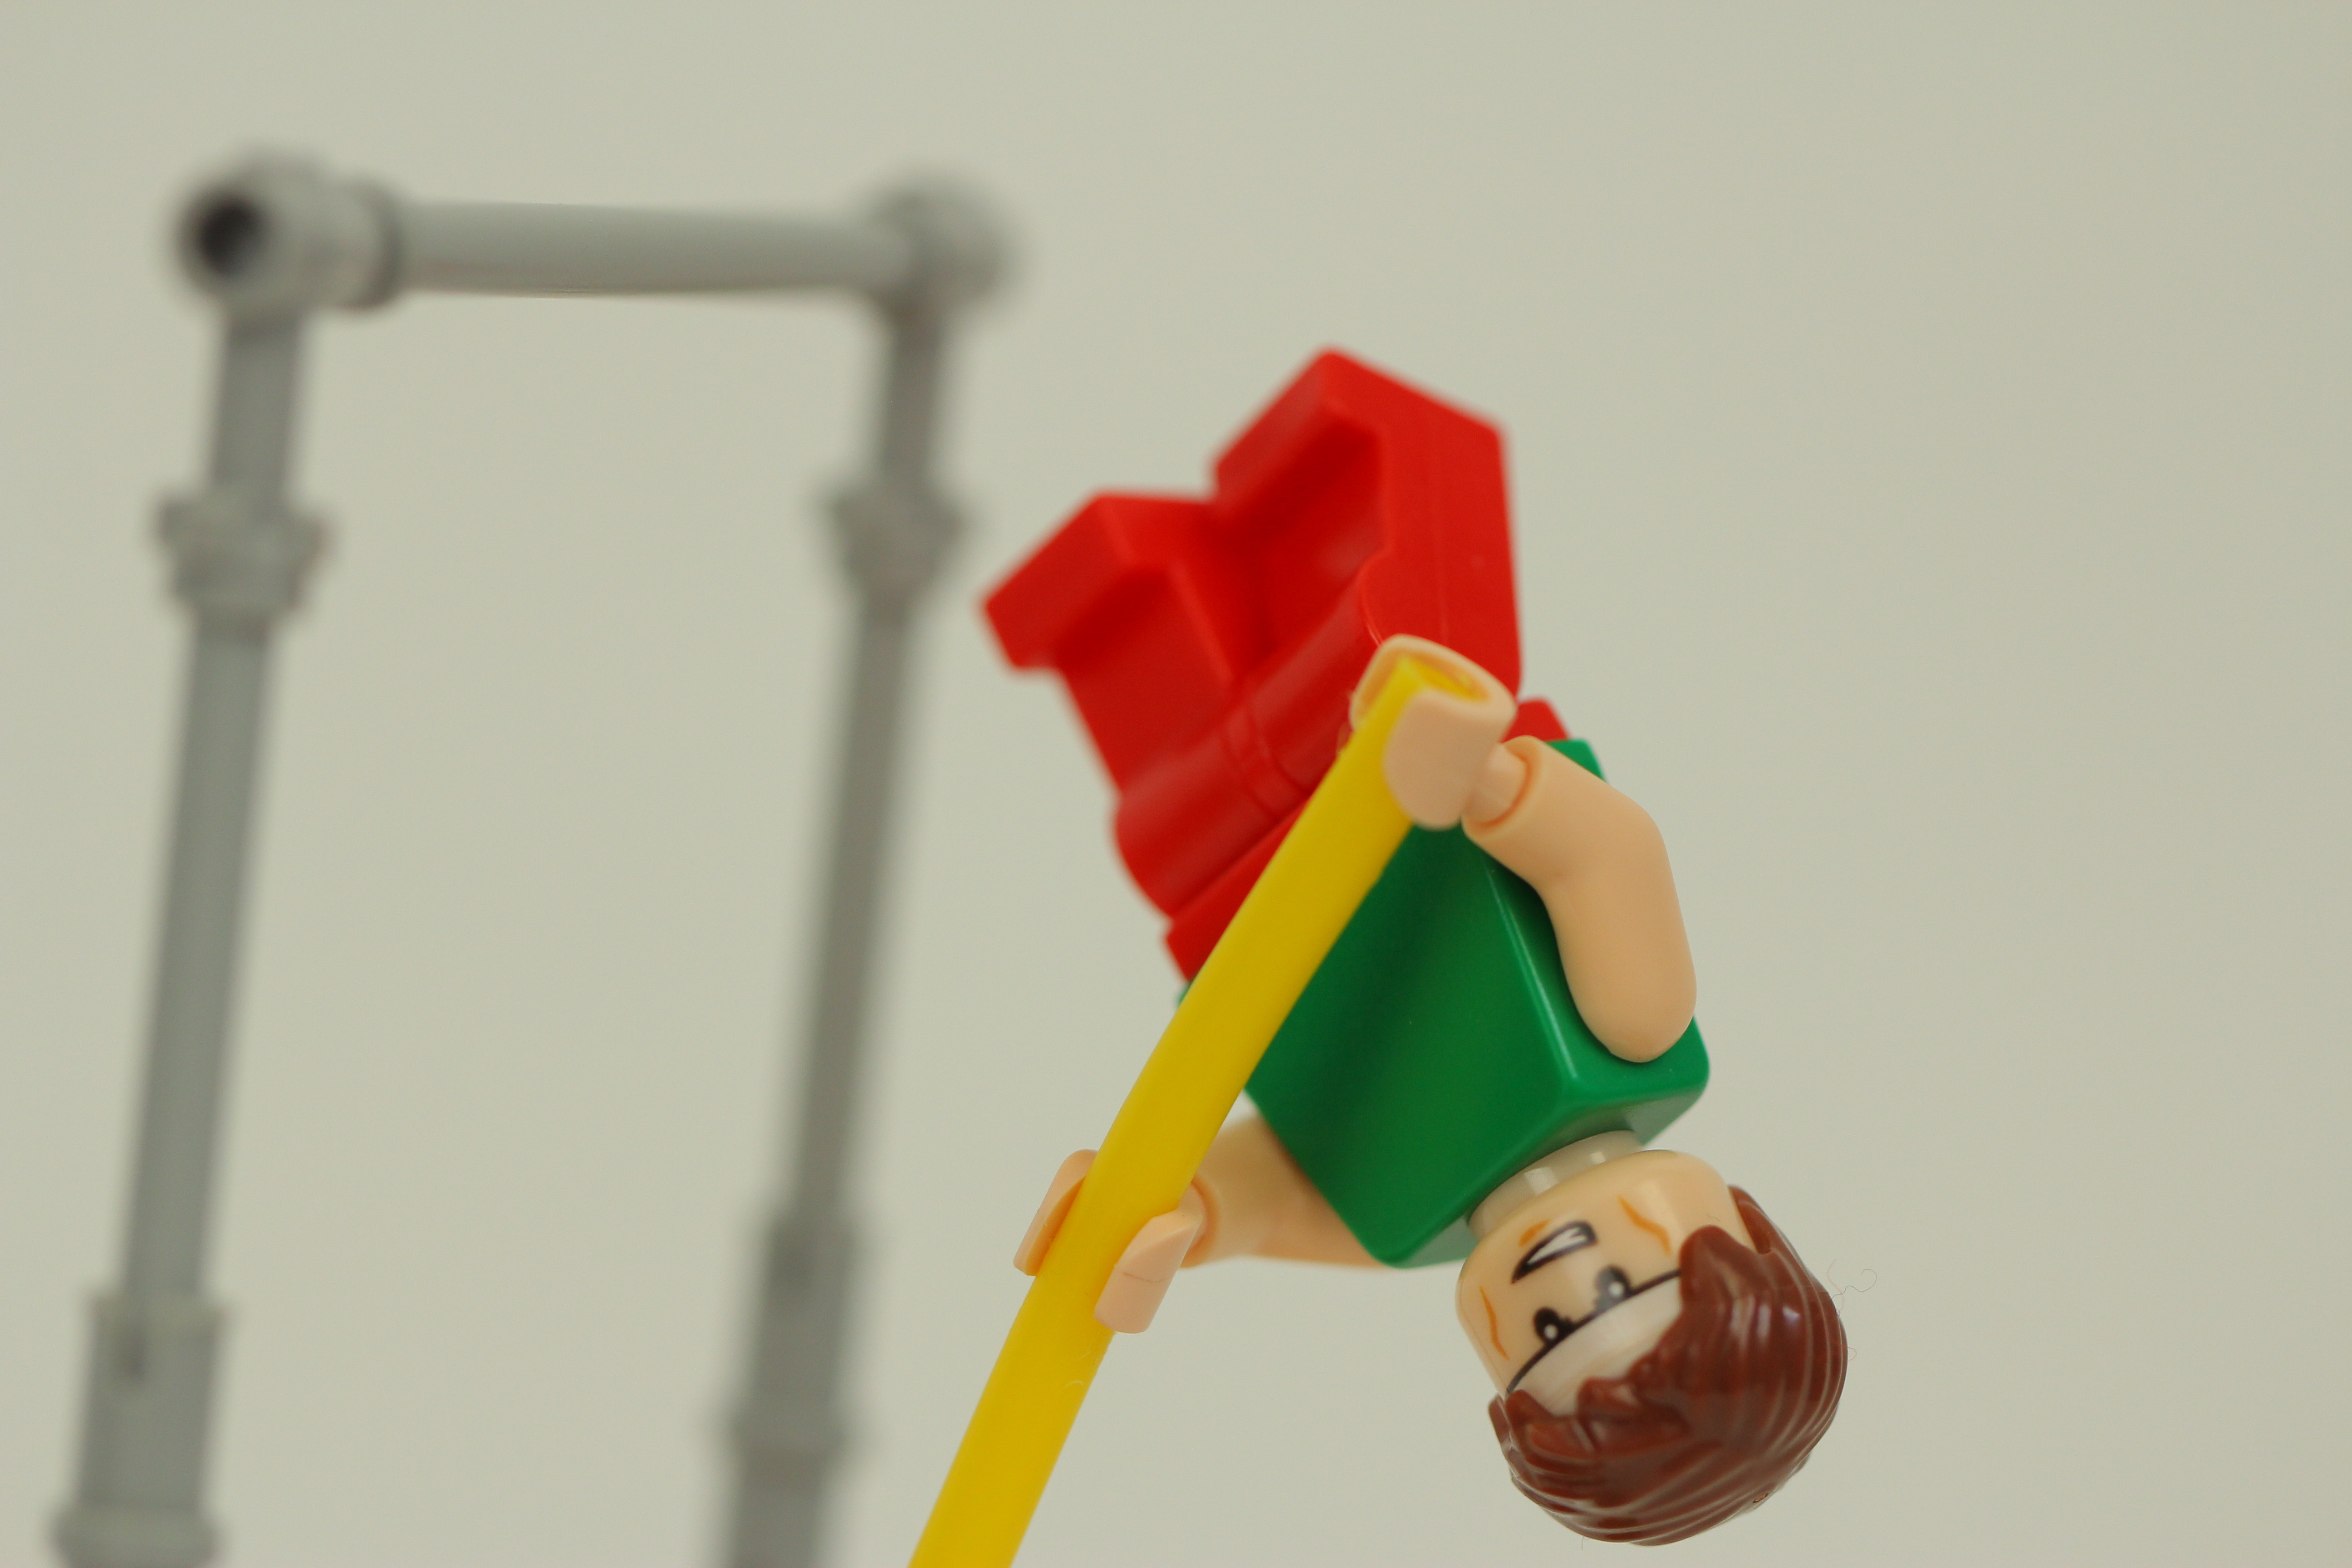
Attach the minifigure to one pole so the figure can hold it as if vaulting.
Step 8
Position the vaulter and pole at a starting spot a few bricks away from the uprights.
Step 9
Tilt the pole to the angle you want to test for your first vault.
Step 10
Gently push the pole so the vaulter swings toward the crossbar.
Step 11
Look carefully and decide whether the bar was cleared.
Step 12
Write the result and a note about how stable the vault felt on your paper.
Step 13
Swap to a different pole length or change the pole angle for another test.
Step 14
Repeat Steps 9 to 12 at least two more times to compare stability for each pole and angle.
Step 15
Share your finished LEGO pole-vaulter scene and what you learned on DIY.org.
Help!?
What can we use if we don't have a LEGO baseplate, long beams, or a minifigure?
If you don't have a LEGO baseplate, long beams, or a minifigure, use a piece of cardboard or a cutting board as the arena (Step 2), wooden skewers or pencils for the poles (Step 7), and a small toy figure or clothespin to attach to a pole (Step 8).
The crossbar keeps falling or the vaulter won't swing properly — what should we try?
If the crossbar keeps falling between the uprights (Step 5) or the pole doesn't swing smoothly when you gently push (Step 10), stabilize the uprights with extra plates under them, add small studs or a dab of reusable putty to cradle the crossbar, and make sure the minifigure is firmly attached to the pole (Step 8).
How can we adapt this pole-vaulter activity for different ages?
For younger kids pre-build the landing pit and uprights and use thicker rods and a soft cloth landing pad (Steps 3–4), while older kids can measure pole angles with a protractor and record detailed stability results on paper to compare different pole lengths (Steps 10–12).
What are some ways to extend or personalize the LEGO pole-vaulter scene after the basic tests?
You can decorate the arena, create a scored experiment sheet to compare stability across pole lengths and angles and time each vault (Steps 11–12 and Step 10), then photograph your finished scene to share on DIY.org (Step 13).
Watch videos on how to make a pole vaulter scene using LEGO®
Tutorial-Lego Birdhouse
4 Videos
Tutorial-Lego Birdhouse

Pole Vaults | How It's Made

Kids Build with a LEGO Expert | HiHo Kids
HOW TO TEACH A KID TO SKATEBOARD!
Facts about LEGO engineering and basic physics
🏅 The men's pole vault world record is 6.23 m, set by Armand Duplantis.
🧱 LEGO has produced hundreds of billions of bricks—enough to give every person on Earth dozens!
📏 Vaulting poles for athletes commonly range from about 3.5 m to 5.5 m; pole length changes leverage and technique.
🎯 Flexible poles bend to store elastic energy, letting vaulters convert running speed into extra height.
🧠 A vaulter can clear the bar while their center of mass stays below it—a cool physics trick to beat the height.
How do you build a LEGO® pole vaulter scene?
What materials do I need for a LEGO® pole vault scene?
What ages is building a LEGO® pole vaulter scene suitable for?
What are the benefits and safety tips for a LEGO® pole vault activity?
