Make a pole cam
Build a safe pole camera using a lightweight phone or toy camera, secure mount, and remote trigger to take high-up photos with adult supervision.


Step-by-step guide to build a pole camera
How to make a Wildlife Camera (using a Raspberry Pi!) | Maddie Moate
Step 1
Gather all materials and bring them to a clear flat workspace so everything is easy to reach.
Step 2
Check the pole carefully and make sure it has no cracks or splinters and the end is smooth.
Step 3
Place a piece of foam padding or sponge on the top end of the pole to protect the camera.
Step 4
Position the phone tripod mount or phone holder centered on top of the padded area.
Step 5
Thread zip ties through the mount and around the pole to hold the mount in place.
Step 6
Pull each zip tie tight so the mount cannot move.
Step 7
Cut off the excess zip tie tails with scissors so there are no sharp bits sticking out.
Step 8
Wrap duct tape around the mount area to reinforce the zip ties and make the mount extra secure.
Step 9
Clip or screw the lightweight camera into the mount so it is held firmly in the holder.
Step 10
With an adult present ask them to hold the pole low to the ground while you and they gently move it to check the camera is stable.
Step 11
Pair the Bluetooth remote with the camera following the camera's pairing steps.
Step 12
With an adult helping slowly raise the pole to the height you want and use the remote to take a few test photos.
Step 13
Lower the pole carefully and ask the adult to inspect the mount and camera for any looseness or damage then share your finished pole cam on DIY.org
Help!?
What can I use instead of a phone tripod mount, foam padding, or zip ties if I can't find them?
Swap the tripod mount for a sturdy phone clamp or an old phone case attached to a small tripod adapter, use a folded dish sponge or a section of pool noodle as the foam padding on the pole top (step 3), and replace zip ties with strong Velcro straps or small hose clamps threaded through the mount (step 5).
My mount slips or the camera wobbles when I raise the pole—what should I check and do?
If the mount slips, rethread and tighten the zip ties, add a second row of zip ties, wrap several layers of duct tape around the mount area for reinforcement (step 7), and always have an adult hold the pole low while you test stability (step 11).
How can I adapt the activity for younger kids or make it more challenging for older kids?
For younger children, use a shorter pole (broom handle), pre-cut zip ties and pre-wrap the duct tape and have an adult lift and hold the pole while the child presses the Bluetooth remote (steps 1, 5, 7, 11–12); for older kids, let them select a lightweight action camera, attach the mount themselves, and experiment with higher shots and timed sequences (steps 8–13).
How can we extend or personalize the pole cam project after it's built?
Personalize and improve the pole cam by decorating the pole with colored duct tape, adding extra foam or a cheap gimbal under the mount for steadier footage, securing a wrist leash or safety line to the camera, and trying timelapse or panorama modes with the Bluetooth remote (steps 3, 7, 8, 12).
Watch videos on how to build a pole camera
Bravest Cameras for Wildlife!
4 Videos

Bravest Cameras for Wildlife!

A Camera, Two Kids and a Camel | National Geographic
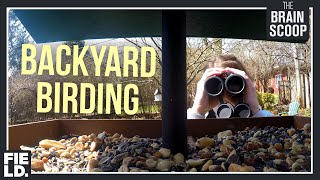
Backyard Birding: Feeder Cam!

How-to Take Awesome Pet Photos Outside
Facts about DIY photography for kids
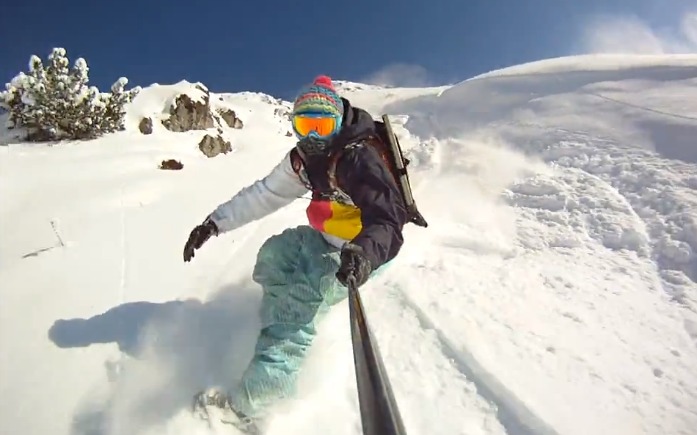
📷 Pole cams let you capture bird's-eye photos without a drone, giving cool overhead views from a safe distance.
🧲 Many DIY mounts use clamps, zip ties, or velcro — pros also add a safety tether so the camera can't fall if the mount slips.
🔋 Remote triggers (Bluetooth or wired shutter releases) let you take photos from the ground while someone steadying the pole watches.
🪜 Using a lightweight phone or toy camera makes the pole easier and safer to handle; heavy cameras need sturdier gear and more adult help.
🌳 Always have adult supervision and scan the area for power lines, tree branches, and wind before raising a pole camera.
How do I build a safe pole camera with my child?
What materials do I need to make a pole cam?
What ages is a pole cam activity suitable for?
What safety precautions should we follow when using a pole cam?
