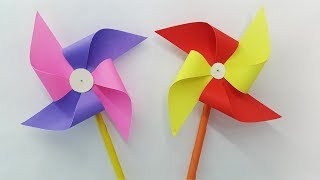
Make a Pinwheel Move!
Make a paper pinwheel and test how it spins using breath, a fan, or outdoor wind to explore airflow, force, and simple motion.


Step-by-step guide to make a pinwheel move
Step 1
Fold one corner of the paper diagonally to the opposite edge and crease the fold to form a triangle.
Step 2
Cut along the straight edge of the triangle to remove the extra strip and make a square.
Step 3
Use the ruler to draw an X from corner to corner so the two diagonal lines cross at the center.
Step 4
Cut along each diagonal line from the corners toward the center and stop about 2 cm before the center.
Step 5
Decorate each triangle section with your colouring materials to make a bright pinwheel.
Step 6
Fold every other corner tip into the center so four folded tips meet at the middle.
Step 7
Push the pushpin carefully through the stacked folded tips at the center of the pinwheel.
Step 8
Slide a small bead onto the pushpin if you are using one to help the pinwheel spin more freely.
Step 9
Push the pushpin back through the paper and into the pencil eraser so the pinwheel is held but can spin.
Step 10
Hold the pencil upright and give the pinwheel a gentle blow to test how it spins.
Step 11
Hold the pinwheel in front of a running fan to see how steady airflow affects its speed.
Step 12
Take the pinwheel outside and hold it in the wind to test spinning with natural airflow.
Step 13
Watch and compare how breath fan and wind change the pinwheel’s speed and direction.
Step 14
Share a photo or video of your finished pinwheel and what you discovered on DIY.org
Final steps
You're almost there! Complete all the steps, bring your creation to life, post it, and conquer the challenge!

Help!?
What can we use if we don't have a pushpin, bead, or pencil eraser?
If you don't have a pushpin, slide a straight sewing pin or small nail through the stacked folded tips at the center and push it into a cork or bottle cap instead of the pencil eraser, and use a small plastic bead or a metal washer in place of the bead to help the pinwheel spin more freely.
My pinwheel won't spin — what might be wrong and how do I fix it?
Check that each diagonal cut stopped about 2 cm before the center, that the four folded tips meet exactly at the middle, and that the pushpin isn't pressed too tightly into the pencil eraser (or add the small bead) so the paper can rotate freely.
How can I adapt this activity for different ages?
For preschoolers have an adult pre-cut the square and pre-pierce the center then let them decorate and fold every other corner tip into the center, while older kids can try thicker cardstock, larger squares, or mount the pinwheel on a straw to test airflow from the fan and wind.
How can we extend or personalize the pinwheel project?
Decorate each triangle section differently, add tiny weights or reflective stickers to some blades, make several sizes to compare how size and the slide-on bead affect spinning when held in front of a running fan, and share photos or videos of your discoveries on DIY.org.
Watch videos on how to make a pinwheel move
How to Make a DIY Paper Windmill (Pinwheel) - Easy Craft for Kids
4 Videos
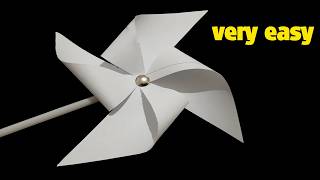
How to Make a DIY Paper Windmill (Pinwheel) - Easy Craft for Kids
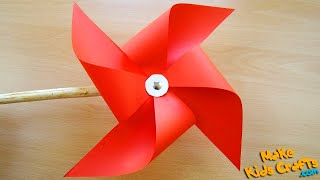
How to make a pinwheel that spins? | Paper Windmill | Paper Pinwheel Tutorial | Easy Crafts | DIY
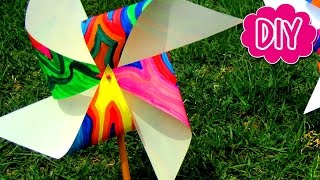
DIY PINWHEEL Easy Kids Science
How to make a Paper Windmill for Kids - Best Windmill making Tutorial - Easy instruction (Pinwheel)
Facts about airflow and motion
✂️ You only need paper, a pin, and a stick to build a working pinwheel—simple materials that teach engineering basics.
📏 Anemometers measure wind speed using spinning cups or propellers—it's the same spinning idea as a pinwheel.
🌬️ Blow harder on a pinwheel and it speeds up—an easy way to see Newton's second law (force = mass × acceleration).
🌀 Pinwheels turn because airflow pushes on the angled blades, converting straight air into rotation.
💨 Small paper pinwheels can start spinning in breezes as light as about 2–3 m/s (5–7 mph).
How do you make a paper pinwheel and test how it spins?
What materials do I need to make a paper pinwheel?
What ages is the pinwheel activity suitable for?
What are the benefits, safety tips, and variations for pinwheel experiments?


One subscription, many ways to play and learn.
Only $6.99 after trial. No credit card required