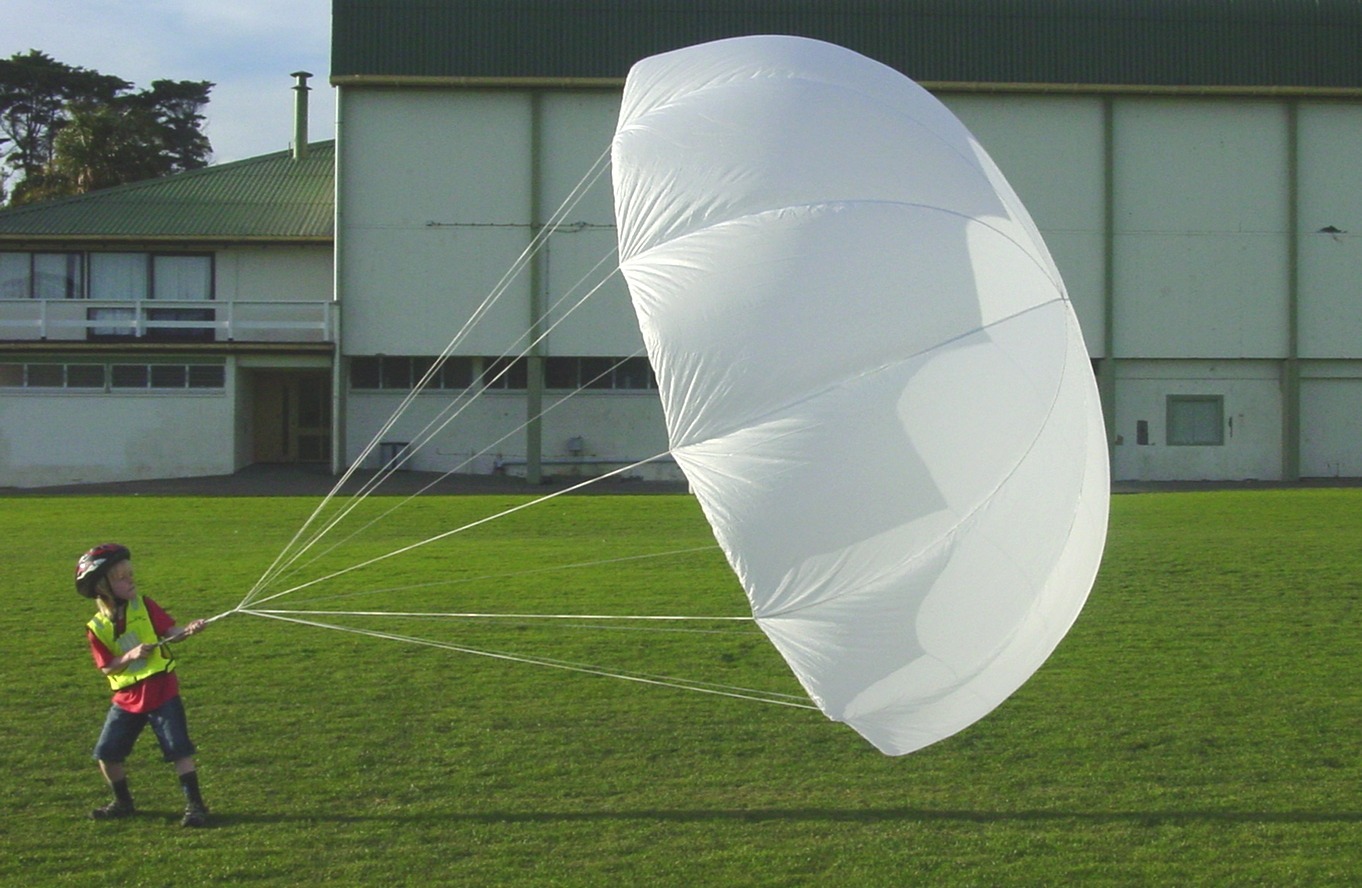
Make a parachute
Make a simple parachute using a plastic bag, string, and a small toy; test how canopy size and weight affect fall speed.


Step-by-step guide to make a simple parachute
How To Make a Parachute at Home ✂️ | Super Easy & Fun DIY Project for Kids #ParachuteDIY #EasyCraf
Step 1
Gather all the materials on a clear table so everything is ready.
Step 2
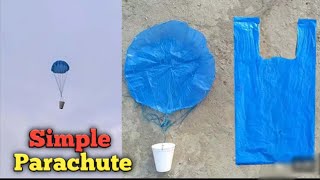
Lay the plastic bag flat on the table and smooth out any wrinkles.
Step 3
Use the ruler and marker to draw a 30 cm by 30 cm square on the flattened bag.
Step 4
Cut along the drawn lines to make the parachute canopy.
Step 5
Make four small holes about 2 cm in from each corner of the canopy using the scissors.
Step 6
Cut four equal pieces of string about 30 cm long each.
Step 7
Tie one string securely to each of the four corner holes.
Step 8
Gather the four loose string ends and tie them together into one strong knot.
Step 9
Tie the knot to the top of your small toy so the toy hangs straight beneath the canopy.
Step 10
Hold the toy about 1 meter above the floor and release it so the parachute falls.
Step 11
Time the fall by counting “one-Mississippi” or by using a timer and remember the result.
Step 12
Make the canopy smaller by folding each edge inward and taping the folds so the canopy has less surface area.
Step 13
Add one paper clip or one small coin to the toy as extra weight.
Step 14
Repeat the drop from the same height and time the fall the same way to see how the change affected speed.
Step 15
Share a photo or video of your finished parachute and what you discovered on DIY.org.
Help!?
What can we use instead of a plastic bag, string, or a small toy if those items are hard to find?
Use a lightweight fabric square or cut a 30 cm square from a plastic tablecloth instead of the plastic bag, swap the strings for yarn or dental floss for the four 30 cm ties, and use a small LEGO figure or a metal washer as the toy.
My parachute tilts, the canopy tears at the holes, or the knot comes loose—what fixes should I try?
Make sure each of the four 30 cm strings is exactly the same length so the toy hangs centered, reinforce the 2 cm-from-corner holes with tape or a small paper washer before tying, and double-knot the gathered strings for a stronger connection to the toy.
How can I adapt the activity for younger children or older kids who want a bigger challenge?
For younger children, have an adult pre-cut the 30 cm square and pre-punch the four 2 cm corner holes and give them pre-cut 30 cm strings to tie and drop a very light toy, while older kids can fold and tape the canopy to reduce surface area, add paper-clip weights, and run timed trials.
How can we make the parachute more fun or turn it into a longer experiment?
Decorate the flattened plastic bag before cutting, experiment with different canopy sizes by folding and taping edges as instructed, add coins or paper clips to change weight, record and compare fall times, and share your photos and findings on DIY.org.
Watch videos on how to make a simple parachute
How to Make a toy Parachute from a Recycled Plastic Bag | DIY Fun for kids.
4 Videos
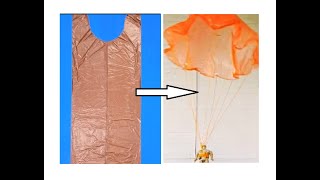
How to Make a toy Parachute from a Recycled Plastic Bag | DIY Fun for kids.
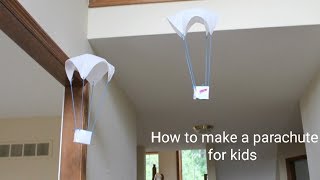
How to make a parachute for kids / homemade parachute / fun toy
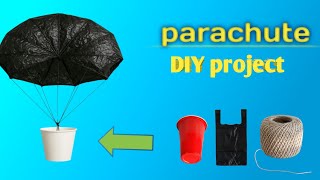
"Easy Science Project: Build Your Own Parachute at Home!"
How to Make a Simple Parachute Using a Plastic Bag
Facts about aerodynamics for kids
🪂 The first recorded parachute descent was by André-Jacques Garnerin in 1797 — over 200 years ago!
🌬️ A parachute works by increasing air resistance (drag) so you fall much slower than free fall.
⏱️ Falling objects reach a steady speed called terminal velocity when gravity and air resistance balance out.
⚖️ Heavier toys drop faster under the same canopy, but a larger canopy can slow even heavier loads down.
📏 Small changes — canopy size, shape, or string length — can make a parachute fall steady, wobble, or spin.
How do I make a simple parachute with a plastic bag and toy?
What materials do I need to build a DIY parachute?
What ages is this parachute experiment suitable for?
What are the benefits, safety tips, and variations for parachute drops?
