Make a Paper Roll Dad
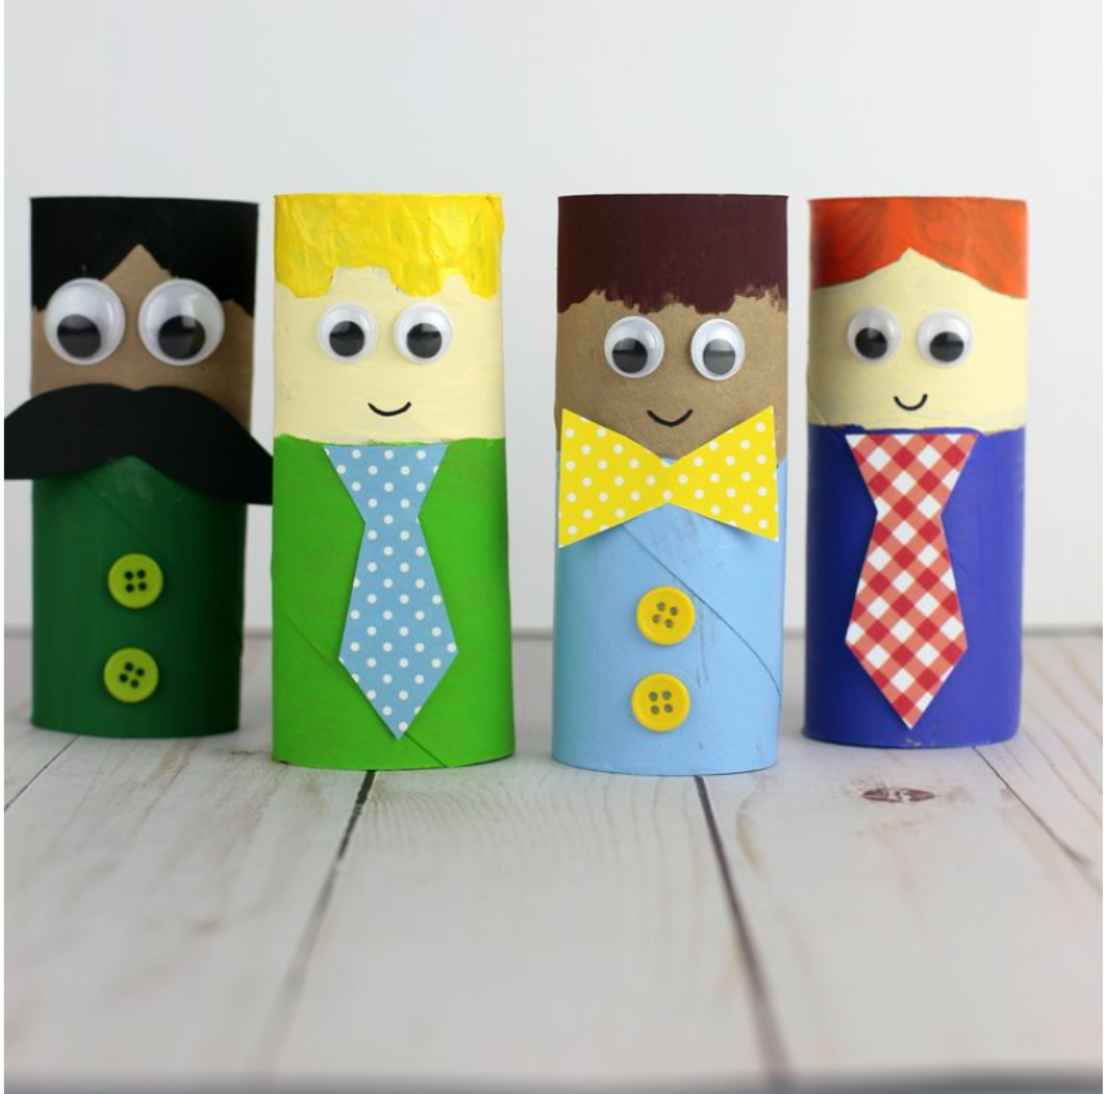
Make a Paper Roll Dad using a cardboard tube, colored paper, markers, and glue; design clothes, facial features, and movable arms to personalize.


Step-by-step guide to Make a Paper Roll Dad
Step 1
Gather all your materials and set a clean workspace.
Step 2
Cut a large rectangle of colored paper that will wrap all the way around the tube.
Step 3
Spread glue along one long edge of the rectangle.
Step 4
Wrap the glued rectangle around the tube and press to secure the shirt.
Step 5
Cut a smaller strip of colored paper for pants or a shirt hem.
Step 6
Glue the smaller strip near the bottom of the tube to make pants or a hem.
Step 7
Cut an oval from skin-colored paper for the face.
Step 8
Draw eyes nose and a mouth on the oval with markers.
Step 9
Glue the face oval near the top of the tube.
Step 10
Cut a hair shape from colored paper for the hairstyle you want.
Step 11
Glue the hair shape above the face.
Step 12
Cut two arm strips from colored paper about as long as the tube.
Step 13
Make a small hole in each side of the tube where the arms will go and make a small hole at one end of each arm strip.
Step 14
Attach each arm by pushing a paper fastener through an arm end and the tube hole and then spread the prongs to secure so the arms can move.
Step 15
Share a photo of your finished Paper Roll Dad on DIY.org.
Help!?
What can I use if I don't have paper fasteners for the movable arms?
If you don't have paper fasteners for the movable arms, use small brass brads or split pins, thread a short piece of string or twist-tie through the arm and tube hole to tie a movable knot, or staple and glue the arm end to the tube for a fixed arm.
My tube tore when I made the arm holes — how can I fix or prevent that?
To prevent tearing when you 'Make a small hole in each side of the tube', use a hole punch or poke holes with a thick needle, then reinforce each tube hole with a glued-on scrap paper circle before inserting the fastener so the arms can move freely.
How can I adapt this activity for younger or older kids?
For preschoolers, pre-cut the large colored rectangle, face oval, hair, and arm strips and glue the arms instead of using paper fasteners, while older kids can cut their own pieces, add detailed clothing designs to the wrapped shirt, and use brads for movable joints.
How can we make the Paper Roll Dad more unique or advanced?
Personalize and extend the craft by adding glued-on buttons or patterned paper to the wrapped 'shirt', attaching googly eyes over the drawn eyes, using extra strips and brads to make movable legs, and creating outfits or accessories before sharing a photo on DIY.org.
Watch videos on how to Make a Paper Roll Dad
How to Make Father's Day Trophy Card - paper crafts for kids
4 Videos
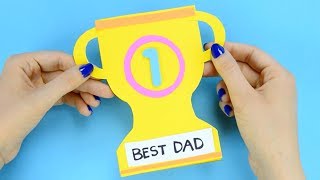
How to Make Father's Day Trophy Card - paper crafts for kids
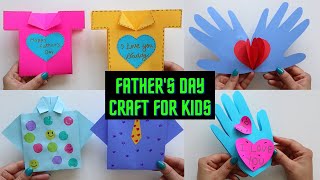
FATHER'S DAY CRAFT FOR KIDS | Cute & Easy to make Father's Day Card | Kids Craft Ideas at Home
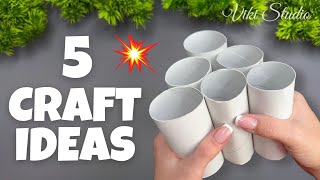
5 IDEAS 💥 Easy Recycling Crafts ♻️ with Paper Rolls - DIY Decorations!
How to Make a DIY Father's Day Magic Card - paper crafts for kids
Facts about cardboard and paper crafts
🎨 Papercraft techniques—like cutting, folding, and gluing—have been used for centuries to make toys, decorations, and models.
📦 Cardboard tubes (like toilet paper rolls) are a favorite upcycling material for kids' crafts because they're sturdy and lightweight.
✂️ Movable arms on paper tube figures can be made with paper hinges, split pins (brads), or short pieces of string for simple joint motion.
👨👧👦 Father's Day is celebrated on the third Sunday of June in many countries—perfect timing for homemade 'Paper Roll Dad' gifts.
🔁 Turning empty paper rolls into crafts keeps them out of the trash and gives kids a fun, eco-friendly project to make.
How do I make a Paper Roll Dad?
What materials do I need to make a Paper Roll Dad?
What ages is the Paper Roll Dad craft suitable for?
What are the benefits of making a Paper Roll Dad?
