Make a paper mask
Create a wearable paper mask using paper, scissors, string or elastic, and decorations, practicing measuring, cutting, and safe craft skills while expressing creativity.


Step-by-step guide to make a paper mask
Paper Mask Origami Tutorial | DIY Paper Mask for Kids (EASY!)
Step 1
Gather all your materials and put them on a clear table so everything is easy to reach.
Step 2
Measure your head width at eye level with the ruler and write that number on the paper.
Step 3
Draw a mask outline on the paper using the measurement as the width and any fun shape you like.
Step 4
Mark two eye positions on the mask outline spaced about the same distance as your eyes.
Step 5
Cut out the mask outline carefully with safety scissors following your drawing.
Step 6
Cut out the eye holes where you marked them so you can see through the mask.
Step 7
Colour and decorate the mask with markers crayons and stickers to make it look awesome.
Step 8
Glue on any extra decorations and let the glue dry completely before moving on.
Step 9
Punch a hole on each side of the mask where the ear area will be.
Step 10
Thread elastic or string through each hole and tie knots so the mask fits comfortably around your head.
Step 11
Put the mask on and ask an adult to help trim or adjust for comfort if needed.
Step 12
Take a photo of your finished mask and share your creation on DIY.org
Help!?
What can we use if we don't have elastic, stickers, or a hole punch?
Use ribbon, yarn, or a strip of fabric threaded through hand-made slits in step 10 and replace stickers with small cut paper shapes glued on in step 7.
Why can my child not see well through the mask after cutting the eye holes?
If the eye holes from step 5 are too small or off-center, hold the mask to the child's face, re-measure eye spacing with the ruler from step 2, and carefully enlarge or reposition the holes with safety scissors a little at a time.
How can I adapt this mask activity for different age groups?
For toddlers (3–5) pre-cut the outline in step 4 and let them do steps 6–8 with supervision, while older kids can precisely measure head width in step 2, add layered decorations in step 7, and finish the elastic threading in step 10 themselves.
How can we make the finished mask more special before taking a photo to share?
Glue a second sheet of paper to the back in step 4 for strength, add sequins or feathers when gluing decorations in step 7, and trim edges in step 11 for a neat look before photographing for DIY.org.
Watch videos on how to make a paper mask
How to Make Halloween Masks for Kids! | Create a Halloween Paper Craft with Bri Reads
4 Videos
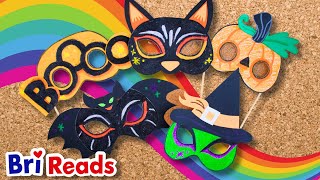
How to Make Halloween Masks for Kids! | Create a Halloween Paper Craft with Bri Reads
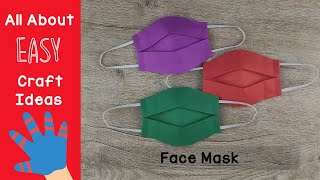
Kids DIY Face Mask | How to make Paper MASK for kids | Easy Origami | Mask With Paper
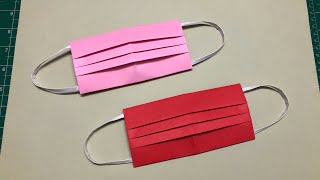
How to make a PAPER MASK 😷 ll Easy Origami FACE MASK || DIY Paper Crafts
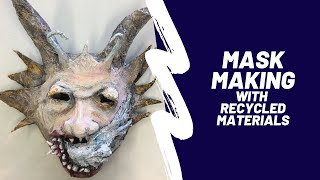
Mask Making with Papier Mache and recycled materials. Easy step by step tutorial for all levels.
Facts about paper crafts for kids
🎭 Masks have been used for over 4,000 years in rituals, theater, and celebrations around the world.
📄 Paper was invented in China around the 2nd century CE and quickly became a favorite for crafts because it's cheap and easy to cut.
✂️ Safety scissors for kids usually have rounded tips and special blades to help prevent pokes and nicks while cutting paper.
📏 Measuring twice before cutting is a maker's secret — it helps your mask fit better and saves materials from being wasted.
🎨 The ornate masks of Venice's Carnival can be so detailed that some antique masks sell for hundreds or even thousands of dollars.
How do you make a wearable paper mask?
What materials do I need for a paper mask?
What ages is this activity suitable for?
What are safety tips and fun variations for paper masks?
