Make a paper maché model
Make a paper mache model by layering torn newspaper and glue over a balloon or cardboard form; paint and decorate your hardened sculpture afterward.


Step-by-step guide to make a paper mache model
How to Make Paper Mache📄 🥣
Step 1
Lay the plastic sheet or towel on your work surface and put all materials within reach.
Step 2
Choose and set up your form by inflating a balloon to the size you want or building a cardboard shape and securing it with masking tape.
Step 3
Mix one part white glue with one part water in a bowl and stir until smooth or make a flour paste by mixing flour and water until smooth.
Step 4
Tear newspaper into strips about 1 to 2 inches wide.
Step 5
Dip one strip into the paste and slide it between your fingers to remove excess paste.
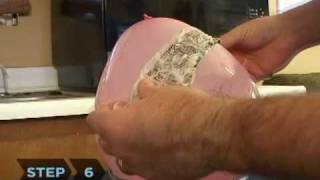
Step 6
Place the strip onto the form and smooth it flat with your fingers.
Step 7
Continue adding overlapping strips until the form has three to four solid layers.
Step 8
Let the paper mache dry completely for 12 to 24 hours until hard.
Step 9
If you used a balloon pop it and pull it out or if you used cardboard carefully open seams to remove the hardened shell.
Step 10
Trim any rough edges with scissors to make the shape neat.
Step 11
Paint a base coat on your sculpture using your paint and a brush.
Step 12
Let the paint dry completely before adding more details.
Step 13
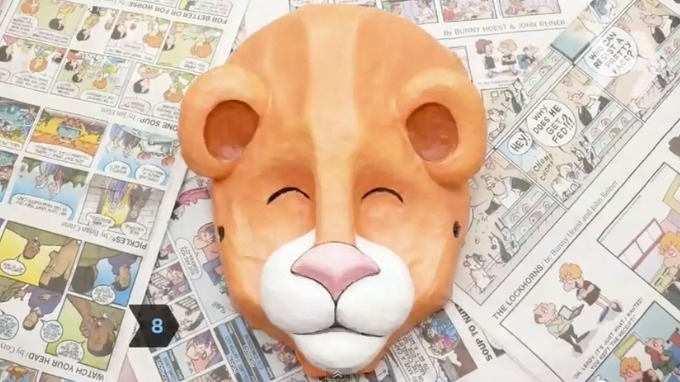
Add decorations like painted details stickers or glitter to finish your sculpture.
Step 14
Share your finished creation on DIY.org
Help!?
What can we use if white glue or newspaper are hard to find?
Use equal parts school glue and water or the flour-and-water paste from step 3, and substitute torn printer paper or scrap paper for the newspaper strips in step 4.
My paper maché is peeling or taking too long to harden — what should I fix?
Make sure you slide excess paste off each strip as in step 5, overlap three to four solid layers per step 7, and let the form dry on a warm, ventilated surface for the full 12–24 hours in step 8.
How can I adapt this project for younger children or older kids?
For younger children, pre-tear 1–2 inch strips, use a cardboard form taped together in step 2, and have an adult do cutting and popping from step 9, while older kids can build complex cardboard armatures, add extra layers in step 7, and paint detailed decorations in steps 11–13.
What are some ways to personalize or enhance our finished sculpture?
After trimming in step 10 and applying the base coat from step 11, personalize by adding painted details, stickers, glitter from step 13, or glue small battery LED lights inside the hollow shell after removing the balloon in step 9 and seal with clear varnish.
Watch videos on how to make a paper mache model
How to Make Paper Mache | The BEST Paper Mache Recipe
3 Videos
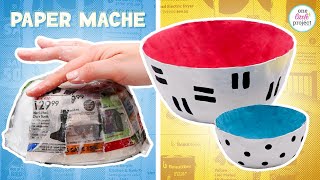
How to Make Paper Mache | The BEST Paper Mache Recipe
How to Make Papier-Mache
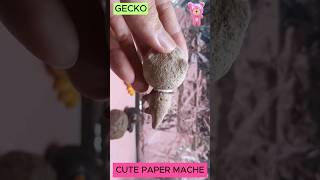
GECKO EP.3 Papier Mache Animals step-by-step tutorial How to make a paper mache
Facts about paper crafts for kids
🎭 Papier-mâché has been used for centuries worldwide to make masks, puppets, and festival figures.
📰 Torn newsprint is perfect for layering because its thin fibers bend and stick easily without adding too much weight.
🧴 A simple, kid-safe glue for papier-mâché can be made from flour and water — no store-bought adhesives required.
🕒 Thin, even layers dry much faster than thick globs; patience and thin strips = quicker sculpting!
🎨 Some artists build giant papier-mâché parade floats and figures that take weeks to assemble and paint.
How do you make a paper maché model by layering torn newspaper and glue over a balloon or cardboard form?
What materials do I need to make a paper maché model?
What ages is making a paper maché model suitable for?
What safety tips should I follow when making a paper maché model?
