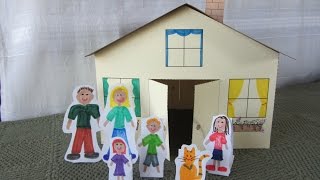
Make a paper character
Fold, cut, and decorate a movable paper character using cardstock, scissors, and brads; design features, color clothing, and create simple jointed movement.


Step-by-step guide to make a movable paper character
Paper Craft Tutorial: Paper People
Step 1
Gather all your materials and clear a flat workspace so you have room to fold and cut.
Step 2
Fold one sheet of cardstock in half vertically so the fold will be the center line of your character.
Step 3
Draw the outline of the character body and head along the folded edge so the shape will be symmetrical when cut.
Step 4
Cut the drawn shape out through both layers of the folded cardstock to make a symmetrical body.
Step 5
Unfold the body and lay it flat on your workspace so you can add details and joints.
Step 6
Use a separate small piece of cardstock and draw simple arms and legs sized to match your body.
Step 7
Cut out the arms and legs carefully along your drawn lines.
Step 8
Decorate the body and each limb with colouring materials to add faces clothes and fun patterns.
Step 9
Decide where the shoulders hips and neck joints should be and mark small dots on the body and the matching ends of each limb.
Step 10
Punch holes at each marked dot using the hole punch making sure the holes line up between body and limb.
Step 11
Attach each limb to the body by pushing a brad through the aligned holes and bending the brad prongs open flat but loose enough so the joint can move.
Step 12
Take a photo and share your finished movable paper character on DIY.org
Help!?
What can we use if we don’t have cardstock, a hole punch, or metal brads?
Use heavy printer paper or glue two regular sheets together in place of cardstock, make holes with a thick needle or sharpened pencil if you lack a hole punch, and attach limbs by threading string, using small safety pins, or securing with tape instead of metal brads when following the folding, cutting, and joint steps.
My holes don’t line up or the limb joints are too stiff—how can I fix that?
Before punching, mark matching dots on the folded body and each limb and test-align them, then widen holes slightly with an awl or pencil and bend brad prongs only flat enough to hold but loose enough so the attached limbs can move freely.
How can I adapt this activity for younger kids or older kids?
For younger children, pre-fold and pre-cut the body, pre-punch holes, and use stickers or tape instead of brads for joints, while older kids can draw more complex symmetrical outlines, add extra jointed limbs, and use a craft knife for finer cuts under supervision.
How can we make the paper character more durable or more personalized?
Make the character sturdier by gluing a second cardstock layer or laminating the body, improve joint movement with small washers or beads on the brads, and personalize it with layered paper clothes, googly eyes, or a decorated background before taking the photo to share on DIY.org.
Watch videos on how to make a movable paper character
How to Make A Paper Dolls OC | Easy CRAFT Tutorial | DIY
4 Videos
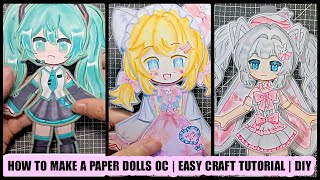
How to Make A Paper Dolls OC | Easy CRAFT Tutorial | DIY
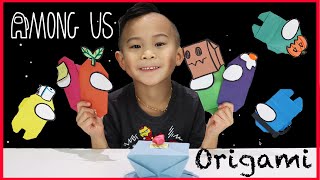
How to Make Among Us Characters with Paper Easy Origami for Kids
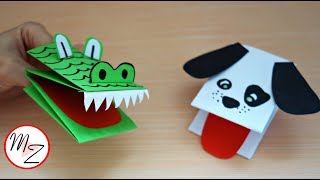
How to make a hand puppet from one sheet of paper | Animal hand puppets DIY | Maison Zizou
Paper People Children's Craft
Facts about paper crafts for kids
✂️ Paper dolls have entertained kids for centuries — versions date back to the 1700s when people cut paper figures by hand.
🎨 Cardstock is thicker and sturdier than regular paper (often around 200–300 gsm), perfect for characters that move and last longer.
🧷 Brads (split pins) act as tiny pivoting joints so paper arms and legs can swing and rotate.
🤸 Movable paper figures called "jumping jacks" were a popular European folk toy and use simple joints or strings to animate.
♻️ Upcycling cereal boxes or old folders into cardstock is a cheap, eco-friendly way to make durable paper characters.
How do you make a movable paper character by folding, cutting, and decorating?
What materials do I need to make a movable paper character?
What ages is this movable paper character activity suitable for?
What are some fun variations for a movable paper character?
