Make a mood board
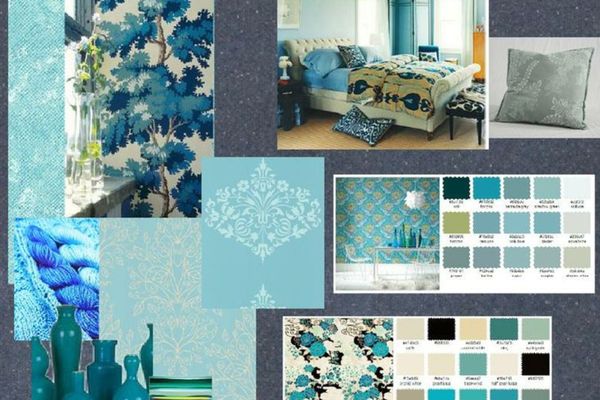
Create a personal mood board using magazines, fabric scraps, drawings, and colored paper to explore colors, feelings, and design composition while arranging and gluing elements.

Step-by-step guide to make a mood board
How to create a mood board using Canva
Step 1
Clear a flat workspace and gather all the materials so everything is within reach.
Step 2
Choose one mood word like happy calm excited or cozy to describe how you want your board to feel.
Step 3
Pick 2 to 4 main colors that match your mood to use across your images fabric and paper.
Step 4
Flip through magazines and cut or tear out pictures and textures that match your mood and colors.
Step 5
Cut fabric scraps and colored paper into shapes that fit your mood like circles strips or squares.
Step 6
Draw small personal doodles or symbols on extra colored paper to add your own touch.
Step 7
Place your poster board on the table and spread out the pictures fabric pieces and drawings without gluing them.
Step 8
Move pieces around until the layout looks balanced and the colors and shapes feel right.
Step 9
Glue the background pieces down first then glue the middle and top layers one at a time.
Step 10
Add finishing details with coloring materials labels or small cutouts to emphasize your mood.
Step 11
Let the glue dry completely so nothing shifts or peels off.
Step 12
Write your name and the mood word on the board to show it is yours.
Step 13
Share your finished mood board on DIY.org
Final steps
You're almost there! Complete all the steps, bring your creation to life, post it, and conquer the challenge!

Help!?
Can I substitute materials if I don't have poster board, magazines, or fabric scraps?
Yes—use a flattened cereal box or large cardboard instead of poster board, print and cut images from the internet in place of magazines, repurpose old T‑shirts or tissue paper for fabric scraps, and use a glue stick or double-sided tape when following the gluing steps.
My pictures keep shifting or wrinkling when I glue layers—what should I do?
To stop shifting and wrinkling when you glue the background, middle, and top layers, apply glue sparingly or use a glue stick for paper, press each glued area flat with a clean ruler or book, and let the glue dry completely under weight as the instructions say.
How can I adapt this mood board activity for different age groups?
For preschoolers pre-cut the colored paper and fabric into simple shapes and limit them to two main colors and one layer at a time, while older kids can choose 2–4 complex colors, draw detailed doodles, layer multiple fabrics and papers, and add labeled finishing details as in the steps.
What are some ways to extend or personalize the finished mood board?
You can personalize and extend the board by adding 3D items like buttons or ribbon glued on top layers, stitching a small fabric patch, writing a short caption beside your mood word, or laminating/photographing it to share on DIY.org.
Watch videos on how to make a mood board
How to Create a Great Mood Board | Simple Step by Step Guide
4 Videos
How to Create a Great Mood Board | Simple Step by Step Guide
How To Create a Moodboard on Canva (Step By Step)
How to design and create mood boards
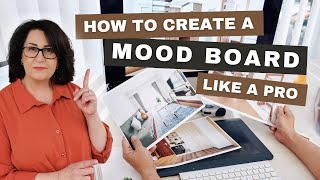
How to create Mood boards - like a pro!
Facts about collage and mixed-media art
♻️ Using magazine clippings and fabric scraps for mood boards is a great upcycling trick that reduces waste.
📐 Arranging items on a mood board helps practice layout and composition skills used in design and storytelling.
🧩 Collage as an art form was popularized by Pablo Picasso and Georges Braque in the early 20th century.
🎨 Colors can change how we feel—warm colors often feel energetic while cool colors feel calming.
🎨 Mood boards are a favorite tool for designers to gather inspiration and make big creative choices quickly.
How do I make a personal mood board with my child?
What materials do I need to make a child's mood board?
What ages is making a mood board suitable for?
What are the benefits, safety tips, and variations for a child's mood board?


One subscription, many ways to play and learn.
Only $6.99 after trial. No credit card required