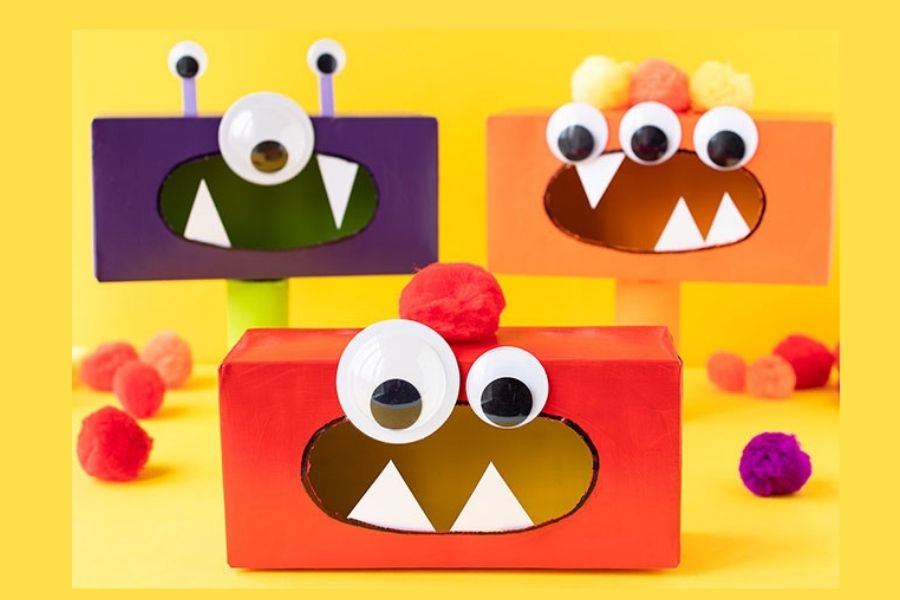
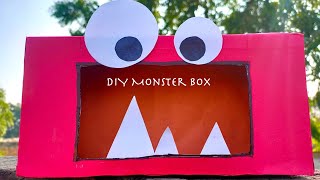
Make a Monster Tissue Box
Transform an empty tissue box into a playful monster using paint, colored paper, scissors, glue, and googly eyes while practicing cutting, measuring, and creative design.


Step-by-step guide to make a Monster Tissue Box
Step 1
Gather all the materials listed and place them on a flat table.
Step 2
Cover the table with newspaper or a washable mat to protect the surface.
Step 3
Empty the tissue box and wipe the outside clean so paint will stick.
Step 4
Paint the outside of the tissue box with a base color using the paintbrush.
Step 5
Let the paint dry completely before moving on.
Step 6
Use the ruler and pencil to mark where the eyes mouth and other features will go.
Step 7
Cut shapes from coloured paper for features like horns arms teeth and a tongue.
Step 8
Glue the paper shapes onto the box in the places you marked earlier.
Step 9
Stick the googly eyes onto the box to give your monster a fun face.
Step 10
Add details like spots stripes or outlines with colouring materials to make your monster unique.
Step 11
Let all the glue and marker details dry so nothing peels off.
Step 12
Share your finished monster tissue box on DIY.org and show everyone your silly creation.
Help!?
What can we use instead of googly eyes, coloured paper, or a tissue box if those are hard to find?
Cut eyes and other features from plain paper or cardboard and glue on buttons or bottle caps during the 'Glue the paper shapes onto the box' step, and if you don't have a tissue box use a small shoebox or cereal box with the opening cut to fit tissues.
What should we do if the paint won't stick or glued pieces keep peeling off?
If paint peels or won't stick, re-wipe the outside as in step 3, apply thin coats with the paintbrush and let each coat dry completely per step 4, and if glued shapes lift press them firmly and let the glue dry flat as instructed in step 10 or switch to a stronger craft glue.
How can we adapt this activity for different age groups?
For younger children have an adult pre-cut the coloured paper shapes and use stickers or non-toxic glue during steps 7–8, while older kids can use the ruler and pencil in step 5 to plan precise features and add detailed marker designs in step 9.
How can we extend or personalize the monster tissue box after finishing the basic steps?
Personalize and improve durability by adding textured materials like felt horns or pipe cleaners when gluing shapes in step 7, sealing the painted and marker details after step 9 with a clear glue or Mod Podge, and then share your creation on DIY.org as suggested in step 11.
Watch videos on how to make a Monster Tissue Box
Crafts & DIY Ideas for Kids - Tissue Monster Box || DIY on Little Telly Kids || Do It Yourself
3 Videos
Crafts & DIY Ideas for Kids - Tissue Monster Box || DIY on Little Telly Kids || Do It Yourself
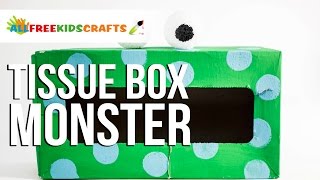
Tissue Box Monster
Create Your Own Monster Box! Crafty Fun Awaits! 🎨✨
Facts about recycled crafts for kids
🎨 Paper fibers can usually be recycled about 5–7 times before they get too short to use — so turning a box into a monster is a great reuse!
🧻 Most tissue boxes are made from paperboard, a lightweight cardboard that's easy to cut, paint, and decorate.
♻️ Making crafts from empty boxes is called upcycling — it keeps materials out of the trash and sparks creative problem-solving.
✂️ Scissors-like tools have been around for thousands of years; the Romans used spring scissors more than 2,000 years ago.
👹 Designing monster faces helps kids explore emotions and storytelling — eyes, mouths, and color choices change a creature from silly to spooky!
How do I make a Monster Tissue Box step by step?
What materials do I need for a Monster Tissue Box?
What ages is this Monster Tissue Box craft suitable for?
What safety tips and creative variations should I consider?
