Make a homemade bee smoker
Build a safe, non-burning model bee smoker using a small tin can, cardboard bellows, cotton wadding, and adult supervision to learn beekeeping basics.


Step-by-step guide to make a homemade bee smoker
DIY Honey bee smoker. learn how to build your own smoker.
Step 1
Rinse and dry the empty tin can so it is clean and safe to work with.
Step 2
With adult help, cut a small round hole in the side near the bottom of the can for the air inlet.
Step 3
With adult help, cut a small hole in the lid sized for a short nozzle to fit through.
Step 4
Roll a rectangle of cardboard into a short cone shape to make the nozzle and tape it closed.
Step 5
Push the cardboard cone nozzle into the lid hole and tape all around the join to make a tight seal.
Step 6
Cut the paper tube to a length that will reach just inside the can when attached to the side hole.
Step 7
Tape one end of the paper tube firmly into the side inlet so the tube extends just inside the can.
Step 8
Cut a long narrow strip of cardboard and fold it back-and-forth into an accordion to make the bellows.
Step 9
Tape the outside end of the bellows to the outside end of the paper tube so air will flow into the can when squeezed.
Step 10
Pull the cotton wadding into small fluffy pieces so it can puff and place the pieces loosely inside the can without packing them tight.
Step 11
Close the lid of the can so the nozzle and tube stay in place.
Step 12
Squeeze the bellows gently to make puffs of air move through the can and out the nozzle to mimic smoke.
Step 13
Share your finished creation on DIY.org
Help!?
What can we use instead of cotton wadding if it's hard to find?
If cotton wadding isn't available, use clean dryer lint or torn tissue paper placed loosely inside the can in step 10 as a safe smoke substitute.
The bellows puffs aren't moving air through the nozzle—what should we check?
Check that the paper tube extends inside the can (step 6), the bellows is taped firmly to the tube (step 8), and that all tape seals around the lid/nozzle (step 5) are tight so air can't leak.
How can we adapt this activity for different ages?
For young kids have an adult do the cutting for the side hole and lid (steps 2–3) while the child stuffs the cotton wadding (step 10) and decorates the can, and for older kids let them shape the cardboard cone nozzle and fold more bellows pleats (steps 4 and 8) to improve performance.
How can we enhance or personalize the homemade bee smoker?
Personalize and improve it by adding a removable mesh or stocking pouch for the cotton wadding inside the can (step 10) so you can swap fillings, painting the tin can exterior, and reinforcing the nozzle join with extra tape (step 5) for durability.
Watch videos on how to make a homemade bee smoker
DIY Making Bee Smoker at Home step by step. Apiary MUST have Gadgets
4 Videos
DIY Making Bee Smoker at Home step by step. Apiary MUST have Gadgets
How to Build a Bee Smoker
DIY Bee Smoker from Salvaged Materials
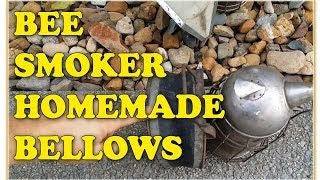
Bee smoker HOMEMADE BELLOWS - Beekeeping for beginners beekeeping 101
Facts about beekeeping for kids
🐝 Honey bees use a 'waggle dance' to tell nestmates the direction and distance of good food sources.
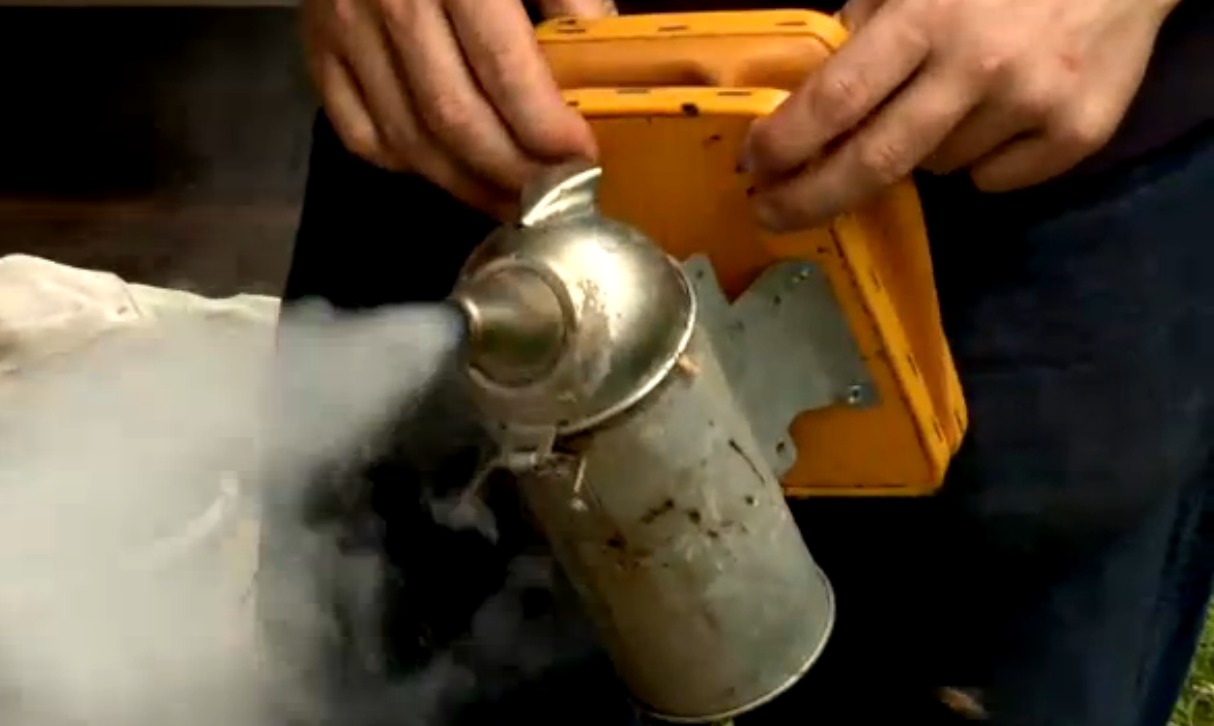
🔥 A bee smoker calms bees by masking alarm pheromones and encouraging them to gorge on honey, which makes them less likely to sting.
🛠️ You can make a safe, non-burning practice smoker from a small tin, cardboard bellows, and cotton wadding to learn basics before using a real one.
♻️ Beekeepers often use natural, reusable fuels like burlap, dried leaves, or wood shavings—great for upcycling household materials.
🧯 Always work with an adult, keep water or a fire extinguisher nearby, and never leave a smoker unattended—safety is part of beekeeping!
How do you build a safe, non-burning homemade bee smoker with a tin can and cardboard bellows?
What materials do I need to make a non-burning bee smoker model for kids?
What ages is this bee smoker craft suitable for?
What are the benefits, safety tips, and easy variations for this homemade bee smoker activity?


