Make a Gift for Your Friend
Make a personalized friendship bracelet using beads, string, and simple knots; design patterns, practice fine motor skills, and gift it with a note.


Step-by-step guide to make a personalized friendship bracelet
Step 1
Gather all your materials and find a clean flat spot to work.
Step 2
Wrap the string once around the wrist you are making the bracelet for and add about 10 cm extra for knots and tails.
Step 3
Cut the string to the length you measured.
Step 4
Tie a small knot about 2 cm from one end of the string to stop beads from falling off.
Step 5
Tape the knotted end to the table to hold it steady while you work.
Step 6
Design your bead pattern by laying beads in a line on the table in the order you want.
Step 7
Thread the beads onto the string following your pattern until the beaded part reaches the wrist length minus room for knots.
Step 8
Remove the tape that was holding the knotted end to the table.
Step 9
Tie a secure knot at the end of the beads close to the last bead to keep them in place.
Step 10
Tie the two ends of the string together with a strong double knot to form the bracelet loop.
Step 11
Trim the extra string tails close to the knot with scissors.
Step 12
Tuck the trimmed tails into the knot or hide them under nearby beads so they look neat.
Step 13
Write a short friendly note on the paper and decorate it with your colouring materials.
Step 14
Place the bracelet with the note and give your finished gift to your friend.
Step 15
Share a photo or description of your finished friendship bracelet on DIY.org.
Help!?
What can I use if I don't have beads or jewellery string for the bracelet?
Use embroidery floss or yarn in place of the 'string' and substitute beads with large buttons, pasta shapes with holes, or cut pieces of drinking straw threaded onto the string while following the same measuring, knotting, and threading steps.
My beads keep slipping off even after I tape the knotted end—what should I try?
After tying the small knot about 2 cm from one end, secure the knotted end with a binder clip or safety pin instead of tape and add a tiny dot of clear nail polish or glue to the knot before threading to stop beads from sliding past it.
How can I adapt this bracelet activity for a 4-year-old and for a 12-year-old?
For a 4-year-old, use thicker yarn, large wooden beads, pre-cut the string to wrist length plus about 10 cm, tape the knotted end and have an adult tie the final double knot, while for a 12-year-old use thinner embroidery floss, more complex bead patterns, add charms or a clasp before tying the double knot, and encourage a decorated note to match the bracelet style.
How can I make the finished bracelet and note extra special or more durable?
Personalize the bead pattern with letter beads spelling your friend's name, tuck the trimmed tails into the knot and seal the knot with a tiny drop of clear glue before trimming for durability, and decorate or laminate the short friendly note before placing it with the bracelet as the gift.
Watch videos on how to make a personalized friendship bracelet
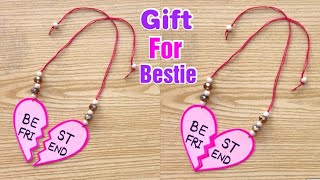
3 Easy DIY Birthday Gift Ideas for Best Friend/ Handmade Birthday Gifts/ Paper Gift Ideas
4 Videos

3 Easy DIY Birthday Gift Ideas for Best Friend/ Handmade Birthday Gifts/ Paper Gift Ideas
DIY Friendship Day Gift from Paper | Friendship Day Gift Ideas Handmade Easy | Friendship Day Gifts
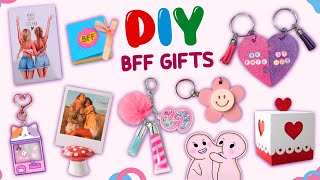
8 DIY - BFF GIFT IDEAS - EASY DIY GIFTS IDEAS FOR BEST FRIEND #bff
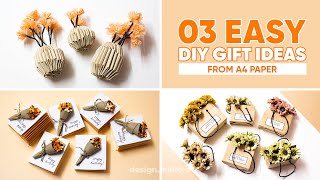
03 Easy DIY Handmade Gifts Ideas from A4 PAPER - AMY DIY CRAFT
Facts about bead crafts for kids
🧵 Friendship bracelets have roots in Central and South American indigenous crafts and became a global summer-camp favorite.
📿 Tiny seed beads used in bracelets can be so small that hobbyists sometimes use magnifiers — and there are hundreds of bead styles to choose from.
🪢 Common knots in bracelet-making include the square knot, forward knot, and half-hitch — learn these and you can make lots of patterns.
🤝 Exchanging a handmade friendship bracelet is a sweet tradition that symbolizes connection; many people keep them as treasured keepsakes.
🎨 Designing bracelet patterns is a playful mix of art and math: repeating color sequences and knot orders builds pattern recognition and fine motor skills.
How do you make a personalized friendship bracelet to give as a gift?
What materials do I need to make a friendship bracelet?
What ages is this activity suitable for?
What are the benefits of making friendship bracelets, and are there safe variations?
