Make a fluffy emoji plushie - World Emoji Day
Make a small fluffy emoji plushie using fabric, stuffing, felt, and glue or simple sewing. Decorate with emoji expressions and personalization for World Emoji Day.


Step-by-step guide to make a fluffy emoji plushie
Step 1
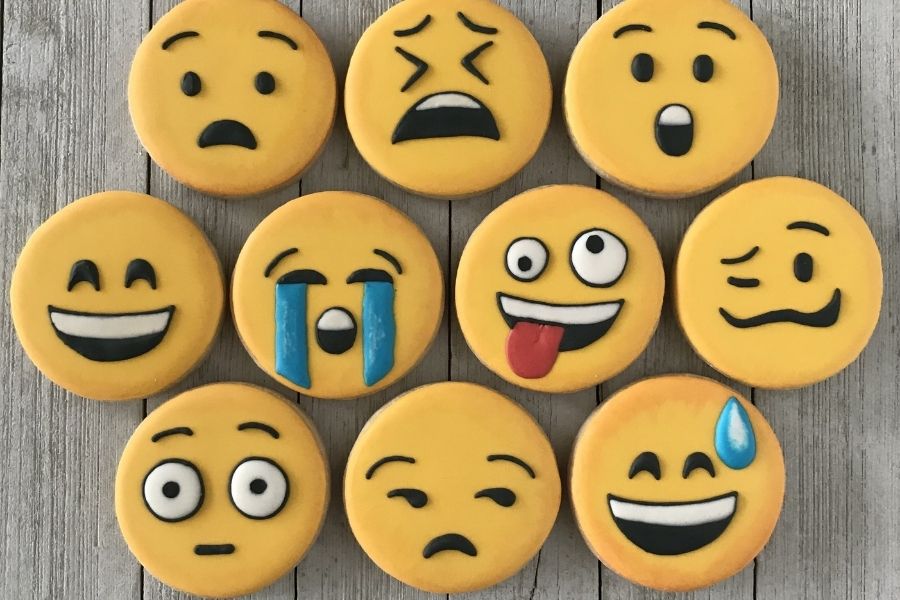
Choose which emoji face you want to make like a smiley heart eyes or wink.
Step 2
Draw a palm-sized circle on paper to make your template.
Step 3
Cut out the paper circle template with scissors.
Step 4
Fold your fabric in half so you can cut two matching circles at once.
Step 5
Trace the paper template onto the folded fabric with the fabric marker.
Step 6
Cut out the two fabric circles through both layers.
Step 7
Cut eyes mouth and any decorations from the felt sheets.
Step 8
Arrange the felt pieces on one fabric circle until you like the look.
Step 9
Attach the felt pieces to the fabric using fabric glue or small stitches.
Step 10
Place the second fabric circle on top with the right sides together.
Step 11
Sew around the edge leaving a small gap about 3 cm for stuffing.
Step 12
Turn the plush right side out through the gap you left.
Step 13
Stuff the plush with polyester stuffing until it is fluffy but still squishy.
Step 14
Sew the gap closed with small neat stitches and trim any extra fuzz.
Step 15
Share your finished fluffy emoji plushie on DIY.org.
Help!?
What can I substitute if I don't have felt, a fabric marker, or polyester stuffing?
Use craft foam or colored paper for the eyes and mouth instead of felt, a pencil or tailor’s chalk to trace the paper circle onto the folded fabric in place of a fabric marker, and clean cotton balls or scrap fabric pieces to fill the plush through the 3 cm gap instead of polyester stuffing.
My fabric circles moved while cutting or sewing—how do I stop that and fix lumpy stuffing?
Pin or clip the paper template and folded fabric before tracing and cutting, use straight pins to hold the two circles while you sew around the edge leaving the 3 cm gap, and push stuffing into tight spots with a chopstick after you turn the plush right side out to smooth lumps.
How should I change the project for younger children or older kids?
For younger children, pre-cut the paper template and felt pieces and use fabric glue for 'Attach the felt pieces' and to close the edge with adult help instead of sewing, while older kids can hand-sew or use a sewing machine for the 'Sew around the edge' step and add embroidered details to the felt decorations.
What are some ways to personalize or enhance the emoji plushie?
Before sewing the final seam to close the 3 cm gap, tuck in a short ribbon or keychain loop, add fabric paint or sequins to the felt decorations, or embroider a name on the back fabric circle for a personalized finish.
Watch videos on how to make a fluffy emoji plushie
😎 World Emoji Day for Kids | 17 July | The History Behind Emojis | Who created emojis? | Twinkl USA
3 Videos
😎 World Emoji Day for Kids | 17 July | The History Behind Emojis | Who created emojis? | Twinkl USA
What is an Emoji? | World Emoji Day for Kids 😃😂🙈😍
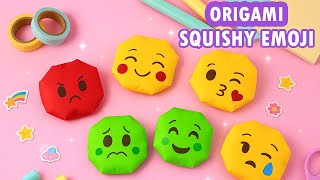
Origami Squishy Emoji How to make a Squishy toy without glue
Facts about sewing and fabric crafts for kids
😀 The Unicode standard includes thousands of emoji — and new ones keep getting added every year!
📅 World Emoji Day is celebrated each year on July 17 — that's the date shown on the calendar emoji.
🧸 The teddy bear helped popularize plush toys — its name honors U.S. President Theodore “Teddy” Roosevelt.
🧵 Felt is one of the oldest textiles and it doesn't fray, so it's perfect for cutting out emoji faces without hemming.
✂️ You can make a small plushie with simple stitches like the running stitch or whipstitch — or use fabric glue if you prefer no sewing.
How do I make a fluffy emoji plushie for World Emoji Day?
What materials do I need to make a small fluffy emoji plushie?
What ages is this fluffy emoji plushie activity suitable for?
What are some safety tips and creative variations for making an emoji plushie?
