Make A Fabric Gift Bag
Make a reusable fabric gift bag using fabric scraps, simple sewing or no-sew tape, measuring, cutting, and decorating to practice practical crafting skills.

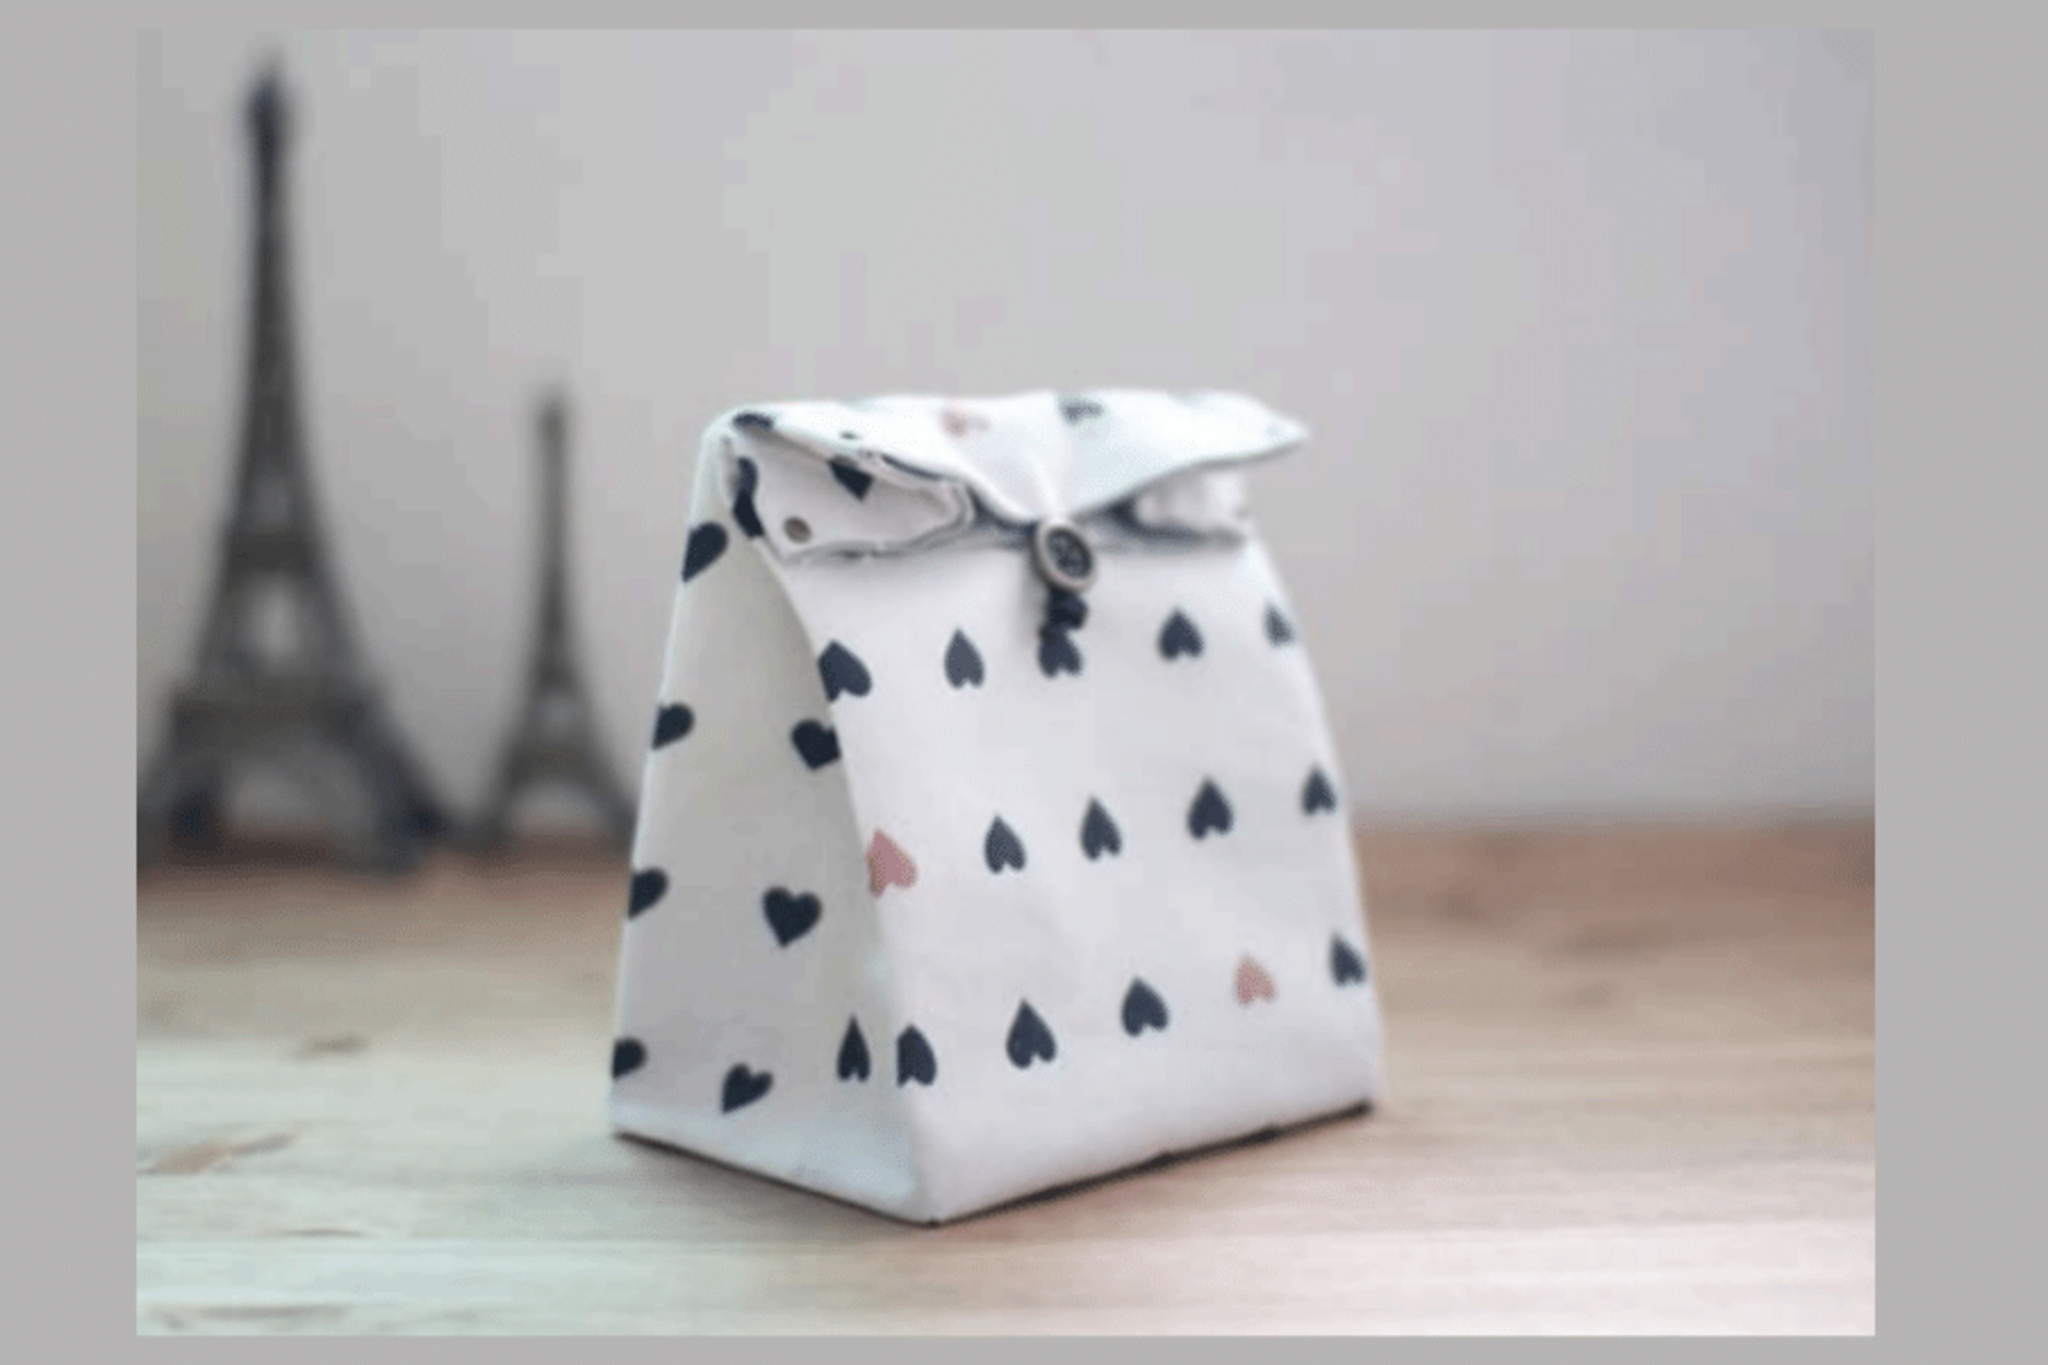

Step-by-step guide to make a fabric gift bag
How To Make a Fabric Gift Bag // Easy Beginner Sewing Project
Step 1
Gather all the materials listed on your work table so everything is ready to use.
Step 2
Decide how tall and how wide you want your finished bag and write down the height and width.
Step 3
Lay one fabric scrap flat on the table with the patterned side facing down.
Step 4
Measure and mark a rectangle on the fabric that is twice your chosen bag height plus 1 inch for seams and your chosen bag width plus 1 inch for seams.
Step 5
Cut the rectangle out of the fabric along your marked lines using fabric scissors.
Step 6
Fold the fabric rectangle in half with the patterned sides touching and align the raw edges.
Step 7
Pin or clip the two long side edges together while leaving the top open.
Step 8
Apply no sew fabric tape to each pinned side seam and press firmly to join the edges following the tape instructions.
Step 9
Turn the bag right side out through the top opening and gently push out the corners.
Step 10
Fold the top edge down twice about half an inch and secure the fold with fabric glue or a strip of no sew tape.
Step 11
Decorate your bag using fabric markers glue on buttons or attach ribbons to make it special.
Step 12
Take a photo of your finished fabric gift bag and share it on DIY.org.
Help!?
What can we use if we don't have no-sew fabric tape or fabric scissors?
If you don't have no-sew fabric tape for step 6, use fabric glue to join the side seams or hand-sew them with a needle and thread, and if you lack fabric scissors for step 4, carefully cut the rectangle with sharp household scissors.
My side seams won't stick with the no-sew tape — what should I do?
Check that the raw edges are aligned as instructed in step 5, press the no‑sew tape firmly following the tape's instructions and, if it is heat-activated, run a warm iron over the seam or use fabric glue as a backup before turning the bag right side out in step 7.
How can I adapt this activity for a 4-year-old and a 12-year-old?
For a 4-year-old have an adult measure (step 2), cut (step 4) and handle hot or sharp steps (6 and 8) while the child folds, pins under supervision, and decorates in step 9, and for a 12-year-old let them measure and cut independently, sew the seams, or add a lining and zipper for more challenge.
How can we make the bag more special or useful after it's made?
Before folding the top in step 8 create a fabric channel for a ribbon drawstring, add an interior pocket before sealing the side seams in step 6, or personalize with appliqué, embroidery, or painted designs as part of step 9.
Watch videos on how to make a fabric gift bag
10 Minute Christmas Fabric Gift Bag Tutorial
4 Videos
10 Minute Christmas Fabric Gift Bag Tutorial
Fabric gift bags idea! Sewing tips for reusable gift bags

Creating Your Own Reusable Fabric Gift Bag: A Step-By-Step Guide #msqcpartner #msqcshowandtell
DIY Gift Bag in Minutes! Easy Sewing Tutorial for Beginners 🎁✨
Facts about sewing and fabric crafts for kids
🧵 Hand sewing dates back tens of thousands of years — early humans used bone needles to stitch hides and fabric scraps.
♻️ Upcycling fabric scraps into a new bag keeps textile bits out of landfill and gives materials a creative second life.
🎁 Furoshiki is the Japanese cloth-wrapping tradition that's inspired modern reusable fabric gift wraps and bags for centuries.
✂️ A 1 cm (about 3/8 inch) seam allowance is a simple, sturdy rule of thumb for sewing small bags.
🌈 Textile paints and fabric markers can stay bright through washes when you use paints made for fabric or heat-set your designs.
How do you make a fabric gift bag?
What materials do I need for a fabric gift bag?
What ages is this fabric gift bag activity suitable for?
What are the benefits of making fabric gift bags?
