Make A Fabric Chapstick Holder Keychain
Sew a fabric chapstick holder, cut and measure felt, add a snap and keyring, and decorate to create a handy keychain.


Step-by-step guide to make a fabric chapstick holder keychain
DIY Chapstick Holder Keychain Tutorial #chapstickholder #keychainmaking
Step 1
Gather all the materials and put them on a clean flat table so everything is easy to reach.
Step 2
Use the ruler and fabric marker to measure and mark the cotton fabric to 5 inches tall and 3 inches wide.
Step 3
Cut the marked fabric piece with scissors along the lines you drew.
Step 4
Use the ruler to mark and cut a felt piece slightly smaller than the fabric about 4 inches by 2.5 inches.
Step 5
Lay the fabric right side down and place the felt on top leaving about 1 inch of fabric free at the top to become the flap.
Step 6
Fold the bottom edge of the fabric up so the felt is inside and the top 1 inch of fabric becomes a flap.
Step 7
Pin or clip the two open side edges so the fabric and felt layers stay lined up.
Step 8
Sew a straight stitch down each side about 1/4 inch from the edge to make a pocket and keep the chapstick inside.
Step 9
Trim any extra thread and small fabric bits from the seams and turn the holder right side out through the top opening.
Step 10
Slide your chapstick into the pocket to check the fit and make sure it slides in and out easily.
Step 11
Fold the ribbon or fabric strip to make a small loop and tuck the ribbon ends into the top opening at the back center then pin them in place.
Step 12
Sew across the top opening to close it and catch the ribbon ends so the loop is firmly attached.
Step 13
Use the fabric marker to mark the snap spots with one mark on the flap about 1/2 inch from the edge and one matching spot on the body of the holder.
Step 14
With adult help attach the snap using your snap set or sew-on snap so the flap closes securely over the chapstick.
Step 15
Decorate your chapstick holder with colouring materials or fabric glue and then share your finished creation on DIY.org
Final steps
You're almost there! Complete all the steps, bring your creation to life, post it, and conquer the challenge!

Help!?
What can we use instead of cotton fabric, felt, or a snap if we can't find them?
If you don't have cotton fabric or felt, use a scrap of denim or an old t-shirt cut to 5×3 inches and craft foam or interfacing cut to about 4×2.5 inches as the inner layer, and use a small button or Velcro instead of a snap.
The chapstick is stuck after sewing—how do we fix it?
If the chapstick won't slide after sewing the 1/4 inch side seams and turning the holder right side out, unpick a short section of a side seam near the top, check your 5×3 and 4×2.5 inch cuts, then resew a slightly wider seam so the pocket opens enough for the chapstick to move.
How can we change the activity for different ages?
For younger kids have an adult pre-measure and pre-cut the 5×3 inch fabric and 4×2.5 inch felt and use fabric glue instead of sewing with the adult attaching the snap, while older kids can do the measuring and sewing themselves and add decorative stitching before folding the flap.
How can we make the chapstick holder more special or useful?
Personalize the flap with fabric markers or iron-on patches, replace the ribbon loop with a metal keyring when you tuck and sew the ribbon ends into the top opening, or add a tiny sewn pocket for a hair tie before closing the top.
Watch videos on how to make a fabric chapstick holder keychain
DIY Chapstick Holder Sewing Tutorial
4 Videos
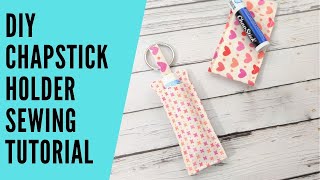
DIY Chapstick Holder Sewing Tutorial
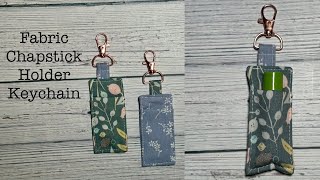
How to sew a fabric chapstick holder keychain | Beginner Sewing Pattern | Scrap friendly
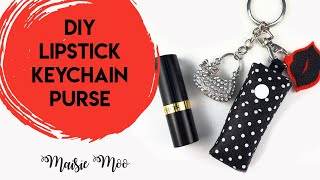
Keychain Chapstick Holder - How to make a lipstick or lip balm keychain purse or pouch DIY.
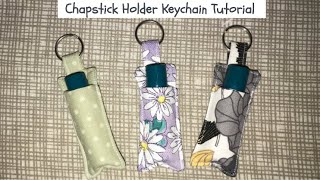
Chapstick Holder Keychain Tutorial
Facts about sewing and fabric crafts for kids
✂️ Felt is great for beginners because it doesn't fray, so you can cut fun shapes without finishing the edges.
🔑 Adding a keyring or key fob turns a mini case into a handy keychain you can clip to backpacks or belt loops.
🧵 Hand-sewing a small chapstick holder can be done with just a few simple stitches like a running stitch or whipstitch.
🧴 Lip balm helps protect lips from wind and cold and has been used in different forms for centuries.
🔩 Snap fasteners are tiny but tough — they're commonly used on clothing and accessories for quick, secure closures.
How do you make a fabric chapstick holder keychain?
What materials do I need for a fabric chapstick holder keychain?
What ages is this activity suitable for?
What safety tips and variations can I use for the chapstick holder keychain?


One subscription, many ways to play and learn.
Only $6.99 after trial. No credit card required