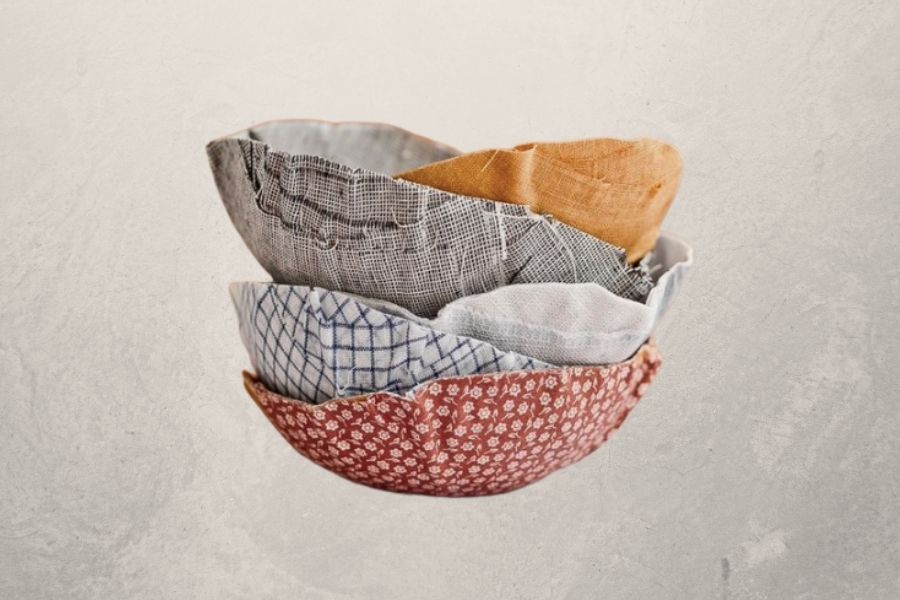
Make a Fabric Bowl
Make a fabric bowl using fabric scraps, glue or starch, and a bowl mold; shape, decorate, and dry to create a useful container.


Step-by-step guide to make a fabric bowl
Step 1
Cover the outside of your bowl mold with a sheet of plastic wrap so the fabric won’t stick to the bowl.
Step 2
Spread your fabric scraps and scissors on the table so you can reach everything easily.
Step 3
Cut the fabric scraps into strips or shapes that are about 1 to 2 inches wide.
Step 4
Pour some white glue OR liquid starch into the shallow cup so it is easy to dip the fabric.
Step 5
Dip one fabric strip into the glue or starch and squeeze a little so it is wet but not dripping.
Step 6
Press the wet fabric strip onto the plastic-covered mold and smooth it down so there are no big bubbles.
Step 7
Repeat dipping and layering strips, overlapping them as you go until the mold is covered with 3 to 6 stiff layers.
Step 8
Add any decoration pieces by pressing them onto the top layer while it is still wet.
Step 9
Let the layered fabric dry undisturbed on the mold for 12 to 24 hours until it feels hard.
Step 10
Carefully peel the dried fabric bowl off the plastic wrap and take it off the mold.
Step 11
Trim the rim of the bowl with scissors to make the edge even and neat.
Step 12
Share a photo of your finished fabric bowl on DIY.org
Help!?
What can we use instead of the white glue or liquid starch called for in the instructions?
If you can't find white glue or liquid starch, substitute Mod Podge or a 1:1 mix of white school glue and water to dip and layer the fabric strips.
Why is my fabric bowl sagging or the layers peeling after drying, and how can I fix it?
Ensure the bowl mold is fully covered with plastic wrap, squeeze excess glue from each fabric strip before smoothing, build the recommended 3–6 overlapping stiff layers, and let it dry undisturbed for the full 12–24 hours on the mold to prevent sagging or peeling.
How can I adapt this fabric bowl activity for younger children or older kids?
For younger children, pre-cut the 1–2 inch fabric strips and have an adult handle scissors, peeling, and the rim trimming, while older kids can add more layers, press on decoration pieces themselves, or try different bowl molds for advanced shapes.
What are some ways to personalize or strengthen the finished fabric bowl?
After peeling the dried bowl off the mold and trimming the rim, seal the inside with a coat of Mod Podge or thinned white glue and add fabric paint or glued-on decorations before sharing a photo on DIY.org.
Watch videos on how to make a fabric bowl
Easy Fabric Bowl | The Sewing Room Channel
4 Videos
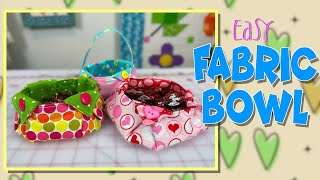
Easy Fabric Bowl | The Sewing Room Channel
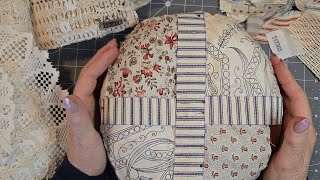
Cozy Slow Stitching: Create a Beautiful Fabric Bowl Step-by-Step
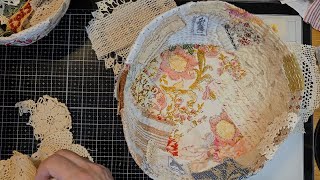
Create a Beautiful Fabric Bowl Step-by-Step Part 2
How to Sew a Fabric Bowl | Easy DIY Project, quilted bowl fabric tray basket | easy things to sew
Facts about fabric crafts for kids
🧵 Cotton and muslin soak up glue or starch really well, which makes them perfect for stiff, shape-holding fabric bowls.
🕰️ Starch has been used for centuries to stiffen clothing—fancy ruffled collars from the past were starched to stay crisp!
🥣 A simple flour-and-water paste (paper-mâché style) is a kid-safe, low-cost way to stiffen fabric for molding.
♻️ Making a bowl from fabric scraps is upcycling: it gives old cloth a new, useful life instead of sending it to the trash.
🏺 Any household bowl can be a mold—use a small one for a jewelry dish or a big one for a fruit bowl; size shapes the result.
How do I make a fabric bowl using fabric scraps, glue, and a bowl mold?
What materials do I need to make a fabric bowl?
What ages is making a fabric bowl suitable for?
What are some fun variations and tips for fabric bowls?
