Make a Dragonfly!
Create a colorful dragonfly model using paper, pipe cleaners, and craft glue or tape. Learn symmetry, wing shapes, and simple assembly skills.

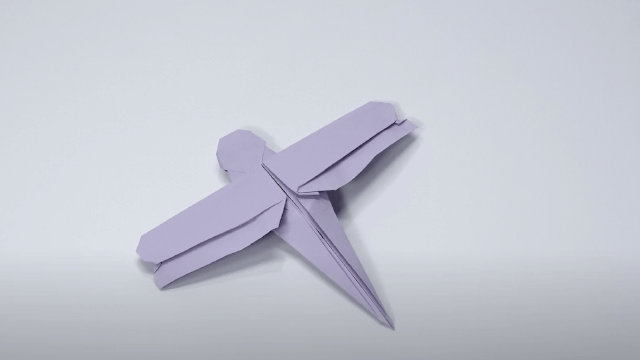

Step-by-step guide to make a dragonfly
Step 1
Gather all your materials on a clean table so everything is ready.
Step 2
Fold one sheet of colored paper in half so the crease makes a mirror line for the wings.
Step 3
Draw one wing shape along the folded edge with your pencil so the wing will be symmetrical.
Step 4
Cut out the wing shape while the paper is still folded to make two matching wings.
Step 5
Unfold the paper to reveal the two identical wings.
Step 6
Decorate both wings using colouring materials and make the left and right sides match like a mirror.
Step 7
Twist two pipe cleaners together along their length to make a sturdy dragonfly body.
Step 8
Bend one end of the twisted pipe cleaners into a small loop to form the dragonfly's head.
Step 9
Bend the opposite end into a tapered tail shape to make the dragonfly’s tail.
Step 10
Place the two wings on either side of the middle of the pipe cleaner body where the wings should sit.
Step 11
Attach the wings to the pipe cleaner body using craft glue or tape and press gently to secure them.
Step 12
Make two short antennae from a small piece of pipe cleaner and attach them to the head by twisting or gluing.
Step 13
Let any glue dry completely before you move your dragonfly.
Step 14
Gently adjust the wings so they are even and the dragonfly looks balanced.
Step 15
Share your finished dragonfly on DIY.org
Final steps
You're almost there! Complete all the steps, bring your creation to life, post it, and conquer the challenge!

Help!?
What can we use instead of pipe cleaners, colored paper, or craft glue if we don't have them?
If you don't have pipe cleaners use two thin floral wires twisted together or strips of cardboard taped together for the body, swap colored paper for painted printer paper or tissue paper for wings, and use clear tape or white school glue in place of craft glue.
My wings came out uneven or tore when I cut them—how can I fix or avoid that?
Refold the paper firmly along the wing crease and trace one continuous wing shape along the folded edge, cut slowly with sharp scissors keeping the layers aligned, and if a wing tears reinforce the edge with a thin strip of clear tape before decorating and attaching.
How can I adapt this dragonfly activity for different age groups?
For younger kids have an adult pre-cut the folded wing shapes and pre-twist the pipe cleaner body while they decorate with big crayons and stickers, and for older kids let them add painted patterns, bead eyes, wire wing veins, or make articulated tails.
What are some ways to extend or personalize the finished dragonfly?
Personalize the wings by adding sequins, pressed leaves, or glitter before attaching them to the twisted pipe cleaner body, string bead segments onto the body, glue on googly eyes at the head loop, or make several and hang them as a mobile to share on DIY.org.
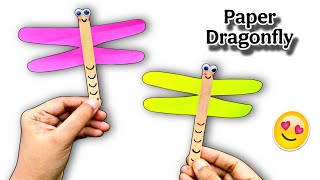
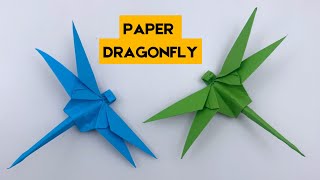
Watch videos on how to make a dragonfly
How to Make a Paper Dragonfly | Easy Paper Craft for Kids & Beginners
4 Videos
How to Make a Paper Dragonfly | Easy Paper Craft for Kids & Beginners

Easy Origami Dragonfly - Paper Dragonfly Tutorial

Dragonfly Paper Craft for Kids with free printable
Easy Paper DRAGONFLY Craft for Kids | Step-by-Step Origami DRAGONFLY | Fun Paper Crafts for School
Facts about paper crafts
🦋 Dragonflies are ancient — ancestors flew about 300 million years ago and some prehistoric relatives had wingspans up to 70–75 cm!
🔁 Dragonflies display bilateral symmetry: their left and right wings mirror each other, making them perfect for teaching matching and folding.
📐 Dragonfly wings have vein patterns you can simplify into easy geometric shapes to trace and decorate.
🎨 Many dragonflies shimmer with iridescent or metallic colors, great inspiration for bright, sparkly paper wings.
🧵 Pipe cleaners (chenille stems) were originally used to clean tobacco pipes and today are a super-flexible craft tool for bodies, legs, and antennae.
How do you make a colorful paper dragonfly step by step?
What materials do I need to make a paper dragonfly with pipe cleaners?
What ages is the dragonfly craft suitable for?
What are the benefits of making a paper dragonfly craft?


One subscription, many ways to play and learn.
Only $6.99 after trial. No credit card required