Make a DIY Easter Egg Basket
Make a DIY Easter egg basket using paper, glue, safe scissors, and ribbon; practice cutting, folding, decorating, and carrying eggs safely for Easter.


Step-by-step guide to make a DIY Easter egg basket
Step 1
Choose one sheet of construction paper and lay it flat on your work surface.
Step 2
Roll the paper into a tube shape the size you want your basket to be.
Step 3
Put glue along one long edge of the paper tube.
Step 4
Press the glued edge onto the inside of the tube to seal the seam and hold it until it sticks.
Step 5
Fold one end of the tube inward about 1 inch all around to create base flaps.
Step 6
Put glue on each folded flap at the bottom.
Step 7
Press each flap down to seal the bottom and hold until the glue sets.
Step 8
Use the safe scissors to cut two small slits opposite each other near the top rim of the basket.
Step 9
Thread one end of the ribbon through the first slit and then through the second slit.
Step 10
Tie knots at both ribbon ends on the inside so the handle stays secure.
Step 11
Decorate the outside of your basket with colouring materials and stickers.
Step 12
Crumple scrap paper and place it inside the basket to make a soft pad.
Step 13
Gently place your Easter eggs into the padded basket.
Step 14
Carry the basket with both hands and walk slowly so the eggs stay safe.
Step 15
Share a photo of your finished Easter egg basket on DIY.org.
Help!?
What can I use if I don't have construction paper or ribbon for the basket?
Use lightweight cardstock, a flattened paper grocery bag, or sturdy wrapping paper rolled into a tube instead of construction paper, and substitute a strip of fabric, a pipe cleaner, or a shoelace for the ribbon handle.
My basket seam or bottom keeps coming apart—how can I fix it?
Apply more glue along the long edge and on each folded base flap, press and hold or use a clothespin to clip the seam while it dries, and glue a round scrap of paper inside the base for extra support.
How can I adapt this activity for younger or older kids?
For toddlers, have an adult roll the tube, punch the handle slits, and let them decorate and stuff the basket, while older kids can measure and trim the tube, cut decorative rims, and design more detailed decorations before adding the ribbon handle.
What are some ways to personalize or improve the finished Easter egg basket?
Add a name or pattern with paint or markers on the outside, glue on layered stickers or ribbons at the knot points, line the inside with tissue paper instead of crumpled scrap paper, and reinforce the handle knots with a dab of glue for extra security.
Watch videos on how to make a DIY Easter egg basket
3 Super Easy Easter Craft Ideas with Toilet Paper Rolls - How to Make Adorable Egg Baskets / Fun DIY
4 Videos
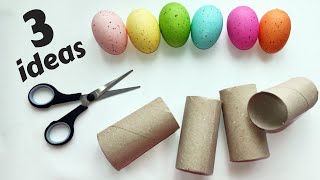
3 Super Easy Easter Craft Ideas with Toilet Paper Rolls - How to Make Adorable Egg Baskets / Fun DIY

The Best Diy Easter Basket with Cardstock - Step By Step Tutorial
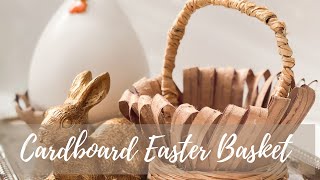
Egg-citing Diy: How To Make An Easter Basket Out Of Cardboard
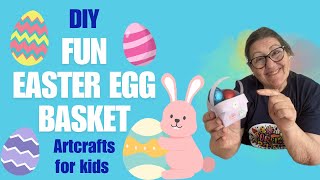
🐣Fun & Easy Easter egg Basket 🧺 | Easy artcraft for kids #easter #eggs
Facts about paper crafts for kids
🐣 Easter eggs have been a symbol of new life and spring for thousands of years.
🧺 The Easter basket tradition grew in Europe and today many children find baskets left by the Easter Bunny.
🥚 Early Easter gifts used real painted eggs; modern baskets often contain chocolate or reusable plastic eggs.
✂️ Child-safe scissors with rounded tips help kids practice cutting safely — always craft with adult supervision.
🎀 Simple paper folds, glue, and ribbon can make a sturdy, colorful basket; origami tricks add strength without extra materials.
How do you make a DIY Easter egg basket?
What materials do I need for a DIY Easter egg basket?
What ages is this DIY Easter egg basket suitable for?
How can I keep kids and eggs safe while making and carrying the basket?
