Make a Dino!
Make a small dinosaur model from air dry clay, sculpt body parts and textures, paint details, and learn basic dinosaur shapes and proportions.


Step-by-step guide to make a small dinosaur model
Step 1
Lay out your wax paper or mat and put all your materials within reach so your workspace is neat and ready.
Step 2
Pick what kind of dino you want to make and decide a simple proportion like a body twice as big as the head or a long neck and short tail.
Step 3
Roll a lump of clay into an oval to make the dinosaur body and press it gently so it sits flat.
Step 4
Roll a smaller ball of clay and shape it into the head size you decided then set it next to the body.
Step 5
Roll a long thin sausage of clay for the tail and press one end onto the back of the body to attach it.
Step 6
Roll four short cylinders for legs and press them under the body in the positions that make the dino stand.
Step 7
Make small arms horns spikes or plates from tiny bits of clay and press them onto the correct places on the body.
Step 8
Smooth the joins where pieces meet using a little water on your finger or the sculpting tool so everything looks attached.
Step 9
Use a toothpick or tool to add textures like scale lines wrinkles or claw marks on the feet.
Step 10
Leave your dinosaur to air dry on the flat surface until it is completely hard which usually takes about 24 hours.
Step 11
Lightly sand any rough spots with fine grit sandpaper once the clay is fully dry.
Step 12
Paint a base color over the whole dino and let the paint dry.
Step 13
Paint smaller details like eyes stripes spots and teeth to bring your dino to life.
Step 14
Take a photo and share your finished dinosaur creation on DIY.org
Final steps
You're almost there! Complete all the steps, bring your creation to life, post it, and conquer the challenge!

Help!?
What can we use if we don't have air-dry clay or a sculpting tool?
If air-dry clay isn't available, use oven-bake polymer clay and bake it per package directions instead of leaving it to air dry for 24 hours, and substitute a butter knife or toothpick for the sculpting tool to smooth joins and add texture.
My dino keeps collapsing or the legs fall off — how do we fix that?
If the legs won't support the body or pieces separate, make the four leg cylinders thicker with flat bottoms, press them firmly under the body, smooth the joins with a little water as instructed, and leave the dinosaur on a flat surface to dry fully before sanding or painting.
How can I adapt the activity for very young kids or older kids who want more challenge?
For younger children, simplify by pre-rolling the body, head, and tail and skip sanding/painting, while older kids can add fine textures with a toothpick, sculpt detailed spikes or plates, and paint intricate stripes, eyes, and teeth as described in the painting steps.
How can we personalize or extend our finished dinosaur after painting?
To enhance the finished dino, lightly sand and paint it as instructed, glue it to a painted cardboard habitat base, add extra clay eggs or a toothpick hinge for a movable jaw before drying, and seal the painted surface with clear varnish for durability.
Watch videos on how to make a small dinosaur model
Tutorial How to Make Dinosaurs With Recyclable Materials - Dinosaur Crafts -Recycled Dinosaurs
4 Videos
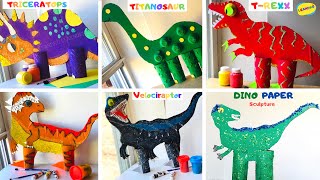
Tutorial How to Make Dinosaurs With Recyclable Materials - Dinosaur Crafts -Recycled Dinosaurs
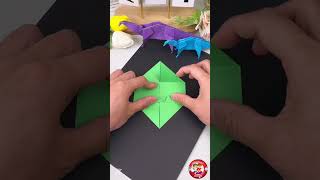
How to Make Fun Paper Dinosaurs | Easy DIY for Kids | KidiesTime7 | children craft learning video
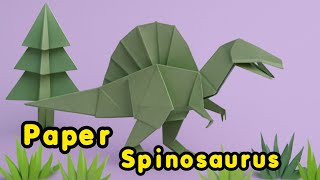
Origami Spinosaurus easy tutorial: How to Make a Paper Dinosaur! | DIY Paper Art for Beginners
Easy Origami Dinosaur: Fun and Simple Tutorial for Kids
Facts about clay sculpting for kids
⚖️ Many dinosaurs had long tails that acted like a counterbalance to help them run and stay stable.
🎨 Air-dry clay is great for kids: small models often dry in 24–48 hours and can be painted with acrylics.
🌍 Dinosaur fossils have been found on every continent, including Antarctica.
🪶 Fossils show many dinosaurs had feathers, and scientists can sometimes tell color patterns from pigment remnants.
🦕 Some dinosaurs were tiny — a few species were about the size of a chicken!
How do you make a small dinosaur model from air-dry clay?
What materials do I need to make a dino from air-dry clay?
What ages is this clay dinosaur activity suitable for?
What are the benefits of making a clay dinosaur with kids?


One subscription, many ways to play and learn.
Only $6.99 after trial. No credit card required