Make A Candy Bag For Halloween Treats
Make a Halloween candy bag from paper or fabric, decorate with markers, stickers, and ribbon; practice cutting, gluing, and measuring.


Step-by-step guide to make a candy bag for Halloween treats
Let's make Candy Bags for Halloween! 🎃 It's that Easy!
Step 1
Pick either a sheet of construction paper or a piece of fabric to be your candy bag material.
Step 2
Use a ruler and pencil to measure and mark a rectangle about 20 cm by 30 cm on your chosen material.
Step 3
Cut the rectangle out carefully along your pencil line with scissors.
Step 4
Fold the rectangle in half so the shorter edges meet and the long open edge is at the top.
Step 5
Glue the side edge closed using a glue stick or fabric glue to form the bag tube.
Step 6
Use a hole punch to make two holes near the top edge about 5 cm in from each side.
Step 7
Cut two pieces of ribbon about 30 cm long each to make handles.
Step 8
Thread one ribbon through each hole from the outside to the inside.
Step 9
Tie a knot on the inside of each ribbon to secure the handles.
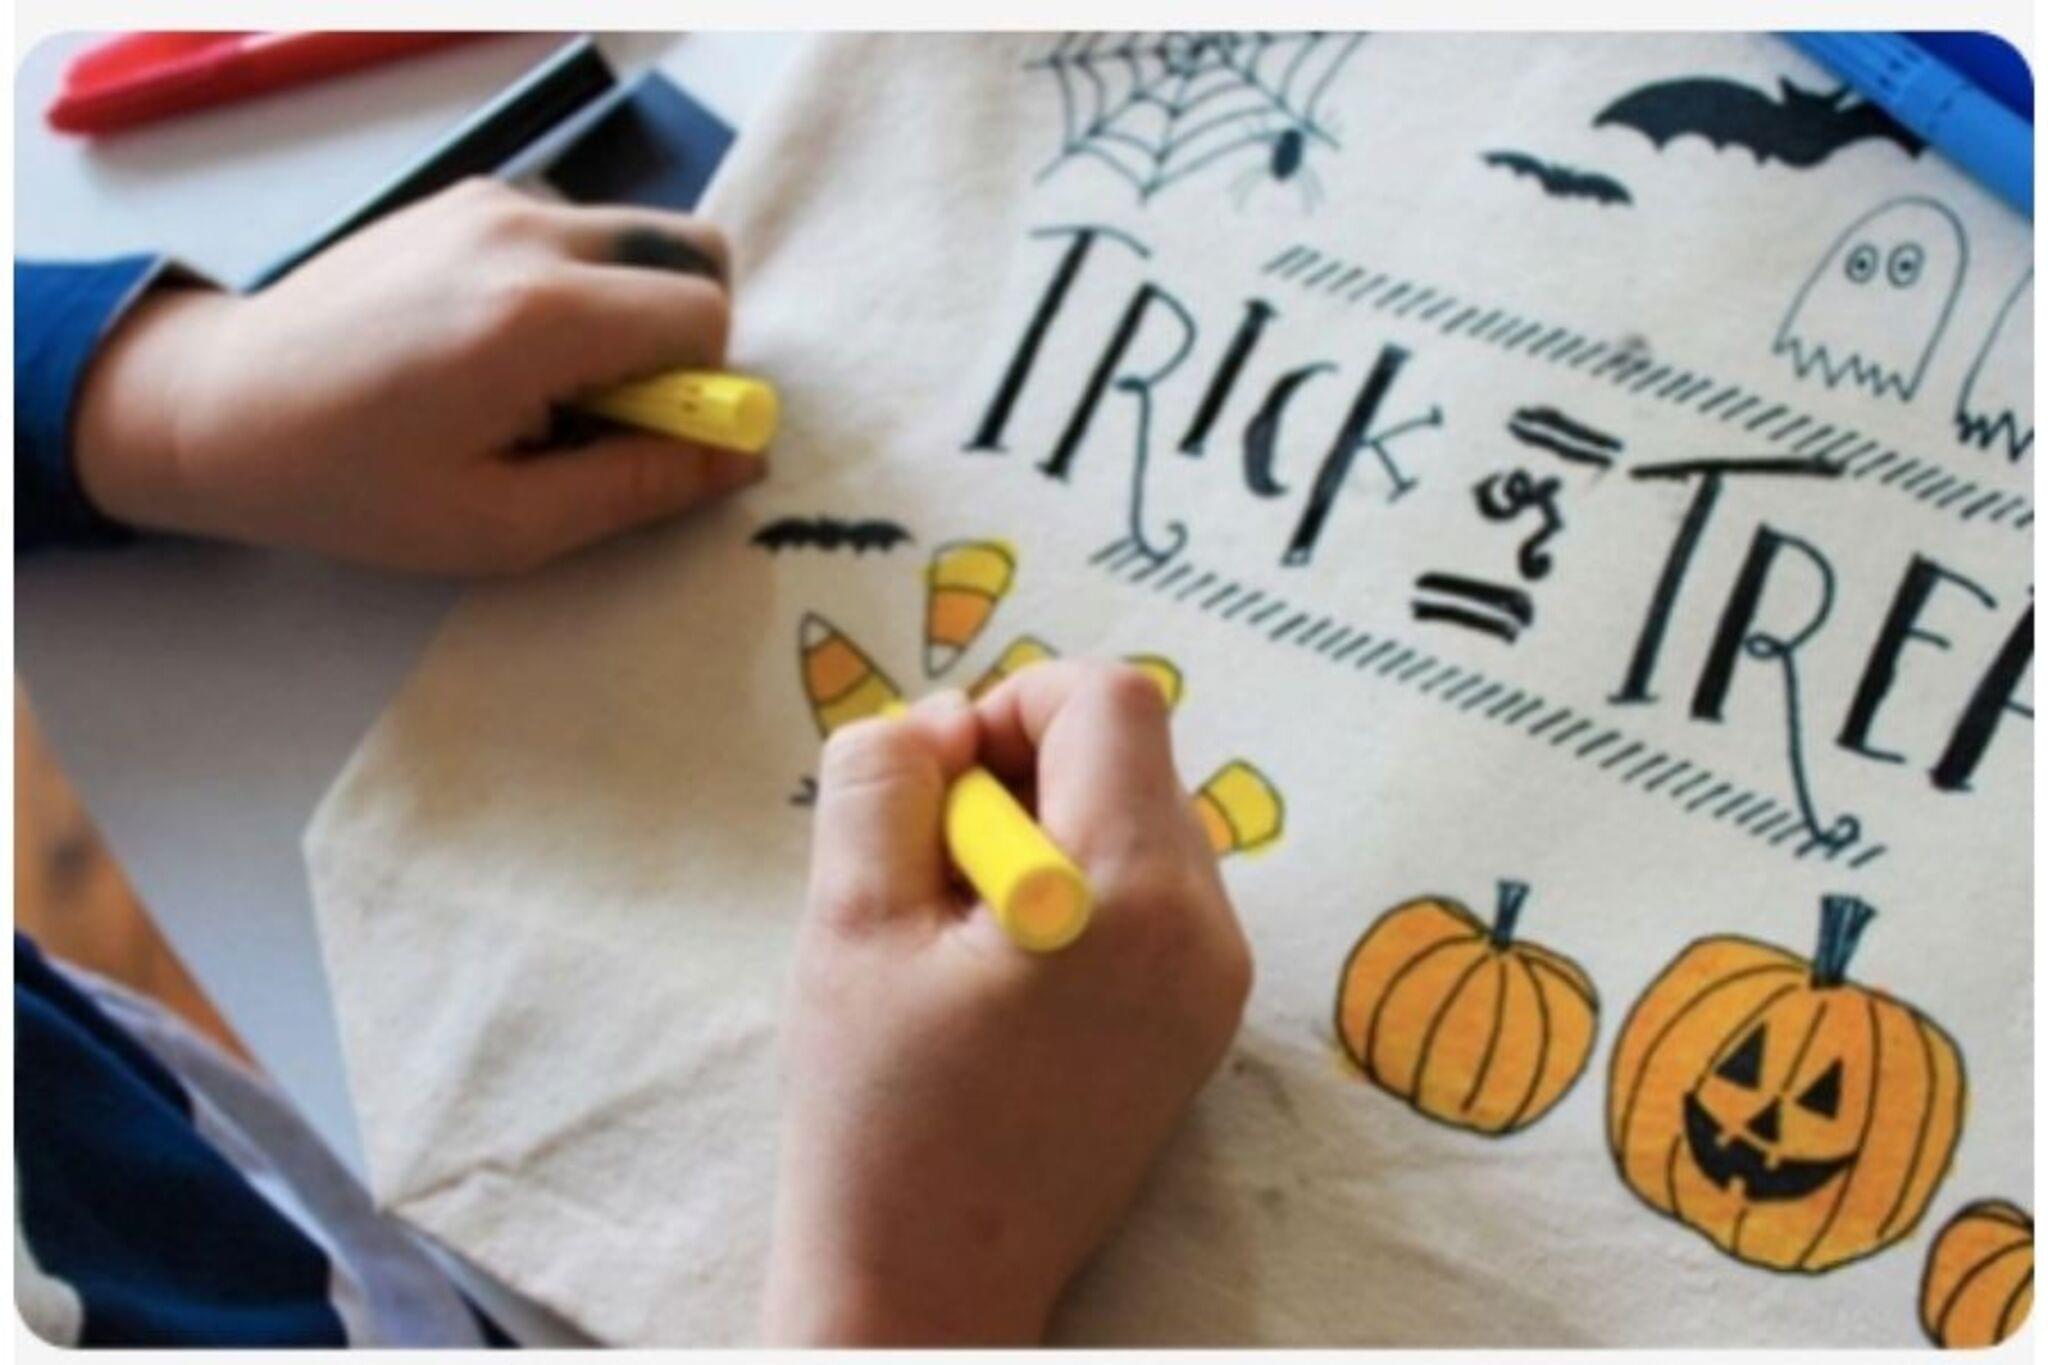
Step 10
Decorate your bag with markers and stickers to draw spooky faces or fun Halloween patterns.
Step 11
Let any glue and marker ink dry completely before using the bag.
Step 12
Share your finished Halloween candy bag on DIY.org.
Help!?
If I don’t have ribbon or a hole punch, what can I use instead?
If you don't have ribbon, use shoelaces or twine threaded through holes made with a screwdriver or sharp scissors, then tie knots on the inside to secure the handles as the instructions say.
My glued seam keeps opening—how can I fix that?
If the glued side edge doesn't hold, press the seam under a heavy book for 30 minutes, add a strip of clear tape along the inside seam, or use fabric glue instead of a glue stick for fabric as suggested in the glue step.
How can I adapt this project for different ages?
For younger children, pre-cut the 20 cm × 30 cm rectangle and use tape and safety scissors with adult help for hole punching, while older kids can measure, cut, sew the side seam, or add a lined interior after folding the rectangle.
What are creative ways to personalize or strengthen the candy bag?
Personalize and strengthen your bag by adding washers or grommets around the punched holes, gluing a second sheet of fabric or paper as a lining before sealing the side edge, and decorating with glow-in-the-dark paint or stickers then letting everything dry thoroughly.
Watch videos on how to make a candy bag for Halloween treats
How To Make Halloween Treat Bags For Toddlers | 2021
3 Videos

How To Make Halloween Treat Bags For Toddlers | 2021
Halloween Treat Bag | Easy DIY for Tons of Candy
Halloween Treat Bags | Halloween Crafts
Facts about crafting and basic sewing for kids
🎃 Halloween dates back over 2,000 years to the Celtic festival of Samhain where people lit bonfires and wore costumes to ward off spirits.
🍬 Candy corn was first made in the 1880s and quickly became a classic Halloween treat loved (and sometimes debated) by many.
✂️ Kid-friendly safety scissors have blunted tips and still let kids practice cutting precise shapes for decorate-your-own bags.
📏 Measuring while crafting teaches real-life math: rulers, fractions, and estimating help make a bag the right size for treats.
🎨 Decorating a bag with markers, stickers, and ribbon boosts fine motor skills and encourages each child's unique spooky style.
How do you make a Halloween candy bag?
What materials do I need for a Halloween candy bag?
What ages is this activity suitable for?
What are the benefits and safe variations for making Halloween candy bags?
